How to Style Open Kitchen Shelves (Without the Clutter)
Open shelves are display that happens to be useful. Treat them as storage that happens to be visible, and they look like storage. That is the whole difference.
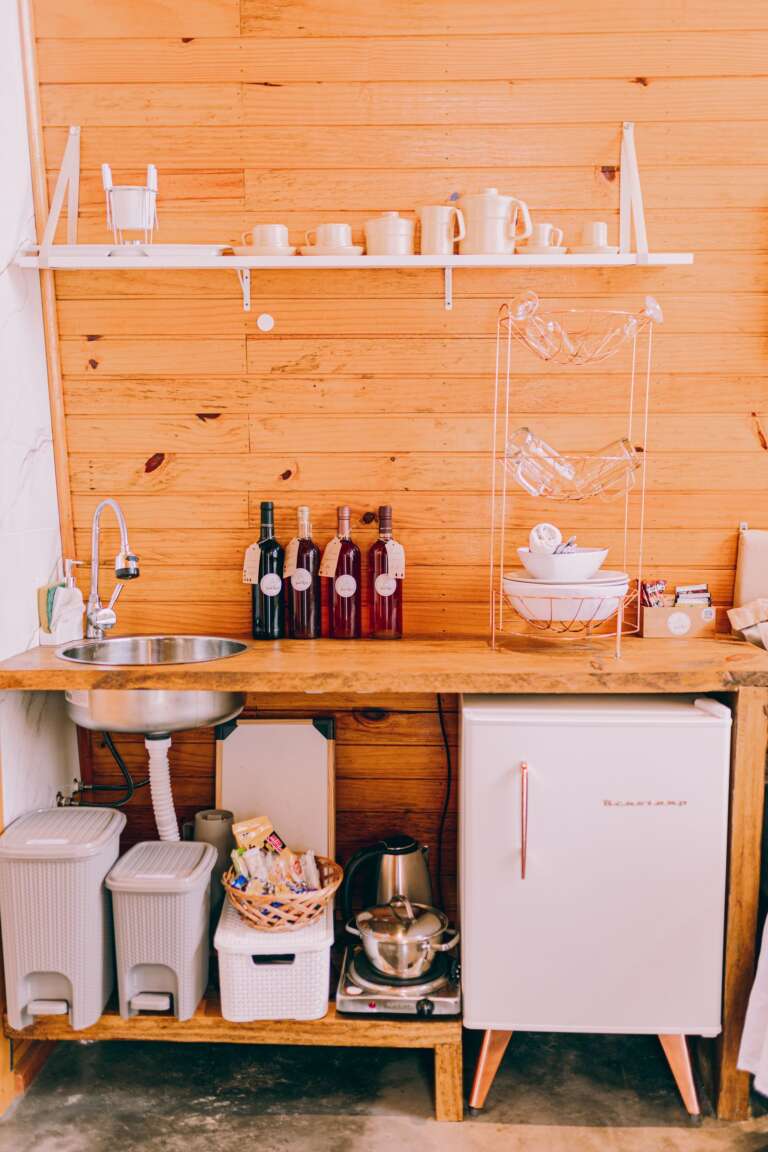
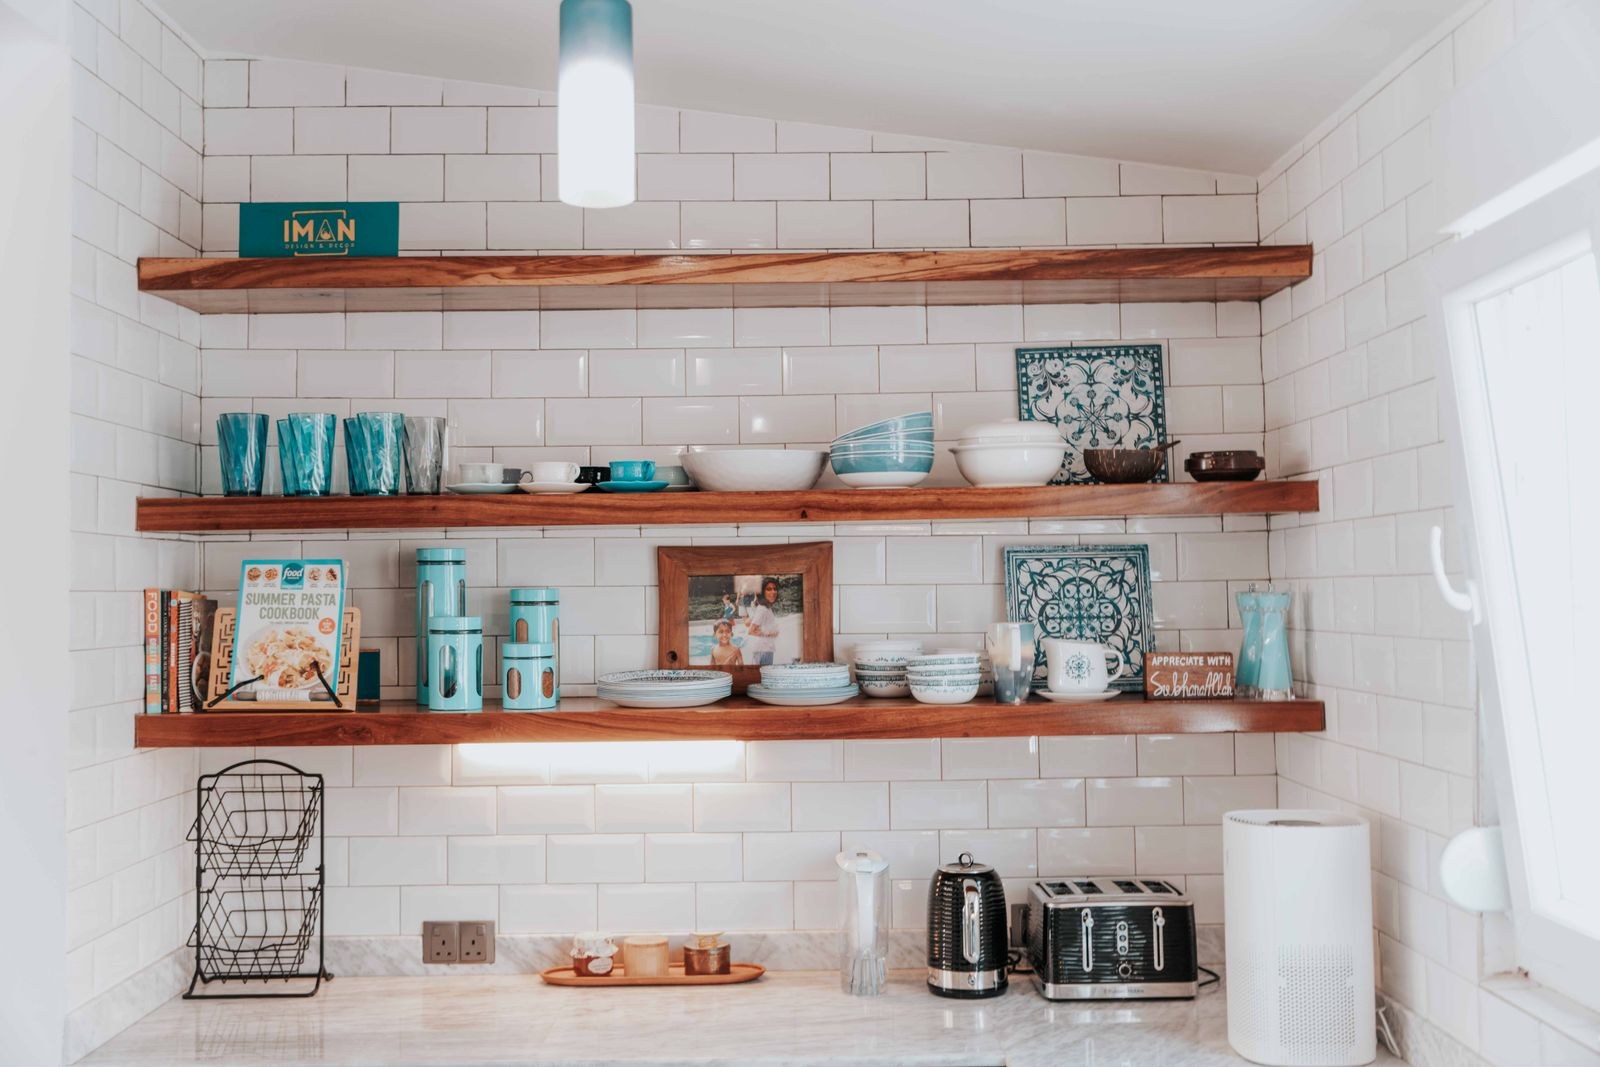
The shelves that look effortless online are not fuller than yours. They are more edited: one color story, repeated materials, and a clear job for every shelf. The formula I use is plain. Everyday dishes live low, where you can reach them. Pretty pieces sit higher. One plant softens each shelf. And about a third of every shelf stays empty. The 11 moves below apply that formula in order, from the empty shelf reset to the five minute weekly edit that keeps it working.
The short version, before we start:
Daily low, pretty high. Plates, bowls and glasses on the lowest shelf; ceramics and serving pieces up top, where dust and reach matter less.
A third stays empty. Leave about a third of every shelf bare, in one or two clear stretches. That breathing room is what separates styled from stored.
Repeat one material. White ceramic, clear glass, pale wood or warm brass, plus one accent color, appearing on every shelf at least once.
One plant per shelf. A small herb pot or trailing plant, in pots from one family, so the green reads as one decision.
1. Start Empty: Sort Into Keep, Store and Go
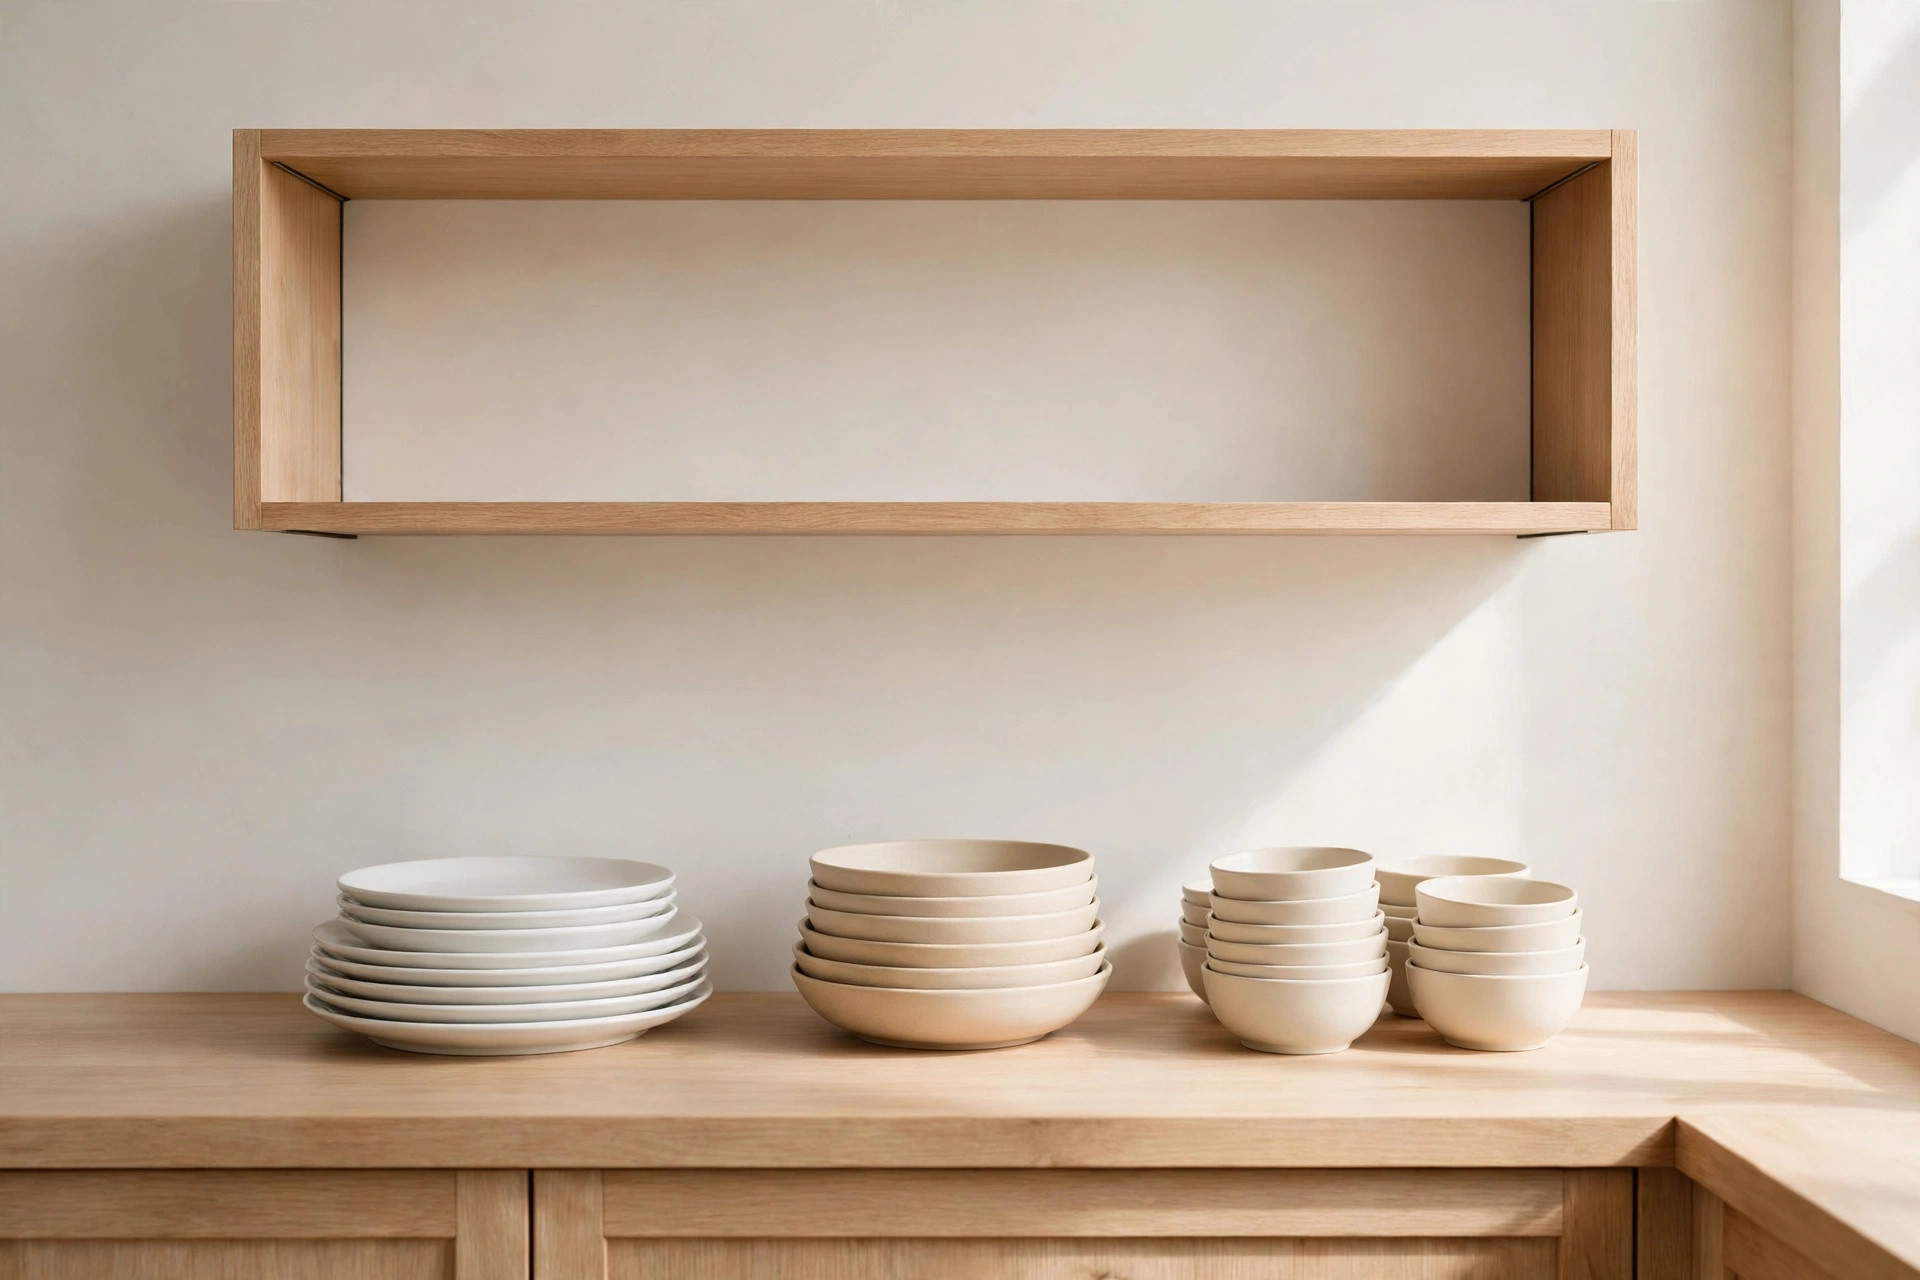
No styling formula survives a shelf that still holds everything you own.
Take every item off, wipe the shelves, and sort without mercy: daily pieces, occasional pieces, and pieces that only live there from habit. Only the daily and the beautiful earn a place back. Occasional items go to a closed cabinet, and the rest go. This reset feels harsh for one hour and generous forever after, because every later step gets easier. It is the same zoning logic behind good small kitchen organization ideas: a shelf can only look calm when its contents have one clear job.
2. Put Everyday Dishes on the Lowest Shelf
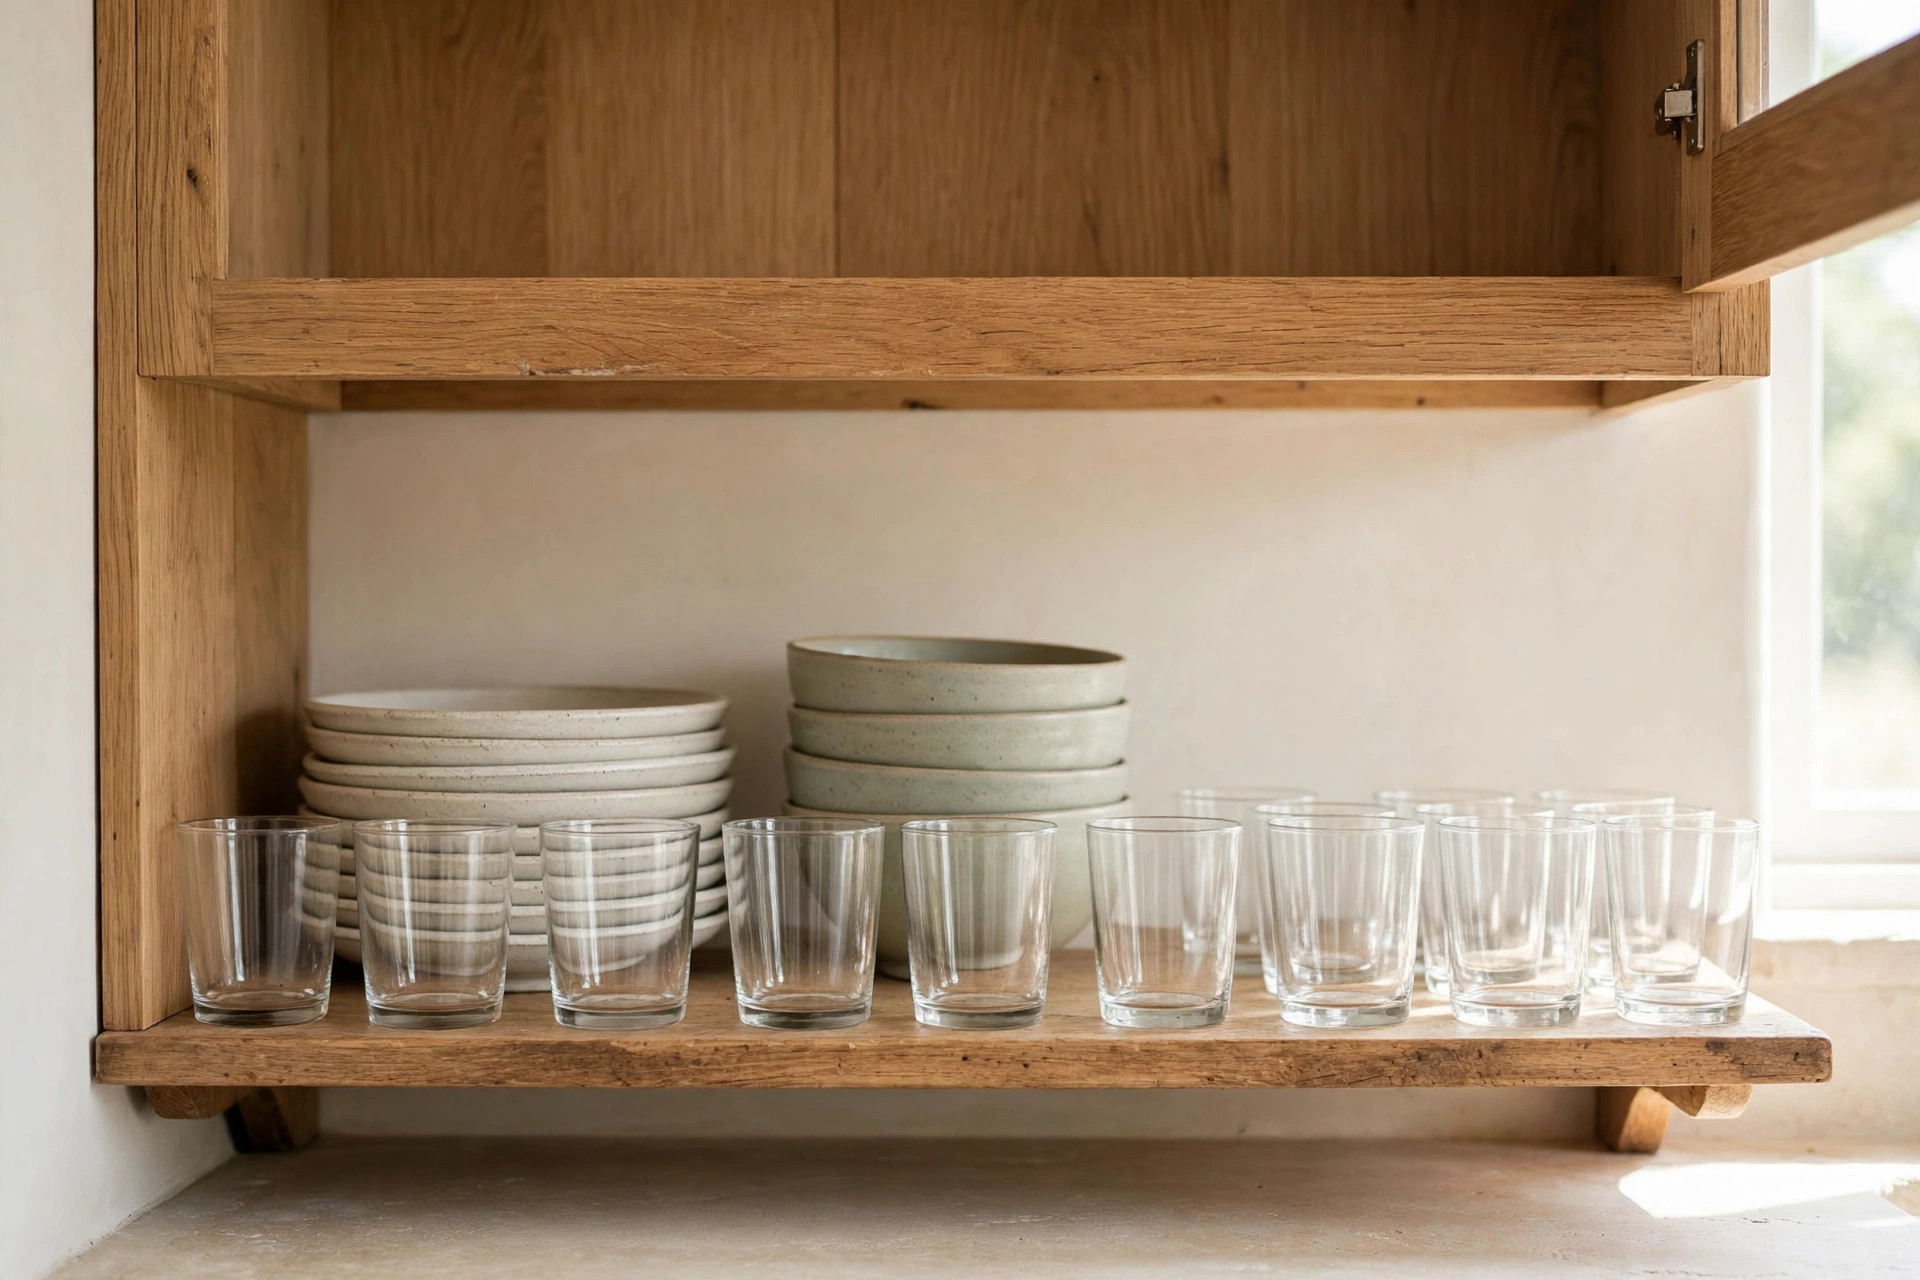
The lowest shelf is prime real estate, so give it to the pieces you touch daily: dinner plates, bowls and drinking glasses.
Stack plates in short piles, six to eight at most, stand glasses in one straight row, and keep the group tight rather than spread along the whole shelf. When the hardest working items sit at easy reach, the shelf stays functional on a rushed Tuesday, not just photogenic on a slow Sunday. Heavy stacks belong low for a second reason too: it is safer for you, and kinder to the shelf brackets.
Everything above this shelf is allowed to be slower, prettier and less practical. That is the deal the formula makes.
3. Send the Pretty Pieces Up High
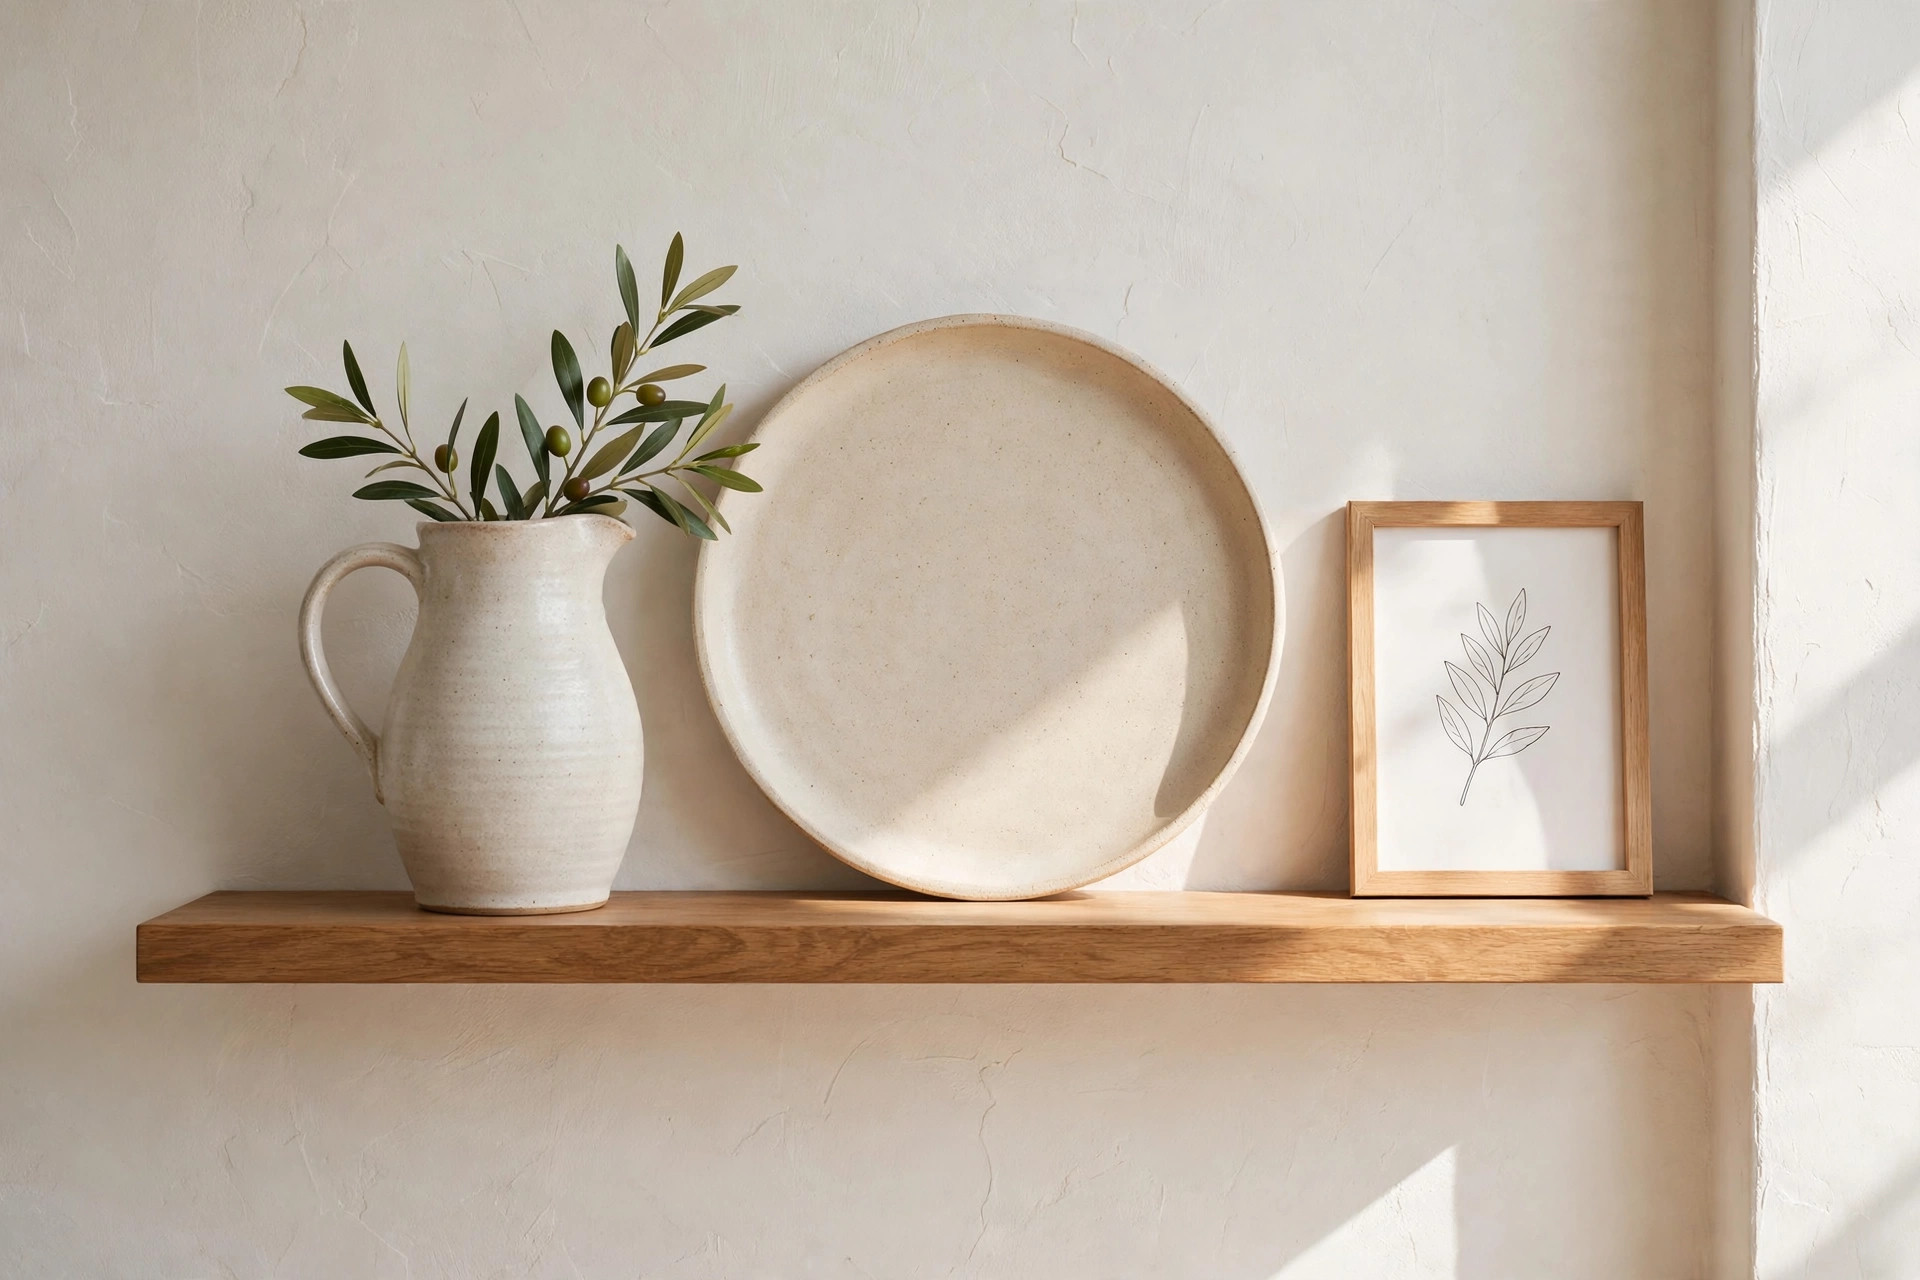
The top shelf is display space. Fill it with pieces that earn their place by looks: the ceramic pitcher, the serving platter you love, a small stack of linen napkins, a framed print leaned at the back.
Because nobody reaches up there daily, dust matters less and arrangement matters more. Group in odd numbers, threes work almost every time, vary the heights, and leave gaps between groups so each one reads on its own.
If a piece is neither used nor loved, this shelf is where that becomes obvious. Do not put it back up. The top shelf is a strict editor, and that is its job.
4. Leave a Third of Every Shelf Empty
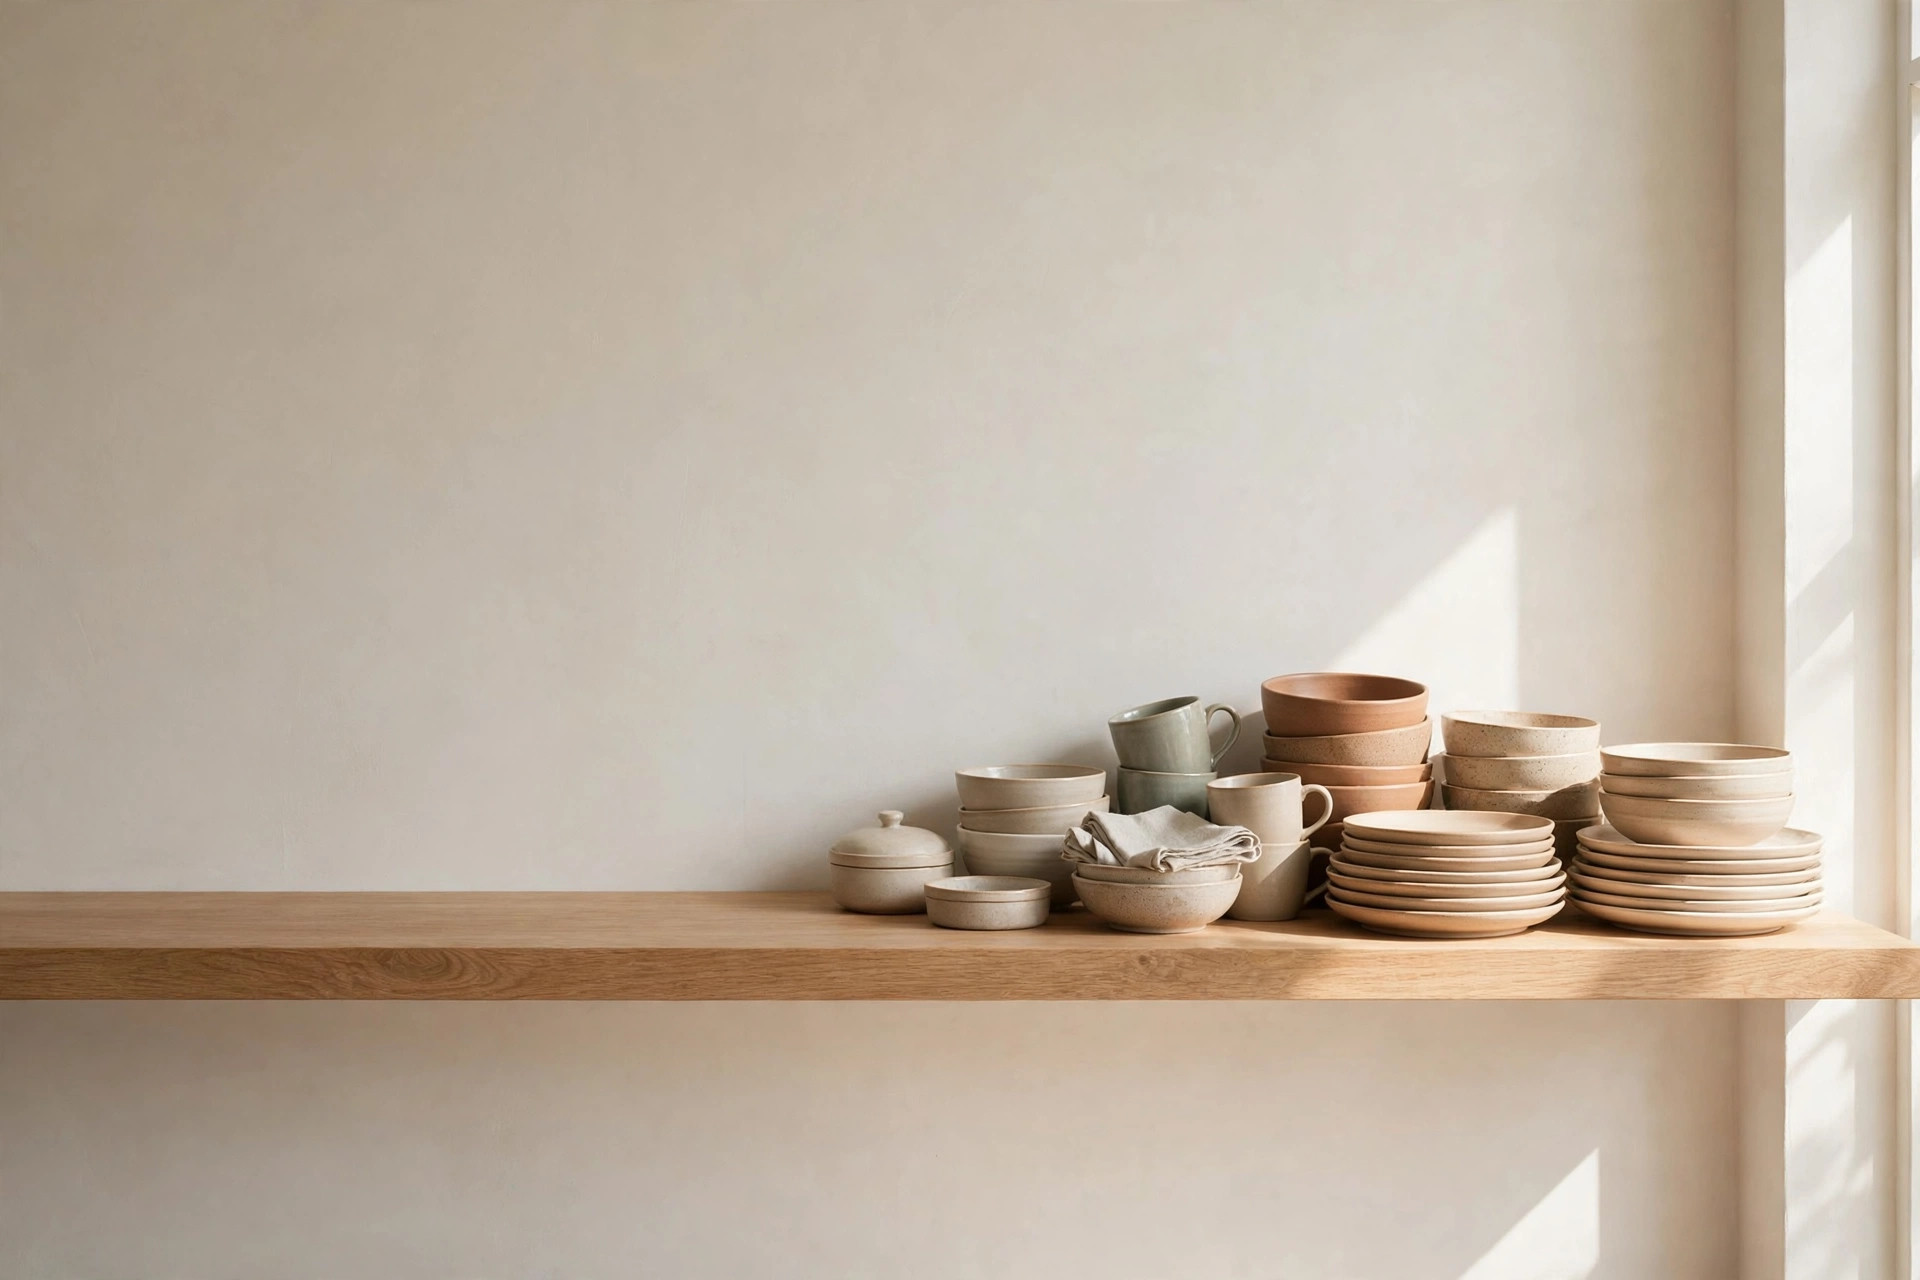
Empty space is the ingredient most home shelves are missing.
Aim to leave about a third of each shelf bare, in one or two clear stretches rather than sprinkled gaps. That breathing room is what separates styled from stored: the eye can rest, each group stands out, and the shelf looks chosen instead of filled. It also gives you a landing zone for a hot dish or a grocery bag, which quietly protects the system on busy days. I guard that empty stretch like it is furniture, because the moment it fills, the whole shelf starts sliding back to storage.
If everything you kept does not fit with a third left empty, the honest answer is another edit, not tighter packing.
5. Repeat One Material and One Color Down the Shelves
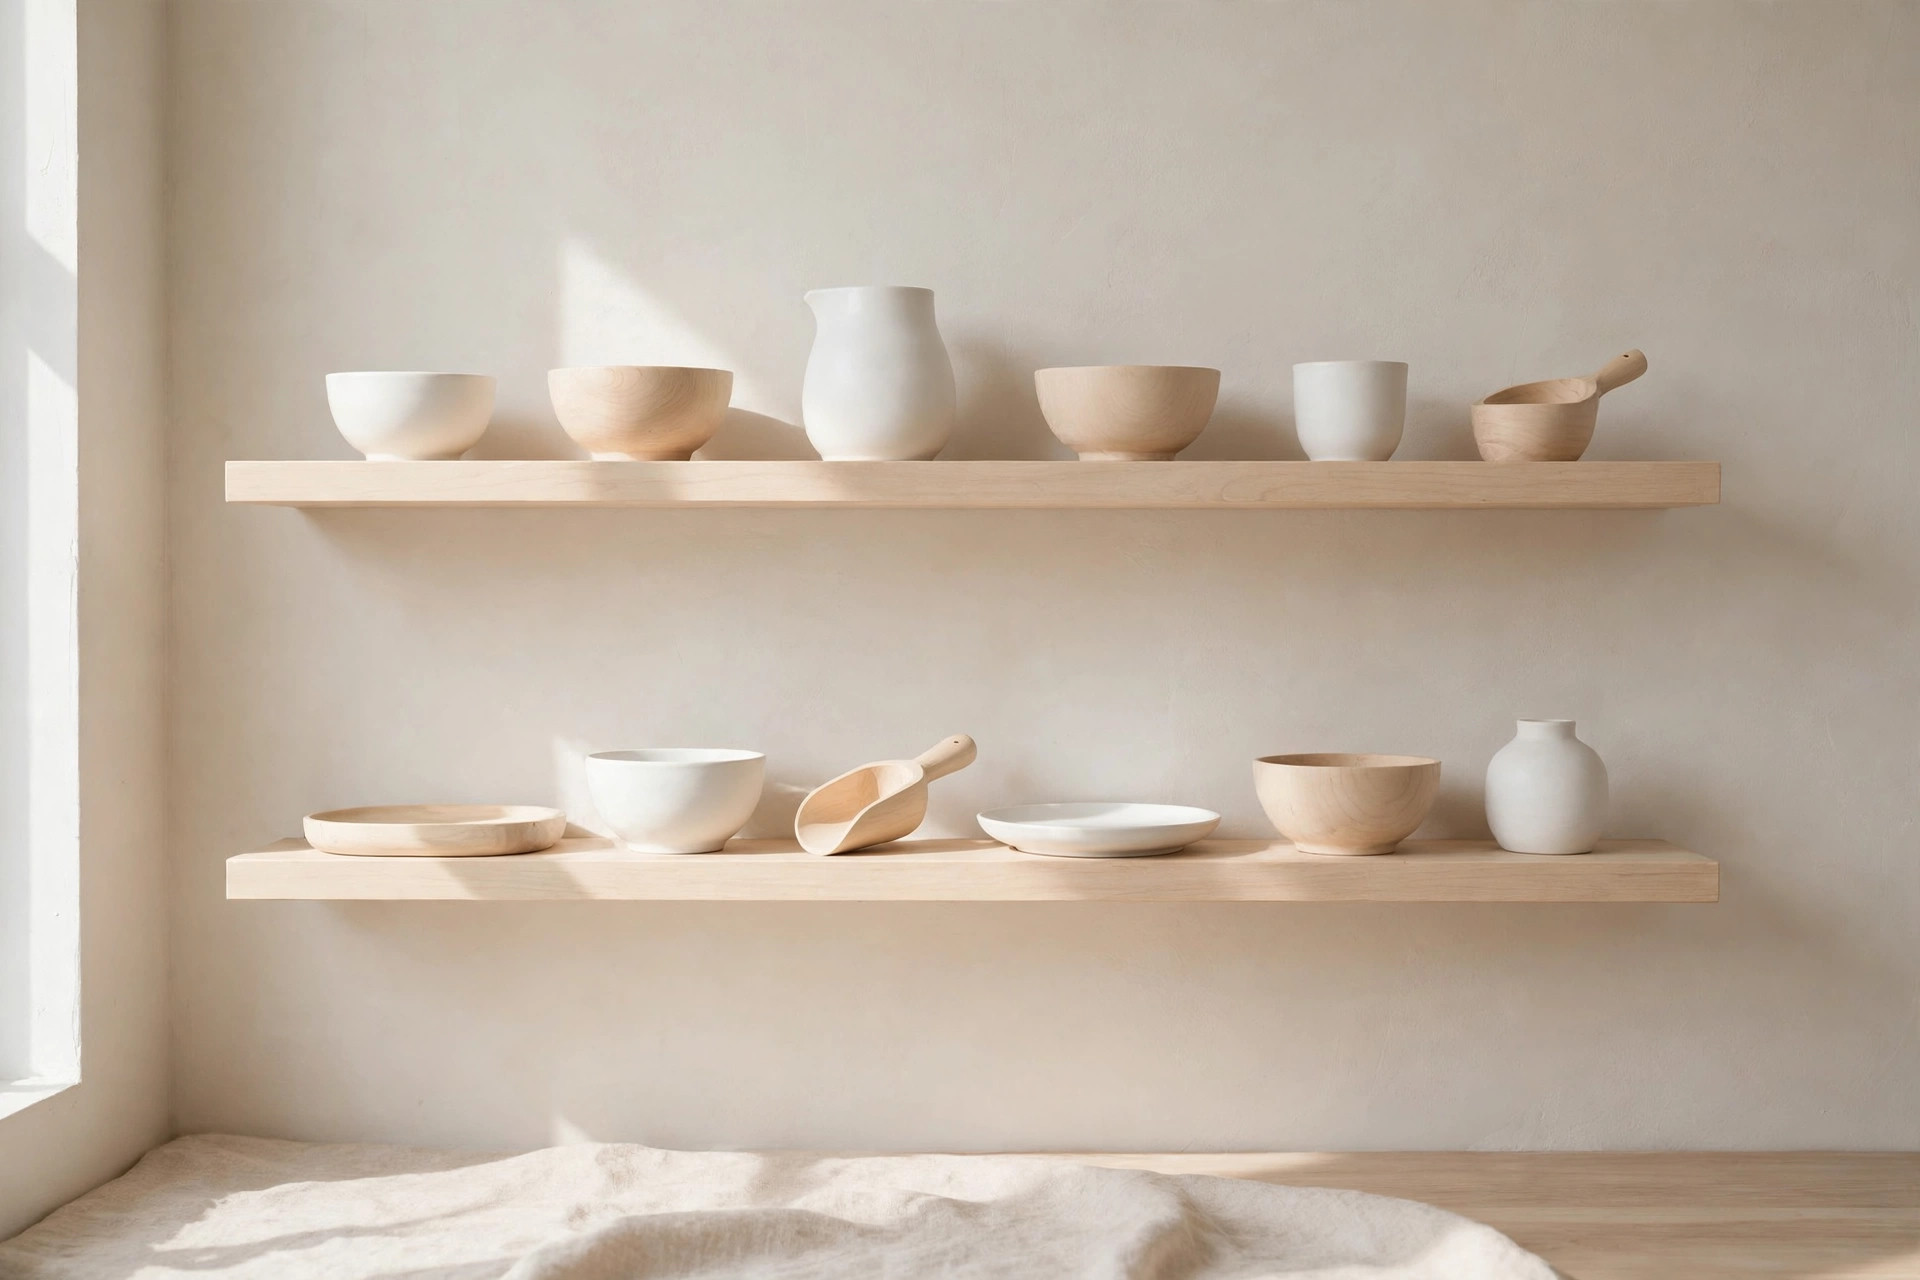
Shelves look collected when something repeats.
Choose one material, white ceramic, clear glass, pale wood, warm brass, and one accent color. Then make sure both appear on every shelf at least once. The repetition ties separate groups into one composition, the way matching frames tie a gallery wall. It also makes editing simple, because anything that does not carry the material or the color has to justify itself hard.
Skip the shopping trip for this step. You almost never need new things. The pieces already exist in your kitchen, scattered across cabinets, waiting to be gathered into one story.
6. Give Every Shelf One Plant
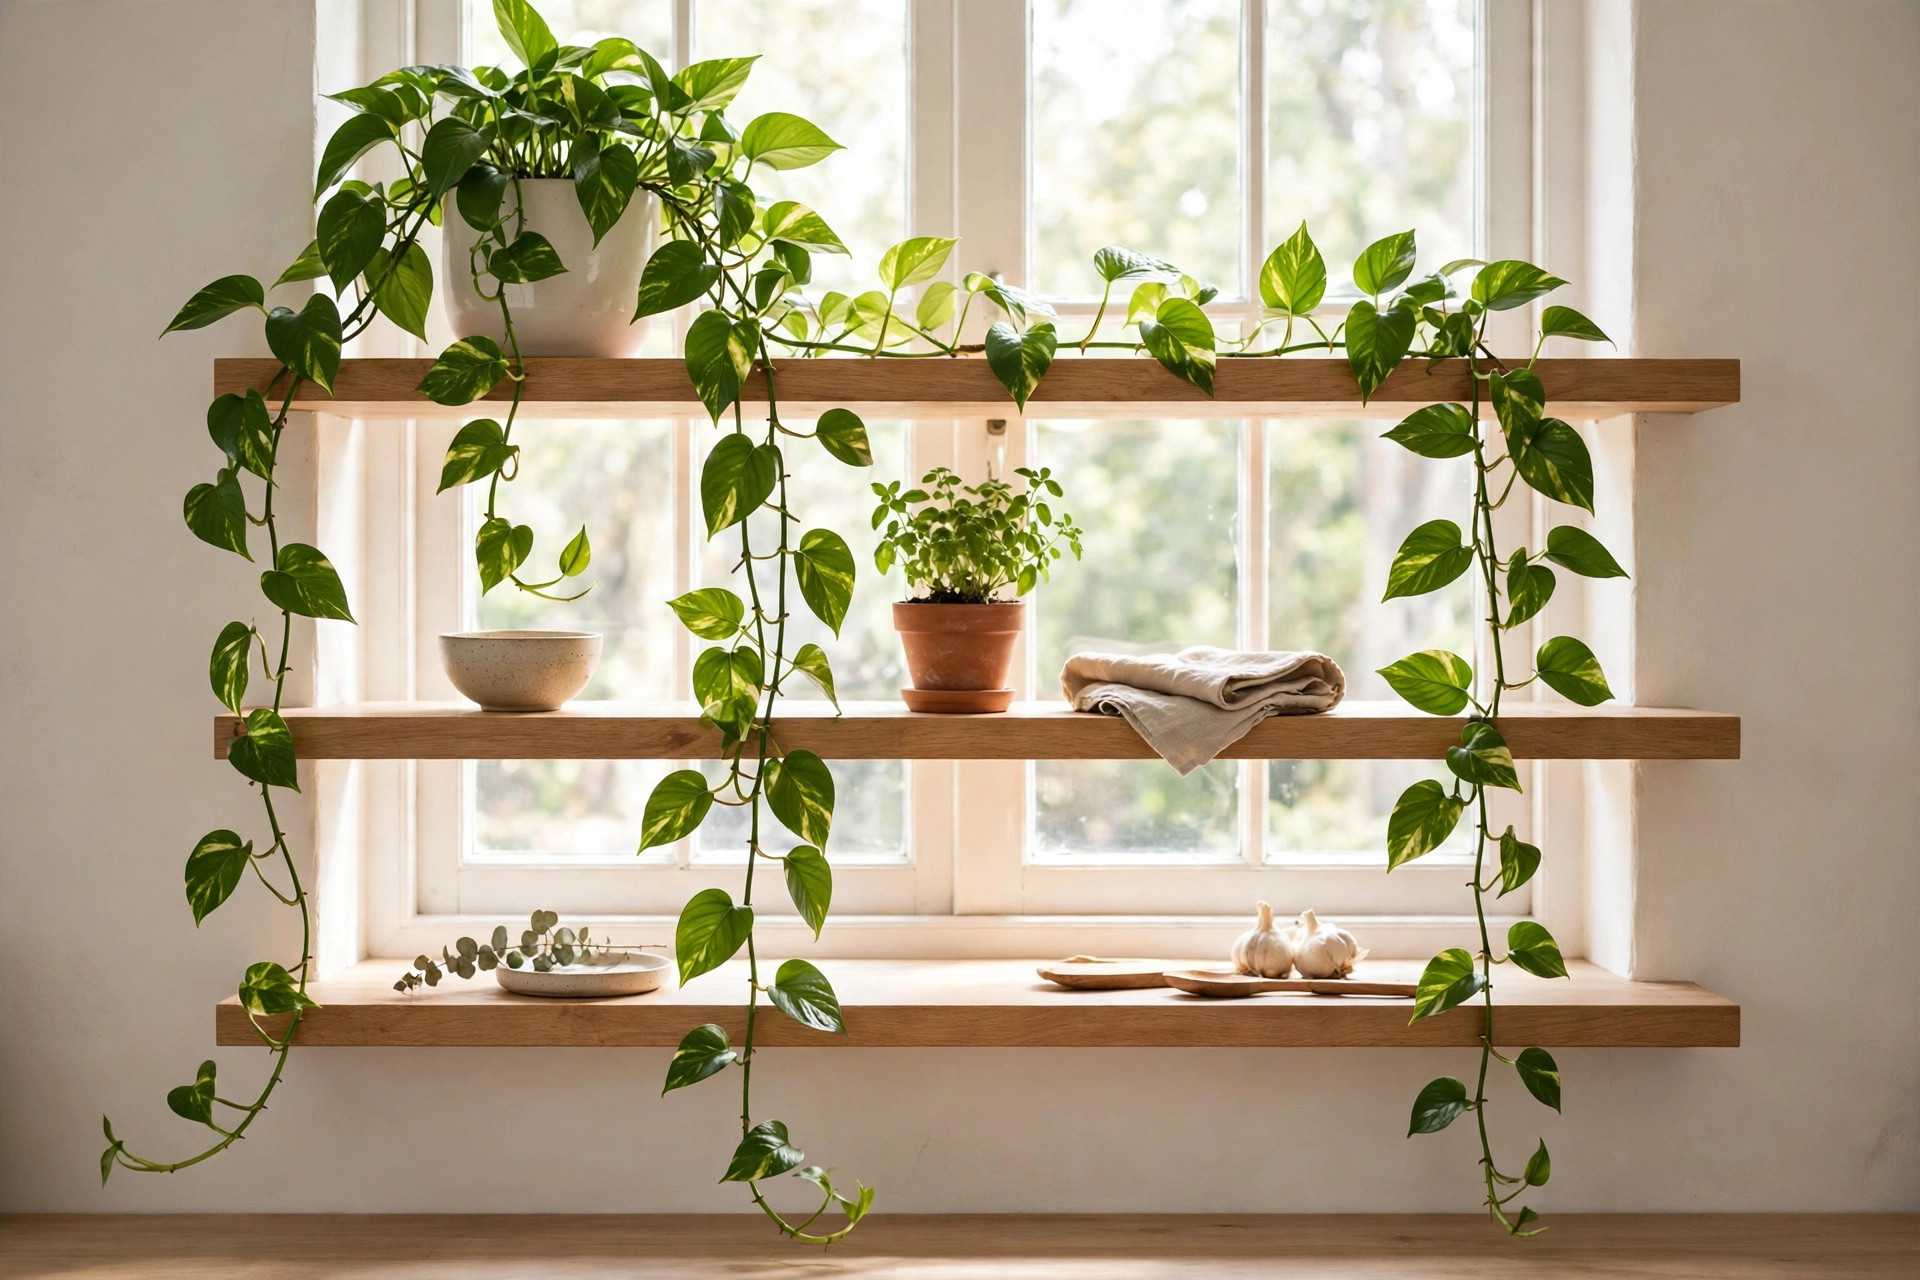
One small plant per shelf is the softening move that stops open shelving looking like a shop stockroom.
A trailing pothos softens a hard top corner, a small herb pot adds life at hand height, and a tiny succulent fills a gap that dishes cannot. Place plants where they catch some light, near the window end of the run, the same principle that shapes good kitchen window decor ideas over the sink. Keep pots in one family, terracotta, white or woven, so the green reads as one decision rather than three accidents.
Water on a schedule, not on a whim. A thirsty, drooping plant undoes the whole shelf faster than any clutter, and a dead one is worse than none.
7. Hide the Ugly Essentials in Baskets and Lidded Jars
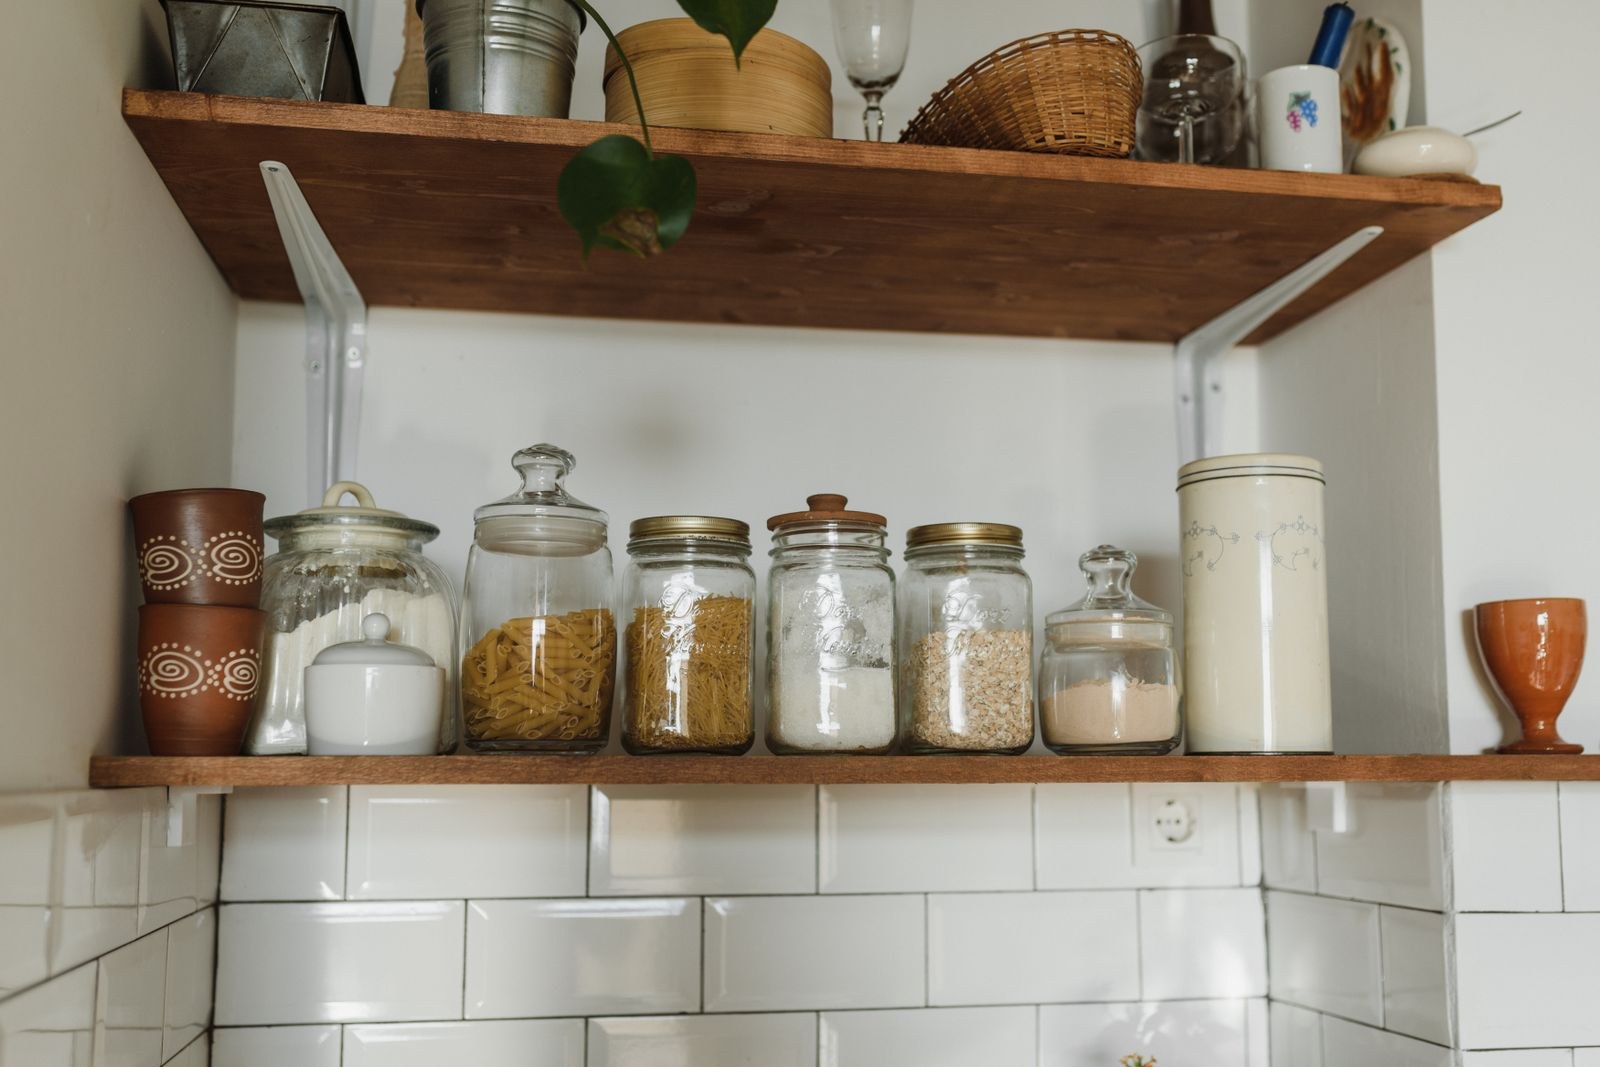
Every kitchen has necessary items that should never sit on open display: supplement bottles, pet treats, packet mixes, charging cables.
Group them inside lidded jars, woven baskets or one ceramic canister, so the shelf shows the container, not the clutter. Decant the dry goods you use constantly, flour, pasta, coffee, into clear jars that earn their visibility, and let matching containers do the styling work. This is also where overflow belongs when cupboards run short, a trick borrowed from kitchen storage ideas for no pantry homes: pretty containment first, open display second.
One basket per shelf is plenty. Two, and the shelf starts reading as a storage unit again.
8. Stack Books and Boards as Styling Bones
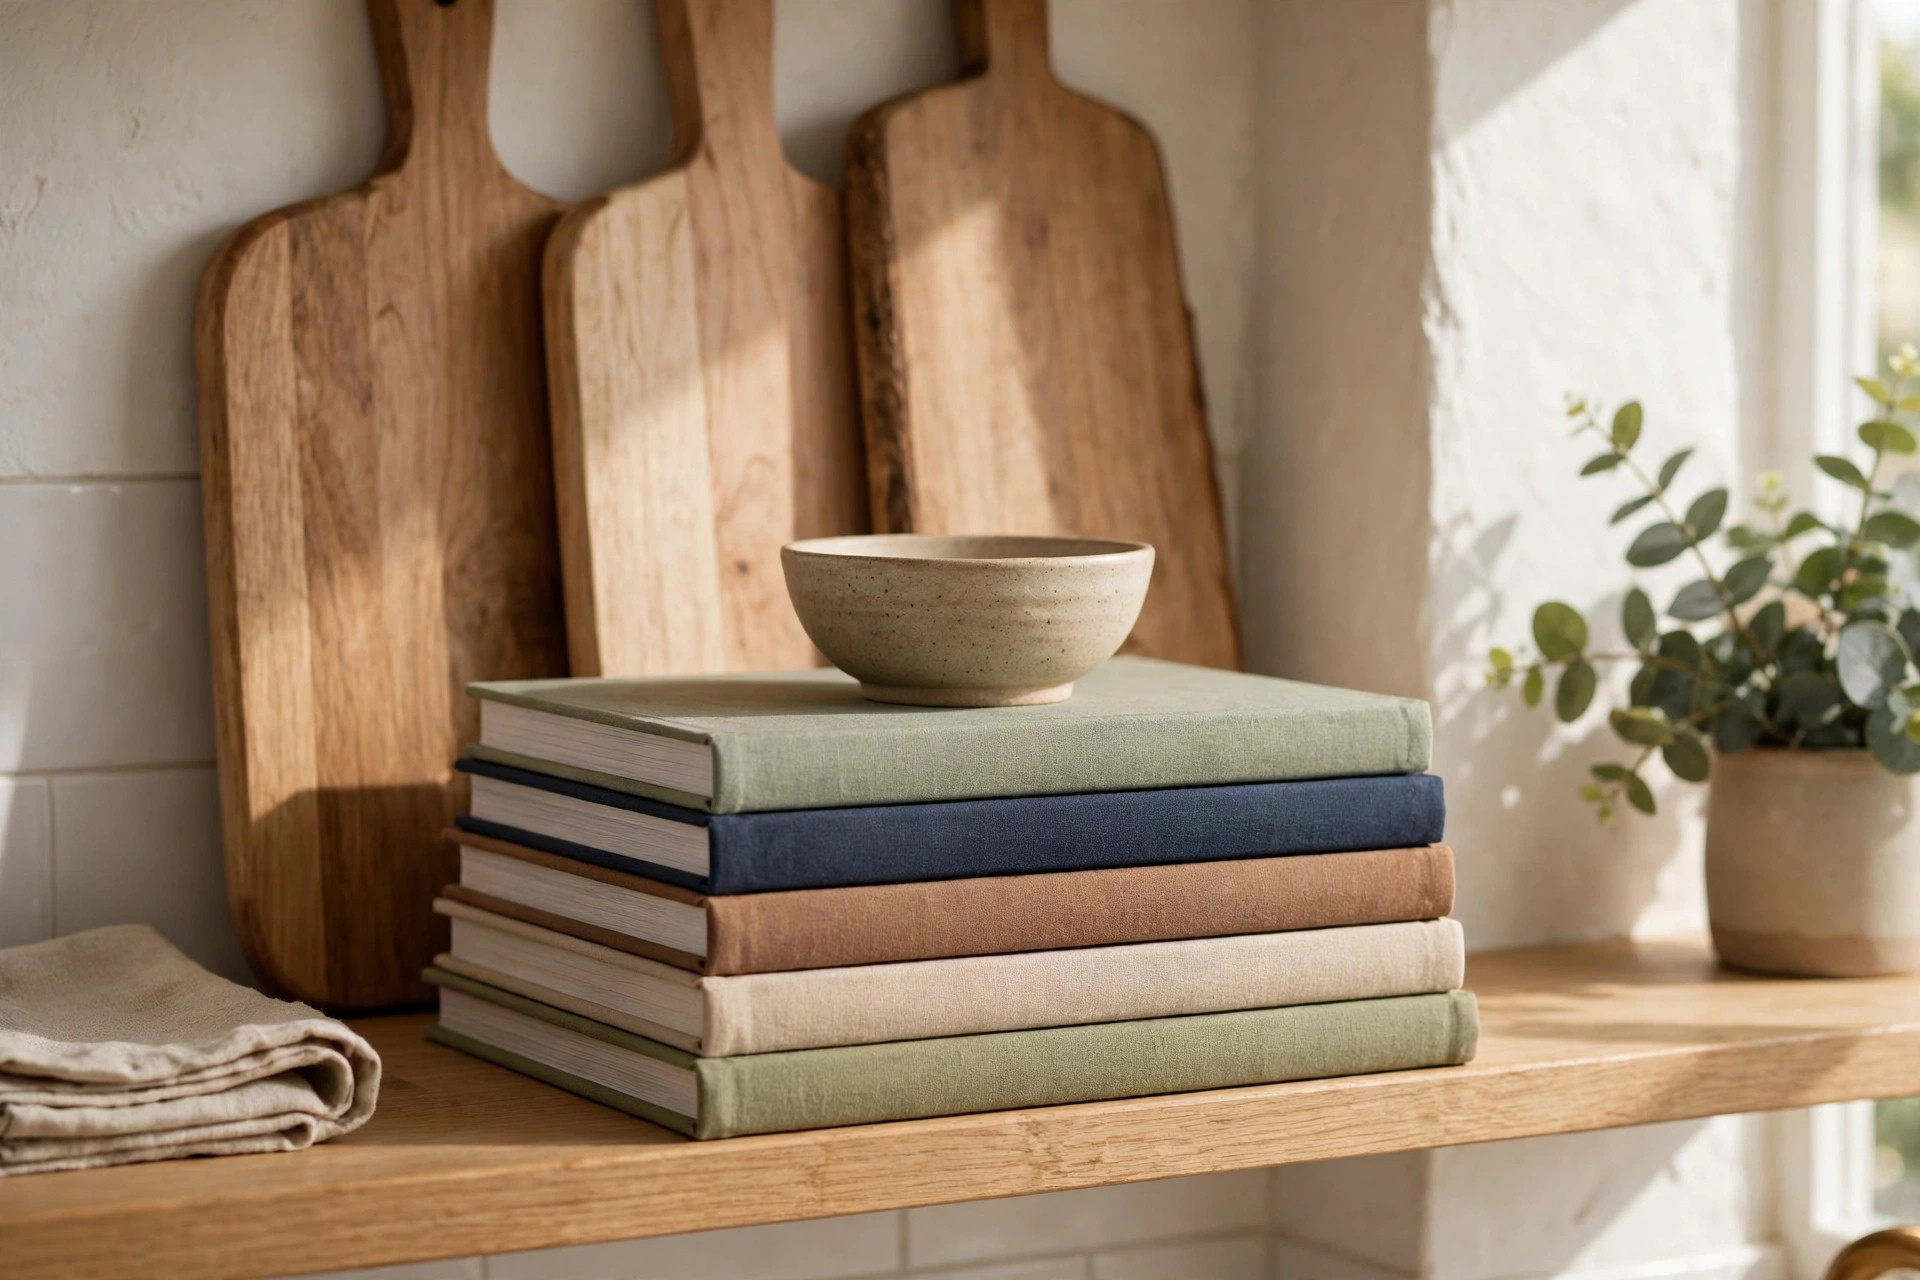
A short stack of cookbooks laid flat adds height under a small plant or bowl. A pair of wooden boards leaned against the wall at the back gives the shelf a warm, layered backdrop.
These are the bones that let smaller pieces look arranged rather than scattered. Keep book spines in your color story, or turn the brightest ones around, and choose boards you genuinely use, so the styling stays honest. Boards also hide the least attractive stretch of backsplash and add the wood note most white kitchens need.
Two or three boards per shelf run is plenty. A row of eight is a cutting board collection, not a backdrop.
9. Tie the Shelves to the Counter Below
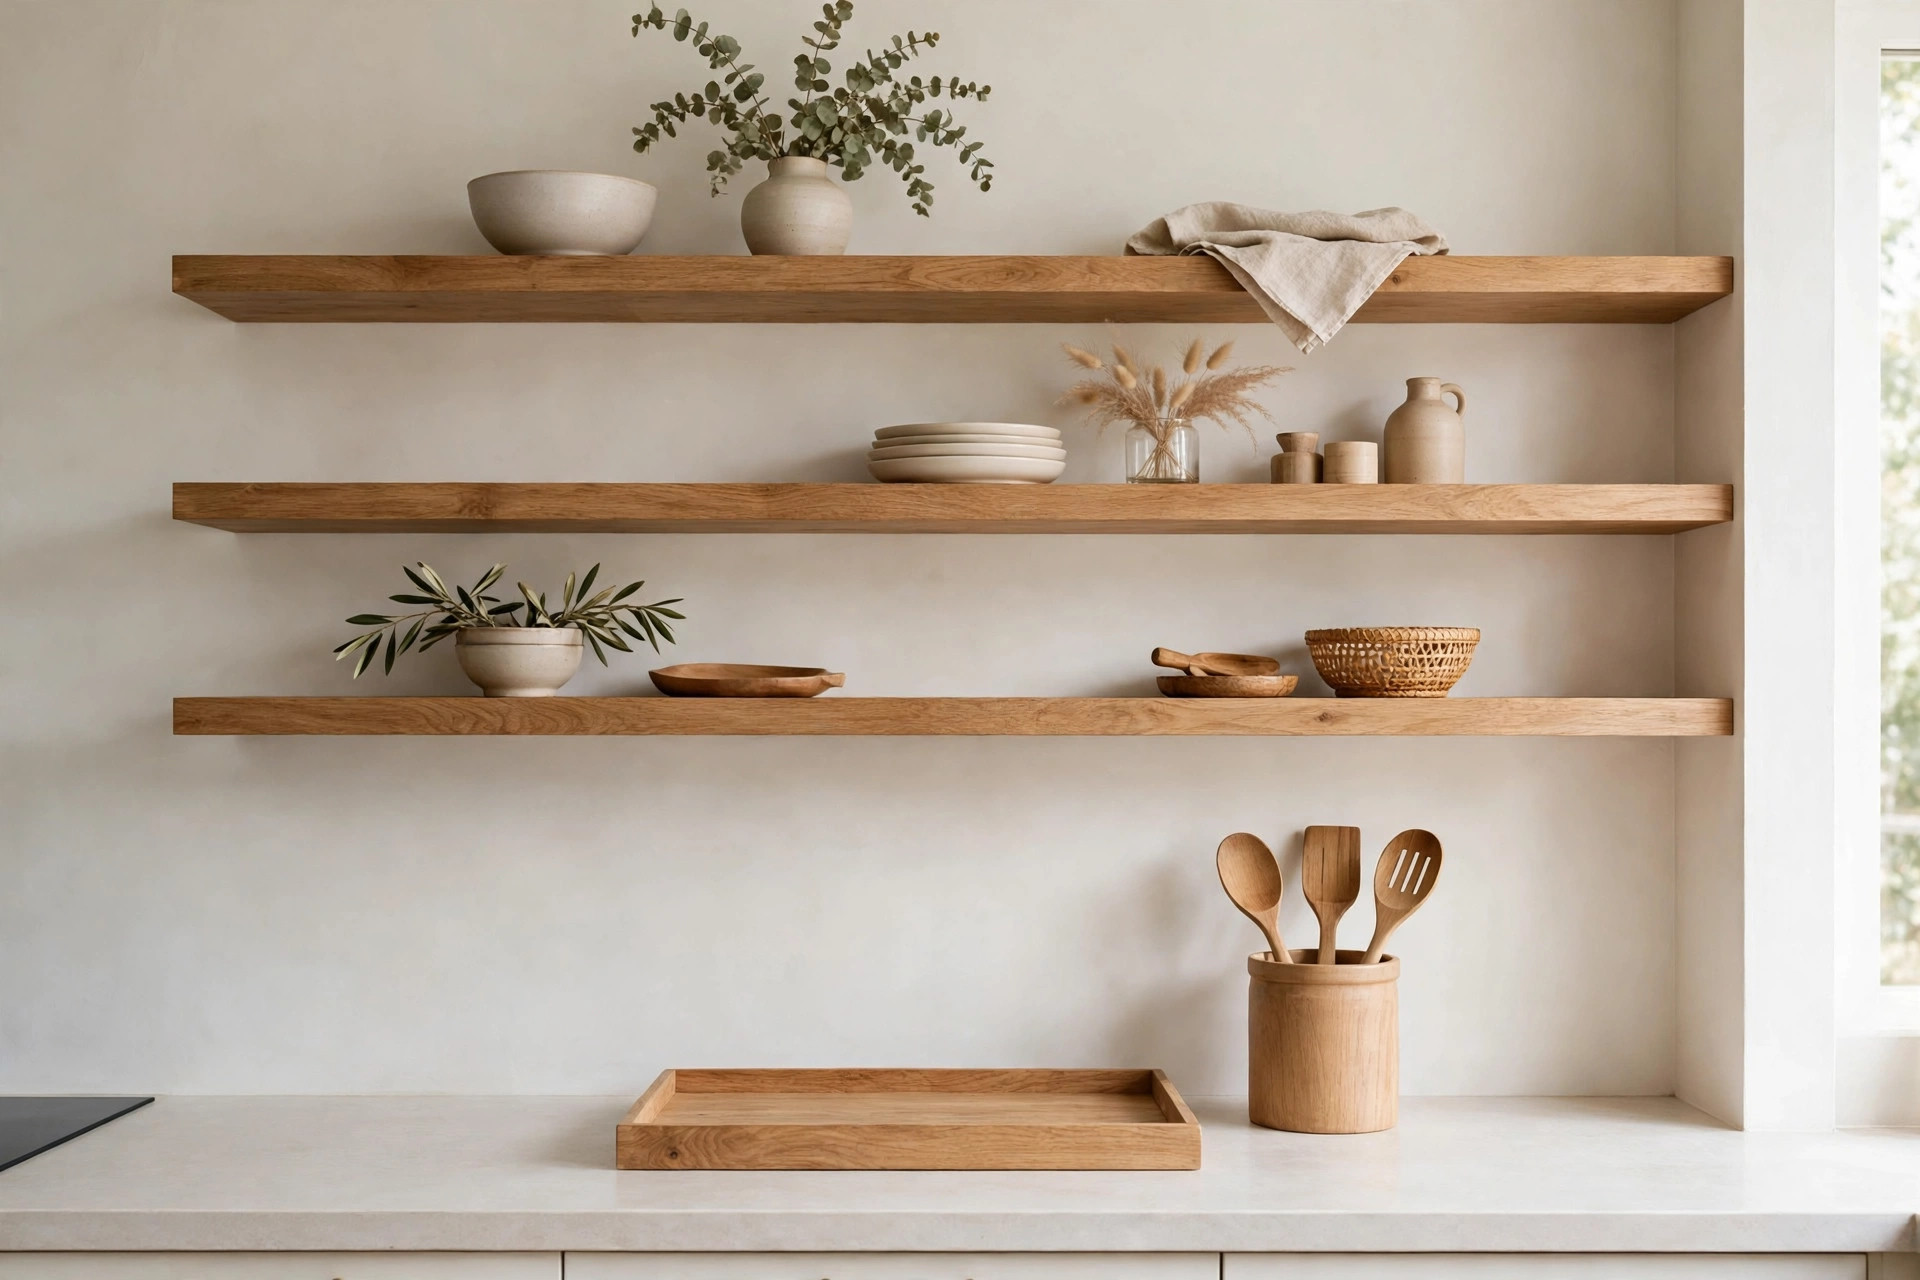
Open shelves do not float in isolation. They share a wall and a workspace with the counter under them, so style the two as one scene.
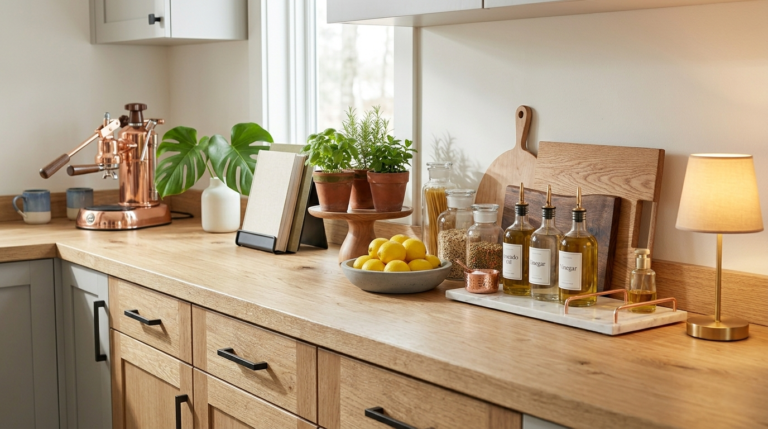
Keep the counter mostly clear, echo one shelf material in a tray or utensil crock below, and let a maximum of two counter pieces sit under each shelf run. The calmer the counter, the calmer the shelves look, because clutter at eye level reads from whichever surface it sits on. Borrow the restraint of good kitchen counter decor picks: one tray, one plant, one useful beautiful object, and then stop.
Counter clutter is the number one way good shelves get blamed for a mess they did not make.
10. Style in Triangles and Odd Numbers
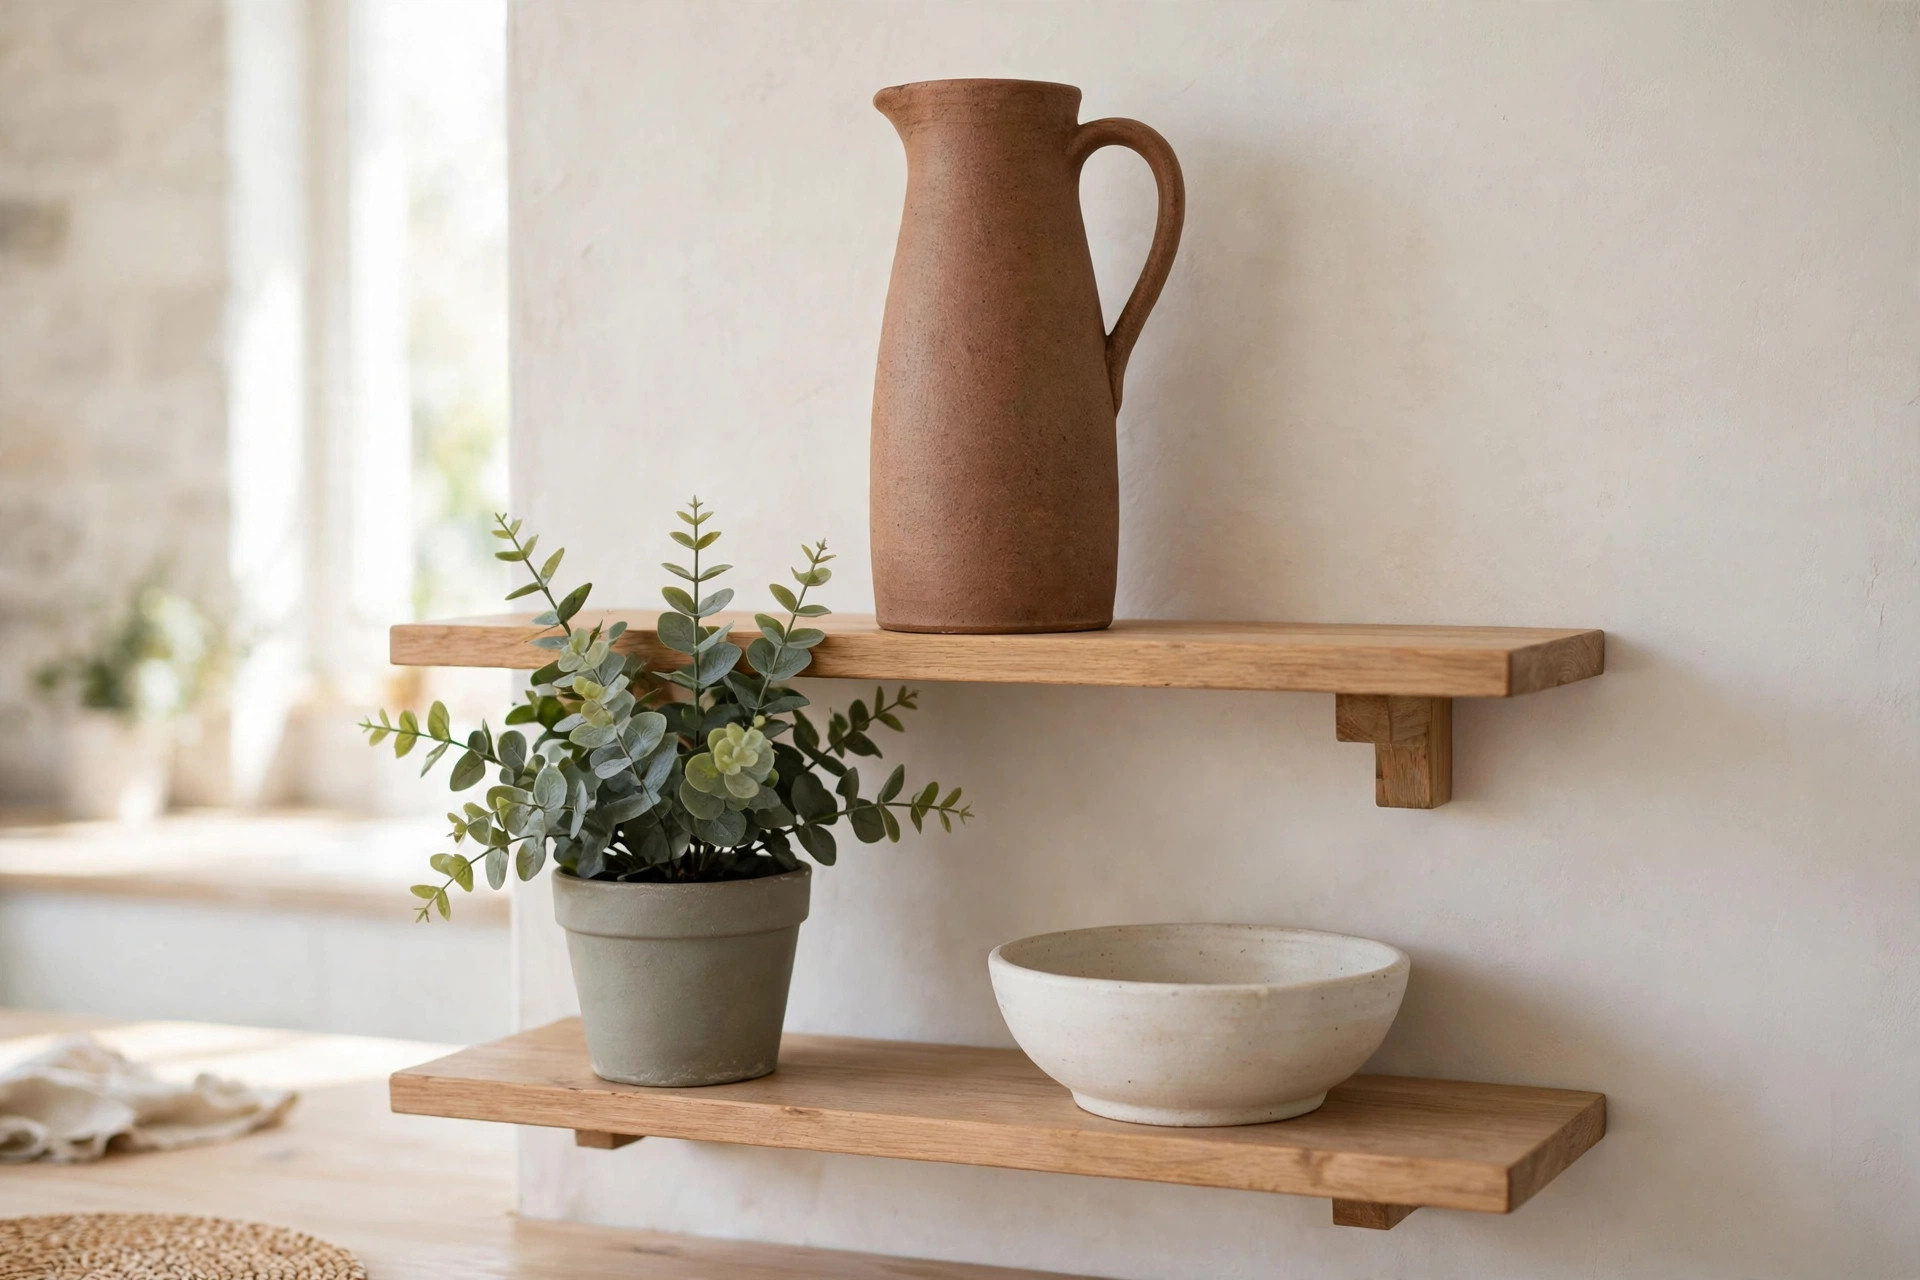
When a shelf still looks off after the formula, arrange by triangles: group three items of different heights so the eye travels up, across and down, and repeat that rhythm along the shelf.
Odd numbers read as more natural than pairs on open display, and varied heights stop the flat skyline that makes shelves look like storage. Step back to the doorway, the view you actually live with, and take a phone photo. I do this every single time. The camera is merciless about clutter and honest about balance, and one moved vase usually fixes what ten minutes of squinting could not.
If the photo shows one group hogging the middle, slide it a few inches toward an end and shoot again. Balance on shelves is mostly small slides, not big buys.
11. Keep It With a Five Minute Weekly Edit
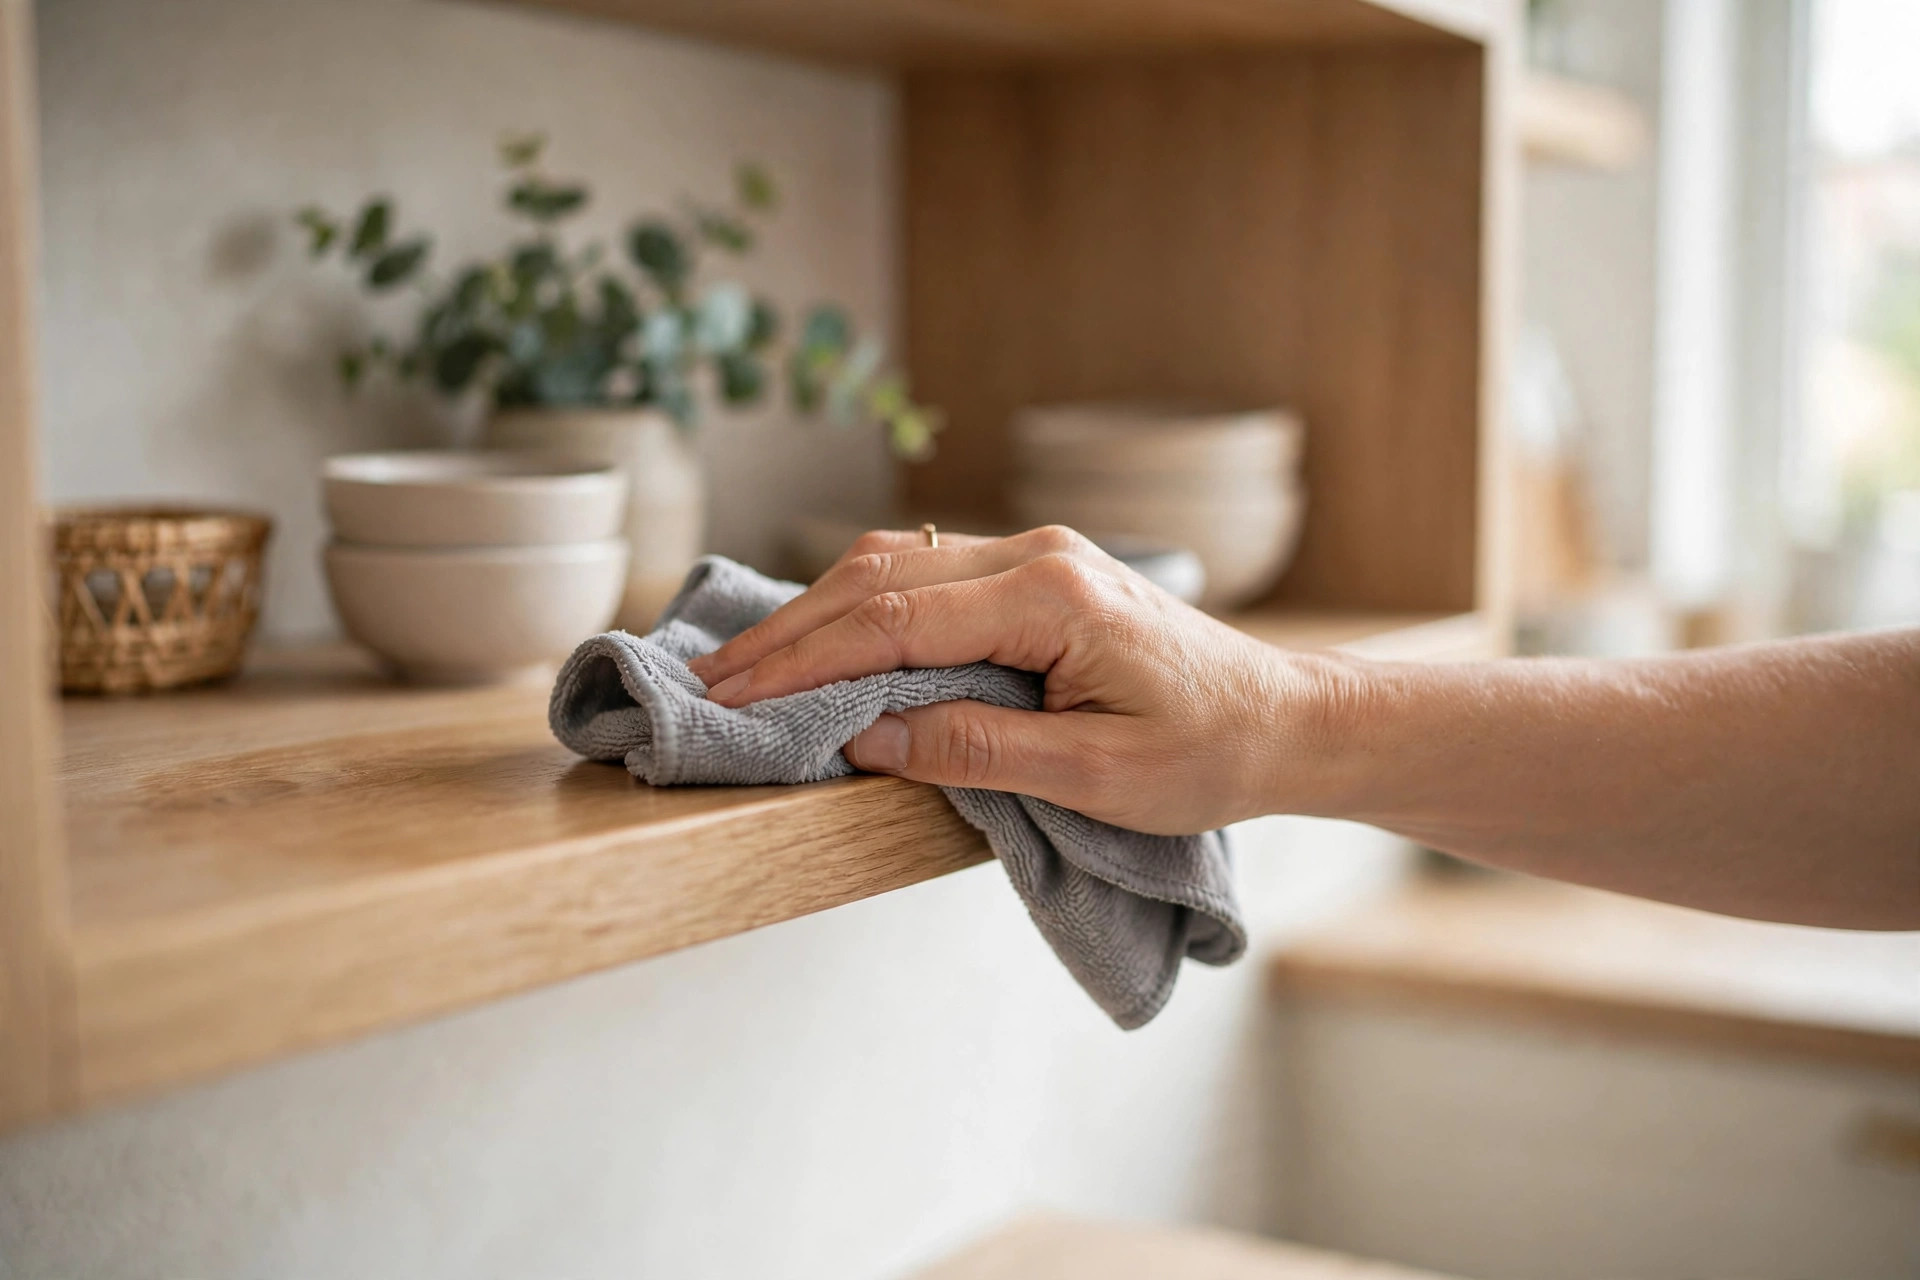
Open shelves show dust and drift faster than closed cabinets, so the final move is maintenance: once a week, return strays, wipe the empty third, and check that the low shelf still holds only daily pieces.
Five minutes is honestly enough once the system exists, and it prevents the slow creep back to storage shelf. I do it while the kettle boils, with a cloth and a small spray bottle kept under the sink so the edit never waits on hunting for supplies. Photograph the finished shelves once, and you always have the target arrangement to reset to.
Near the stove, expect a greasy film on top shelf pieces by month’s end. Daily use is the protection: pieces in constant rotation never sit long enough to collect much.
The Bottom Line
Open shelves fail when they are treated as storage that happens to be visible, and they succeed when they are treated as display that happens to be useful. Run the formula in order: daily low, pretty high, one plant, a third left empty, one material repeated, the ugly things contained. Then keep it with a five minute weekly edit. Tape the formula inside a cabinet door if it helps the whole household hold the line.
Start with the reset. Everything off, shelves wiped, and only the daily and the beautiful go back.
Frequently Asked Questions
What should you display on open kitchen shelves?
Everyday dishes on the low shelf: glasses, plates and bowls you use daily. Then slower, prettier pieces higher up: ceramics, serving pieces, cookbooks, and one plant per shelf. Anything ugly but necessary goes inside a basket or lidded jar, so the shelf shows the container, not the clutter.
How do you keep open shelves from looking messy?
Edit harder than feels natural, repeat one material and one color on every shelf, group in odd numbers, and leave roughly a third of each shelf empty. Most messy looking shelves are not badly styled; they are simply holding too much.
Do open kitchen shelves get dusty and greasy?
Yes, honestly, especially near the stove, which is why daily use is their best protection: items in constant rotation never sit long enough to collect much. Wipe the shelves weekly, keep rarely used pieces in closed storage instead, and avoid placing open shelves directly beside a heavy frying zone if you can choose.
How much empty space should open shelves have?
About a third of each shelf, left in one or two clear stretches, is the guideline that works in most kitchens. It lets each group read on its own and gives you a landing zone for hot dishes, which protects the styling on busy days.