Battery Under-Cabinet Lighting Ideas for a Brighter Kitchen
The darkest stretch of your kitchen is the counter you chop on. Your own body sees to that: you stand between the ceiling light and the work, and your shadow does the rest.
The fix needs no wiring and no electrician. A rechargeable LED bar sticks up under the cabinet, spreads light across the whole prep run, and lifts off its mount to charge from a plain USB cable. I run two bars over my own prep counter and nothing about the room changed except that I can finally see the onions. The 11 ideas below cover each type, where it belongs, and how to place it so the counter reads bright instead of gloomy.
The short version, before we start:
One bar over the main prep run first. A continuous bar, usually 12 to 24 inches, beats scattered pucks where you actually chop.
Mount it at the front lip. Light at the back of the cabinet underside lights the backsplash and leaves your hands in shadow.
Warm over food. Warm white, roughly 2700K to 3000K, makes ingredients look true. Cold blue white makes a tidy counter feel like a clinic.
Charge on a rhythm. One set evening a week, plus a spare bar if the kitchen is busy, and the lights never die mid recipe.
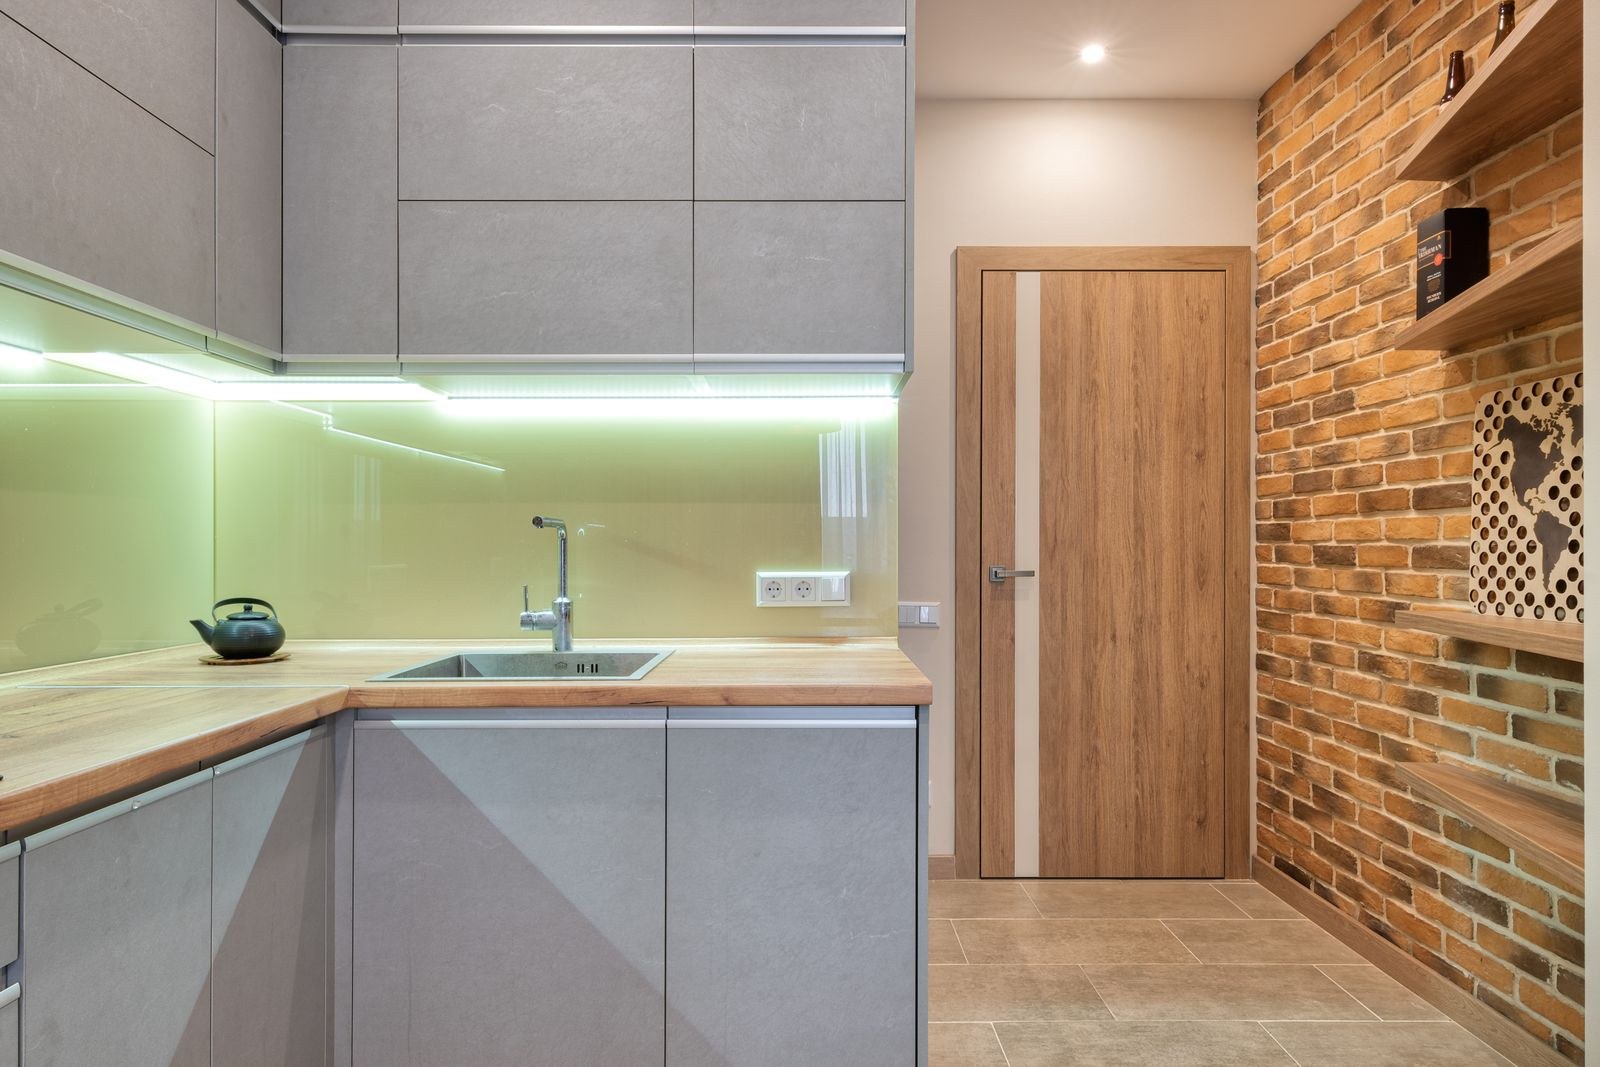
1. Start With a Rechargeable LED Bar
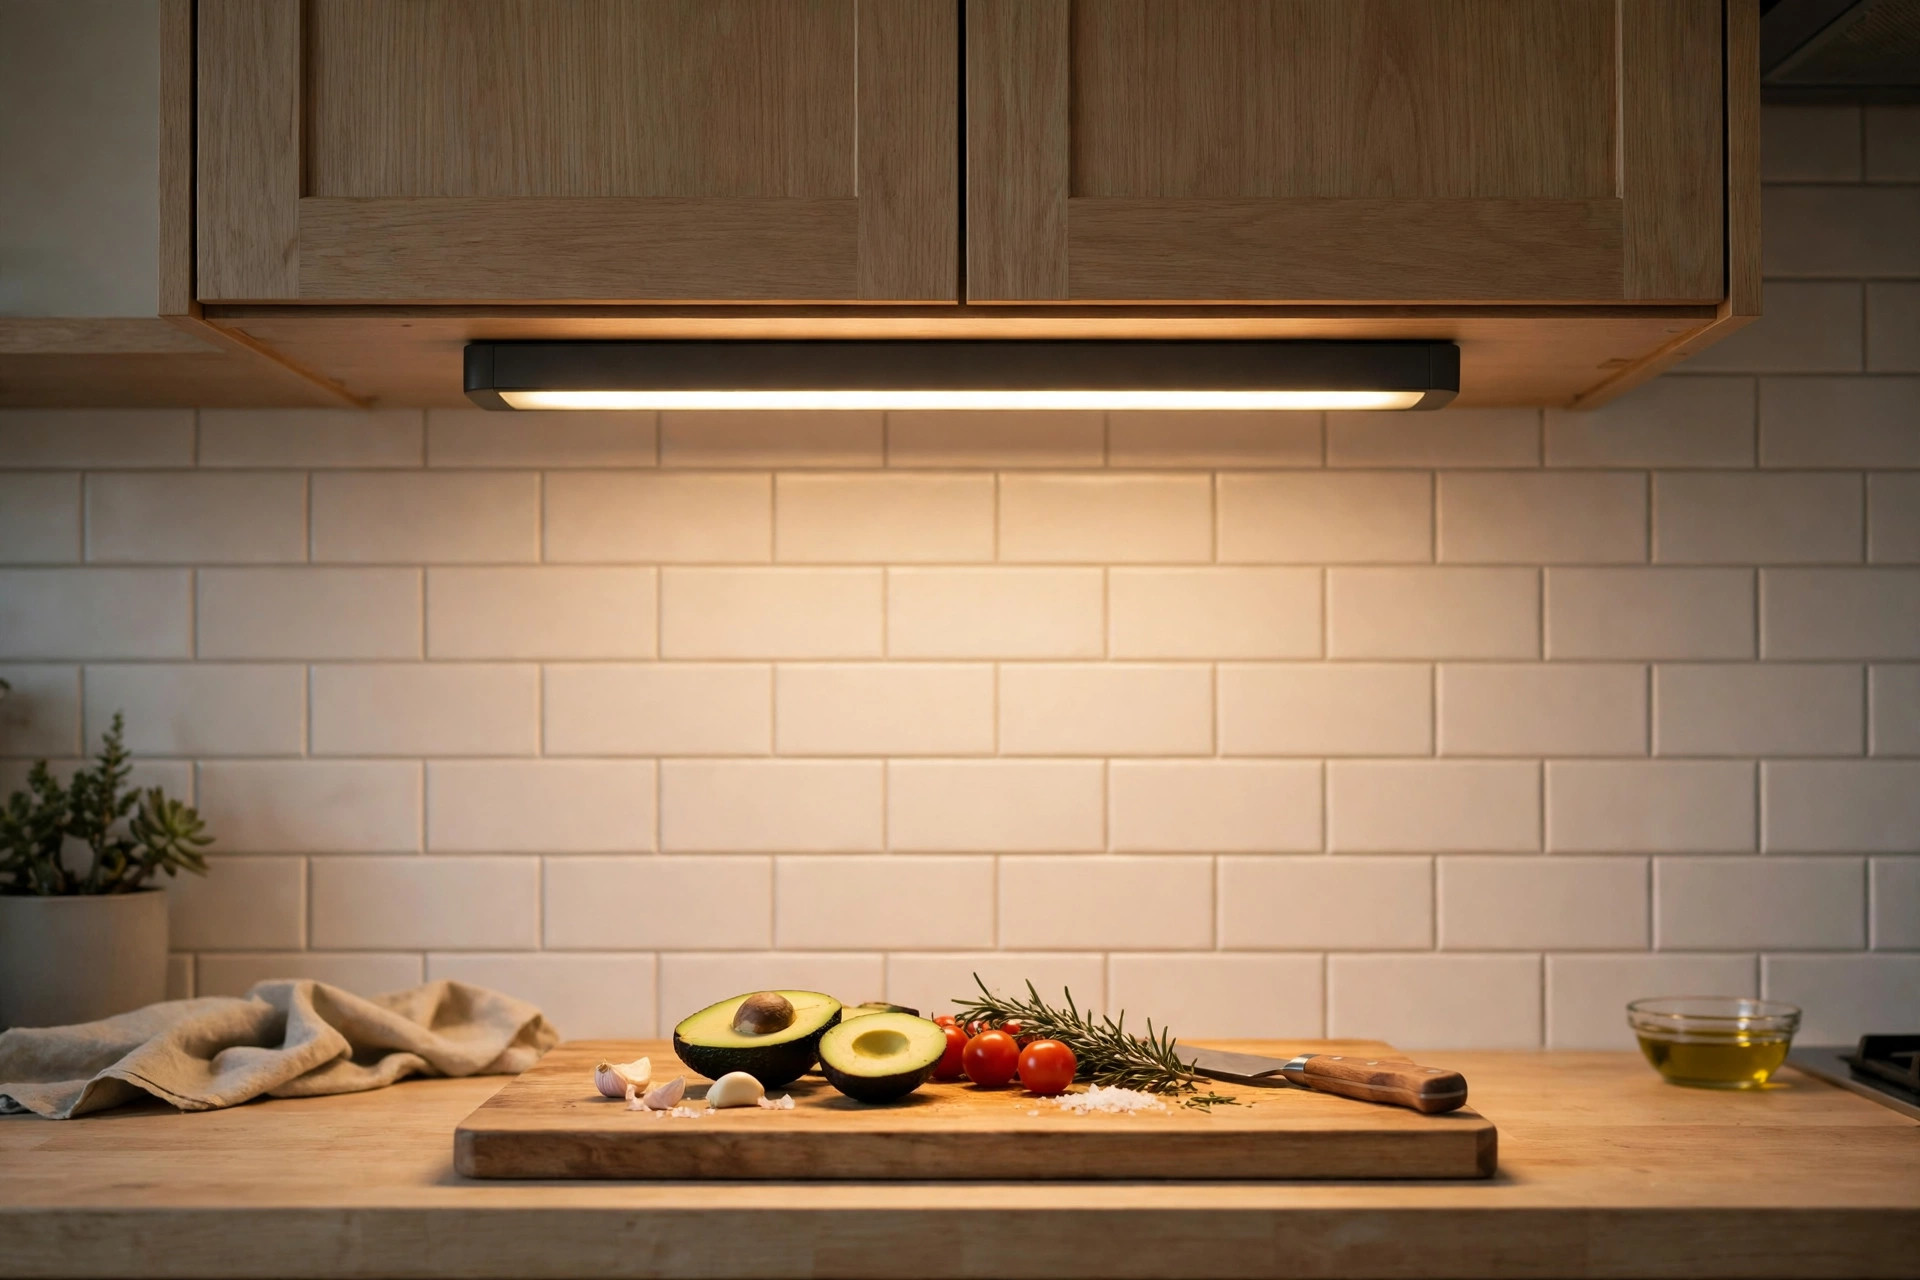
A bar is the workhorse of this whole category, because it lights a stretch of counter in one unbroken line.
No shadows pooling between separate lights, the way wired strips behave, without the wiring. Run one bar along the full prep zone between sink and stove, following the same zone thinking that drives good small kitchen organization ideas: light belongs where the work happens.
Choose a bar you can lift off its mount for charging rather than one fixed in place. And check the manufacturer’s stated run time against how much you actually cook before deciding one bar is enough; those figures are the maker’s best case, not a promise.
2. Use Puck Lights for Small Zones and Corners
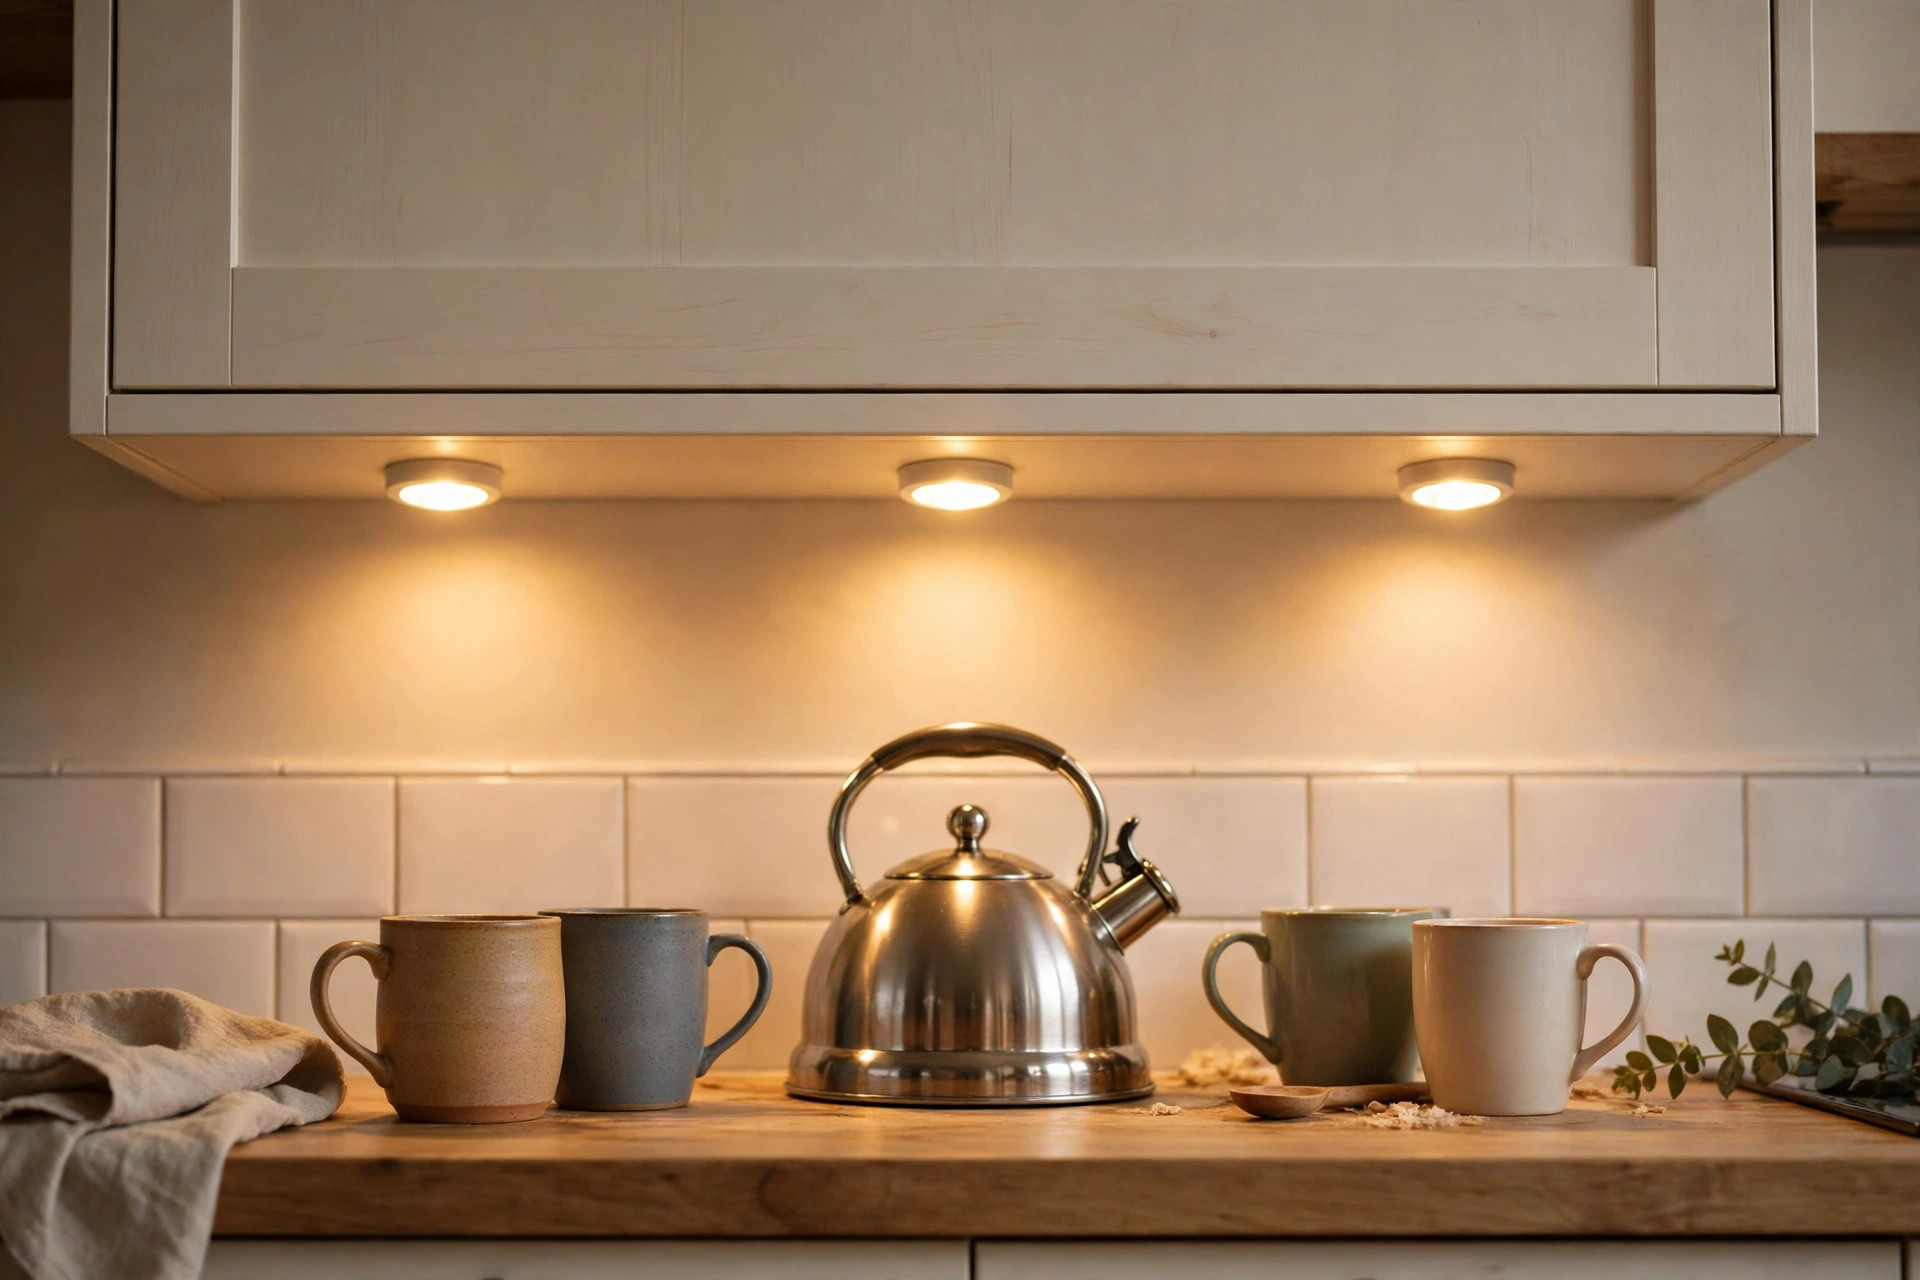
Pucks are the right answer where a bar is overkill: the corner where the kettle lives, the short run beside the fridge, the inside of a deep corner cabinet.
A set of three covers most small kitchens if you place one puck per zone instead of clustering them. Tap on models are fine for occasional use, but remote control sets are kinder in daily life, because the puck over the sink is never the one you can reach with wet hands.
Keep pucks out of the direct steam path above a kettle or stove. Steam clouds the lenses over time, and a clouded puck gives you a dim glow where you wanted task light. I keep the remote in the mug drawer, because a remote that wanders is worse than a switch.
3. Let a Motion Sensor Bar Handle the Night Shift
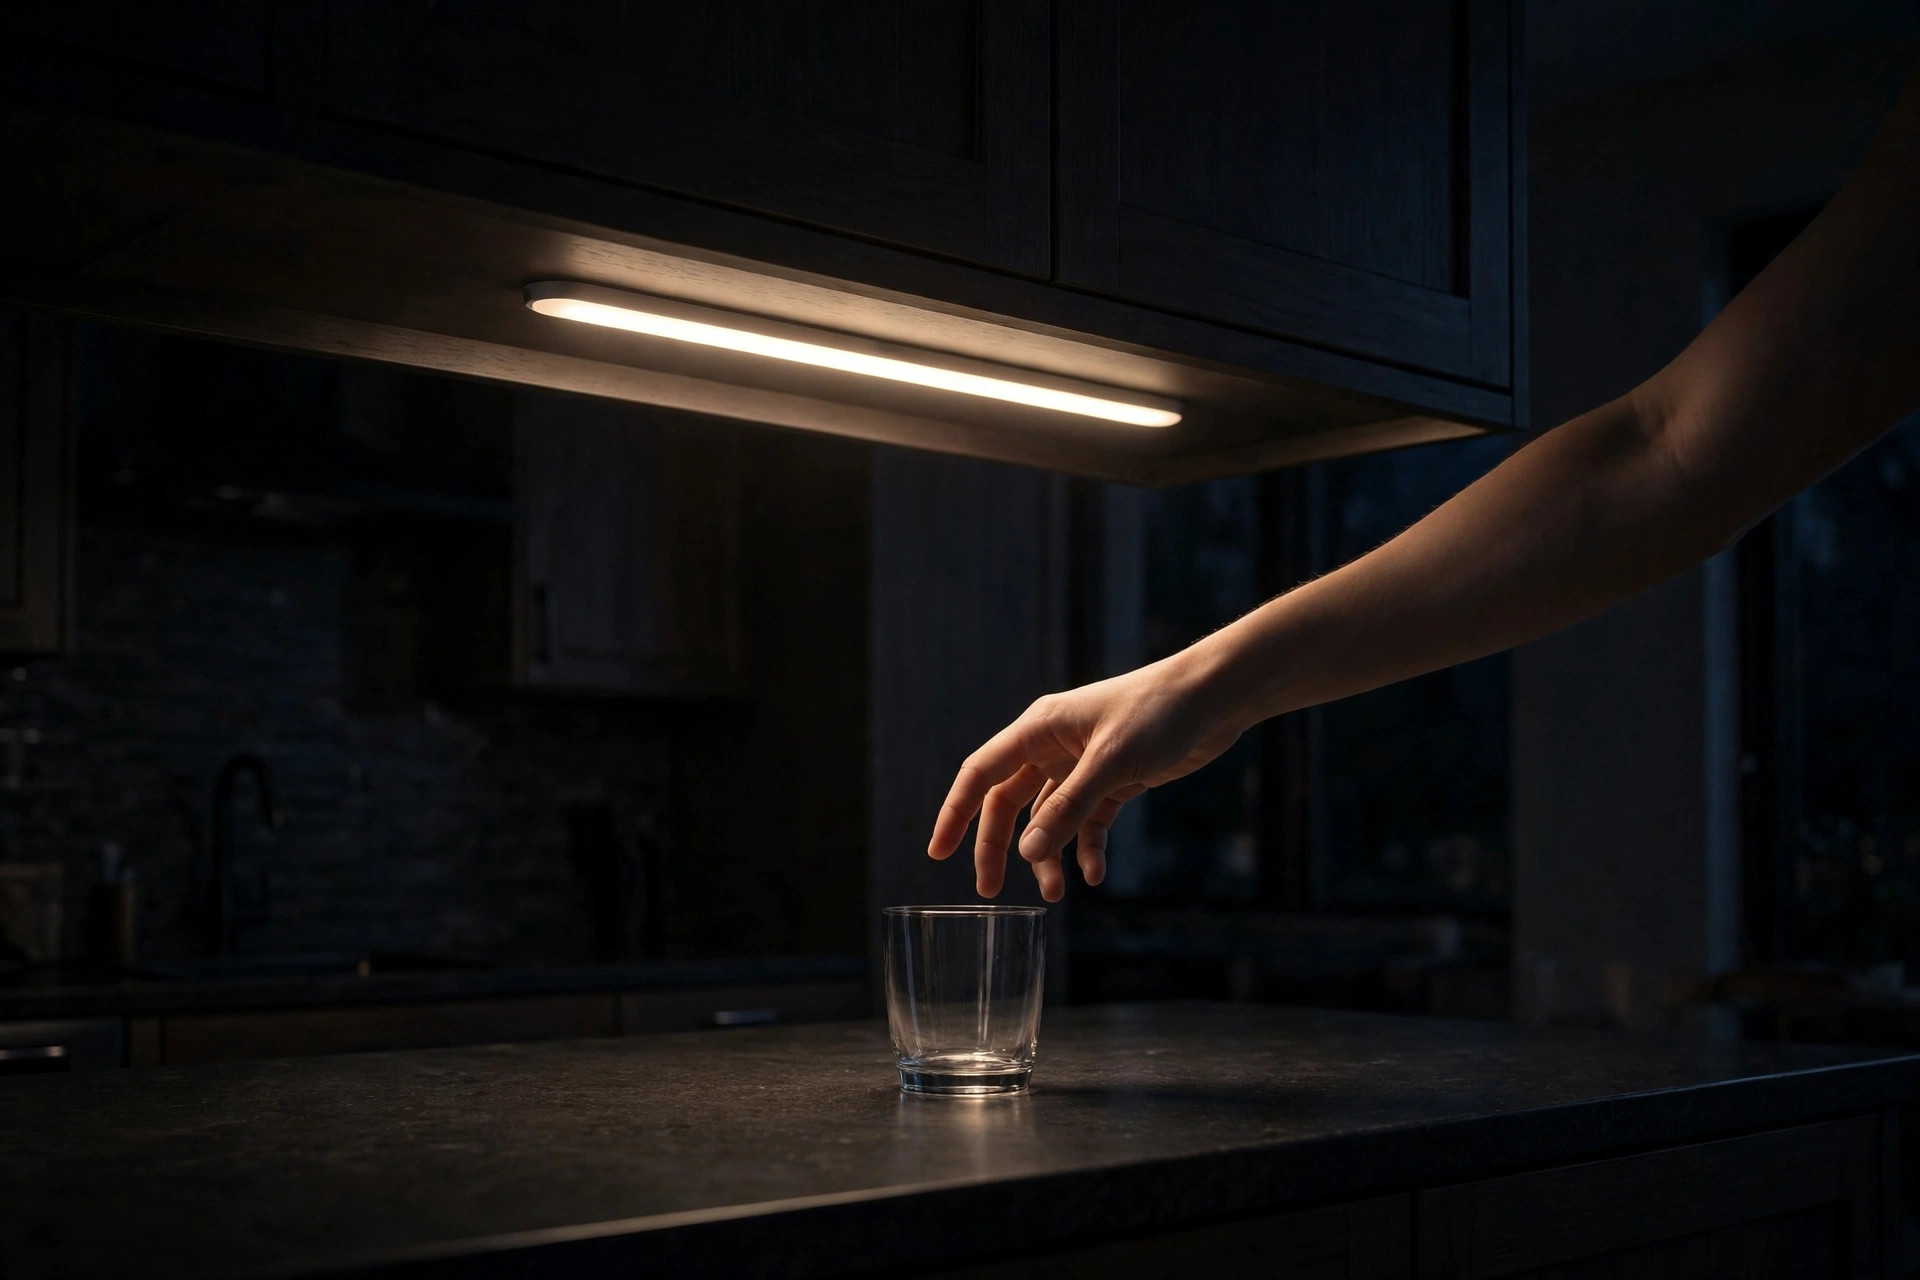
A motion sensor bar does a job no switched light can: it wakes when you walk in.
The midnight glass of water, the crying baby run, the first coffee before dawn; the light is on before your hand finds a switch, and it switches itself off when the room empties. Fit one near the kitchen entrance or under the cabinet closest to the sink.
Look for models where the sensor can be set to work only in low light, so it does not fire all day and eat the charge. And treat the manufacturer’s battery figures as a best case that depends on how often the sensor triggers, because a busy hallway kitchen triggers it a lot.
4. Pick Magnetic Mounts That Move With You
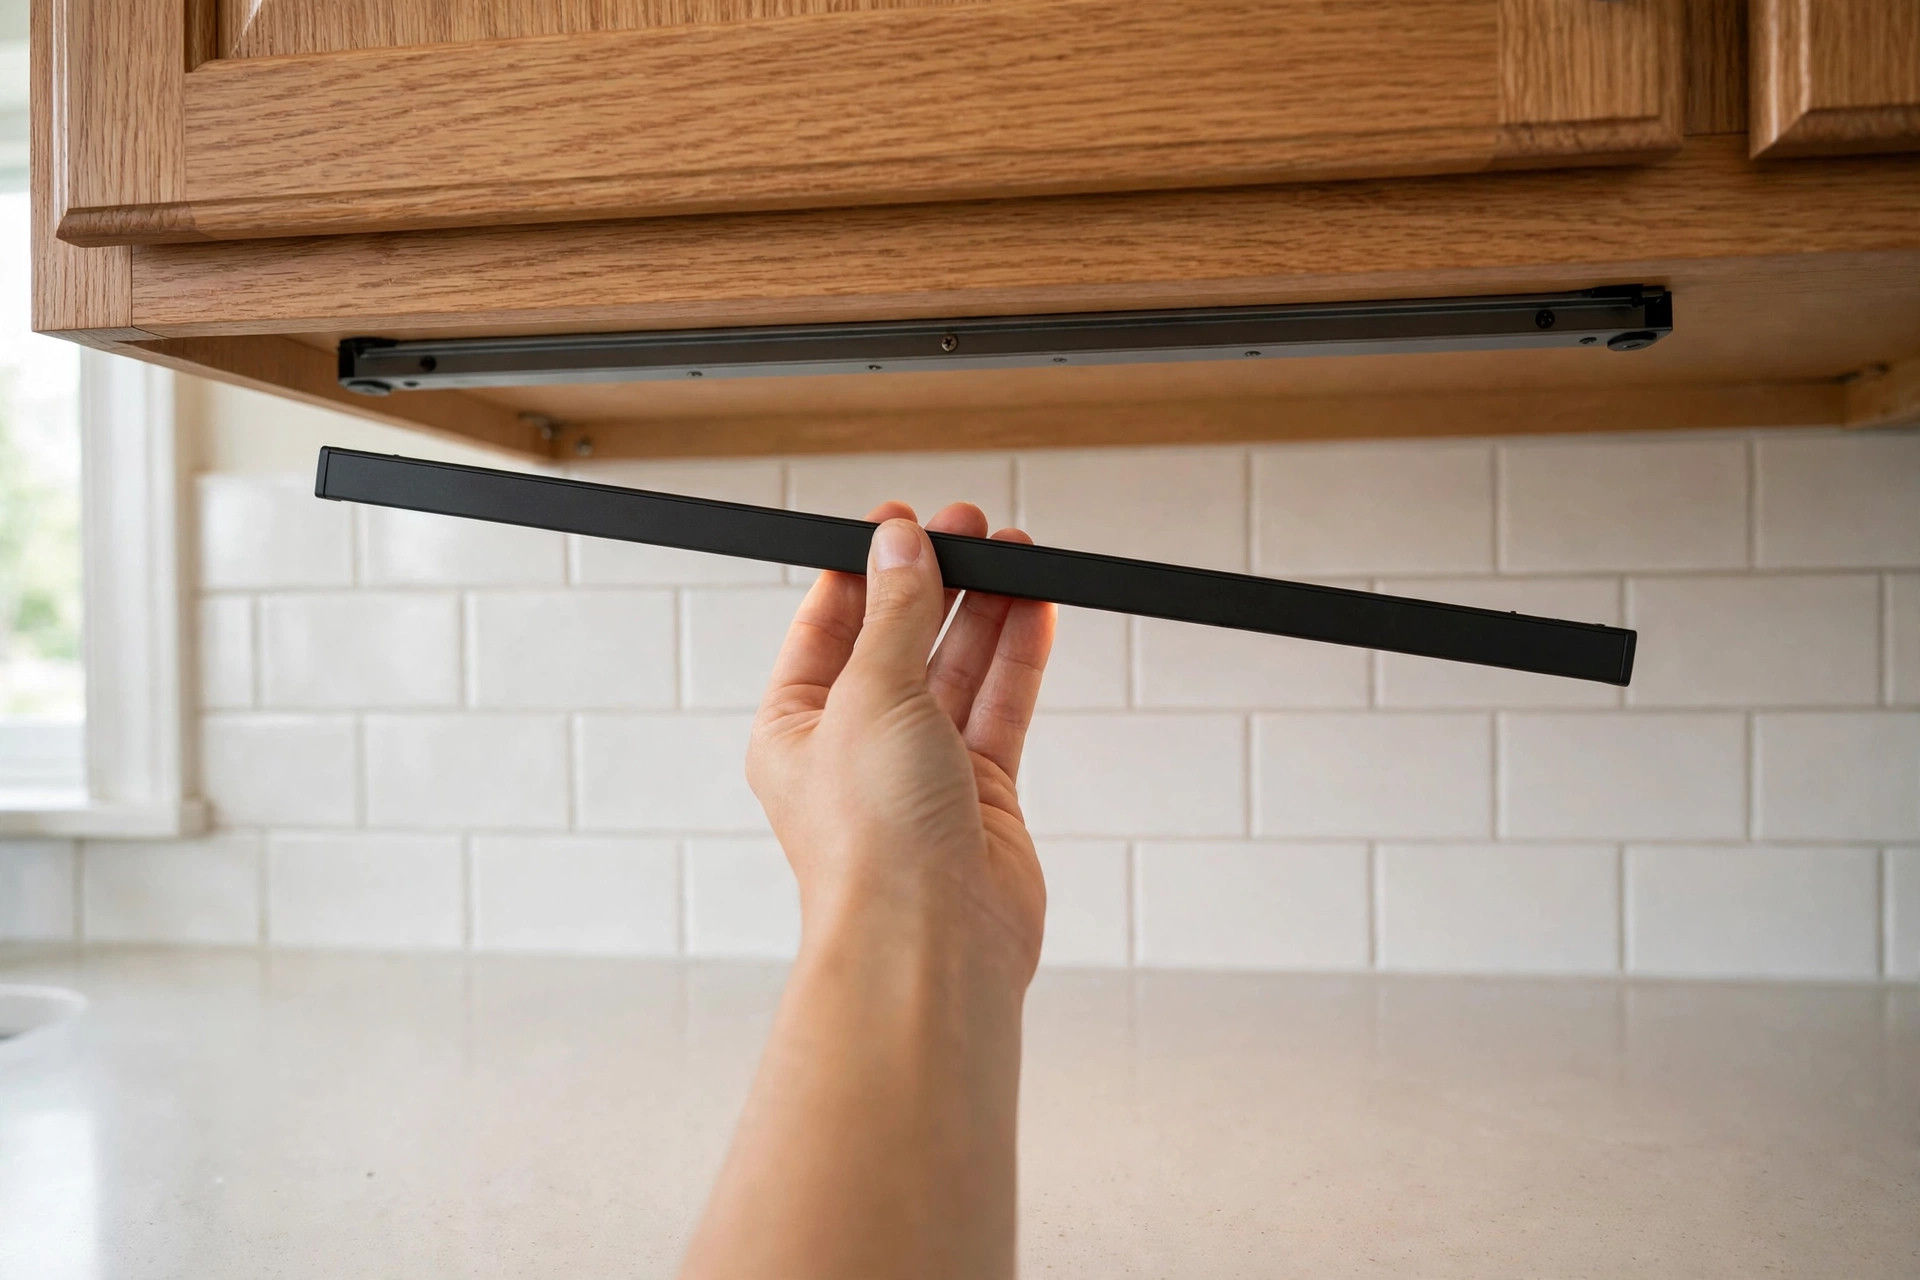
Many rechargeable bars fix to a slim magnetic strip, which means the light itself is never committed to one spot.
That flexibility matters more than it sounds. The same bar can light dinner prep tonight, charge on the fridge door tomorrow, and come down to aim into a dark drawer during a sort out. I move mine more than I expected to, mostly into cupboards I am reorganizing. Renters gain most, because the strip leaves with you and the adhesive patch behind it is the only thing to remove.
If your cabinets have metal undersides or a steel splashback, some bars grip directly with no mount at all. Worth testing before you stick anything anywhere.
5. Choose Adhesive Mounts That Come Down Cleanly
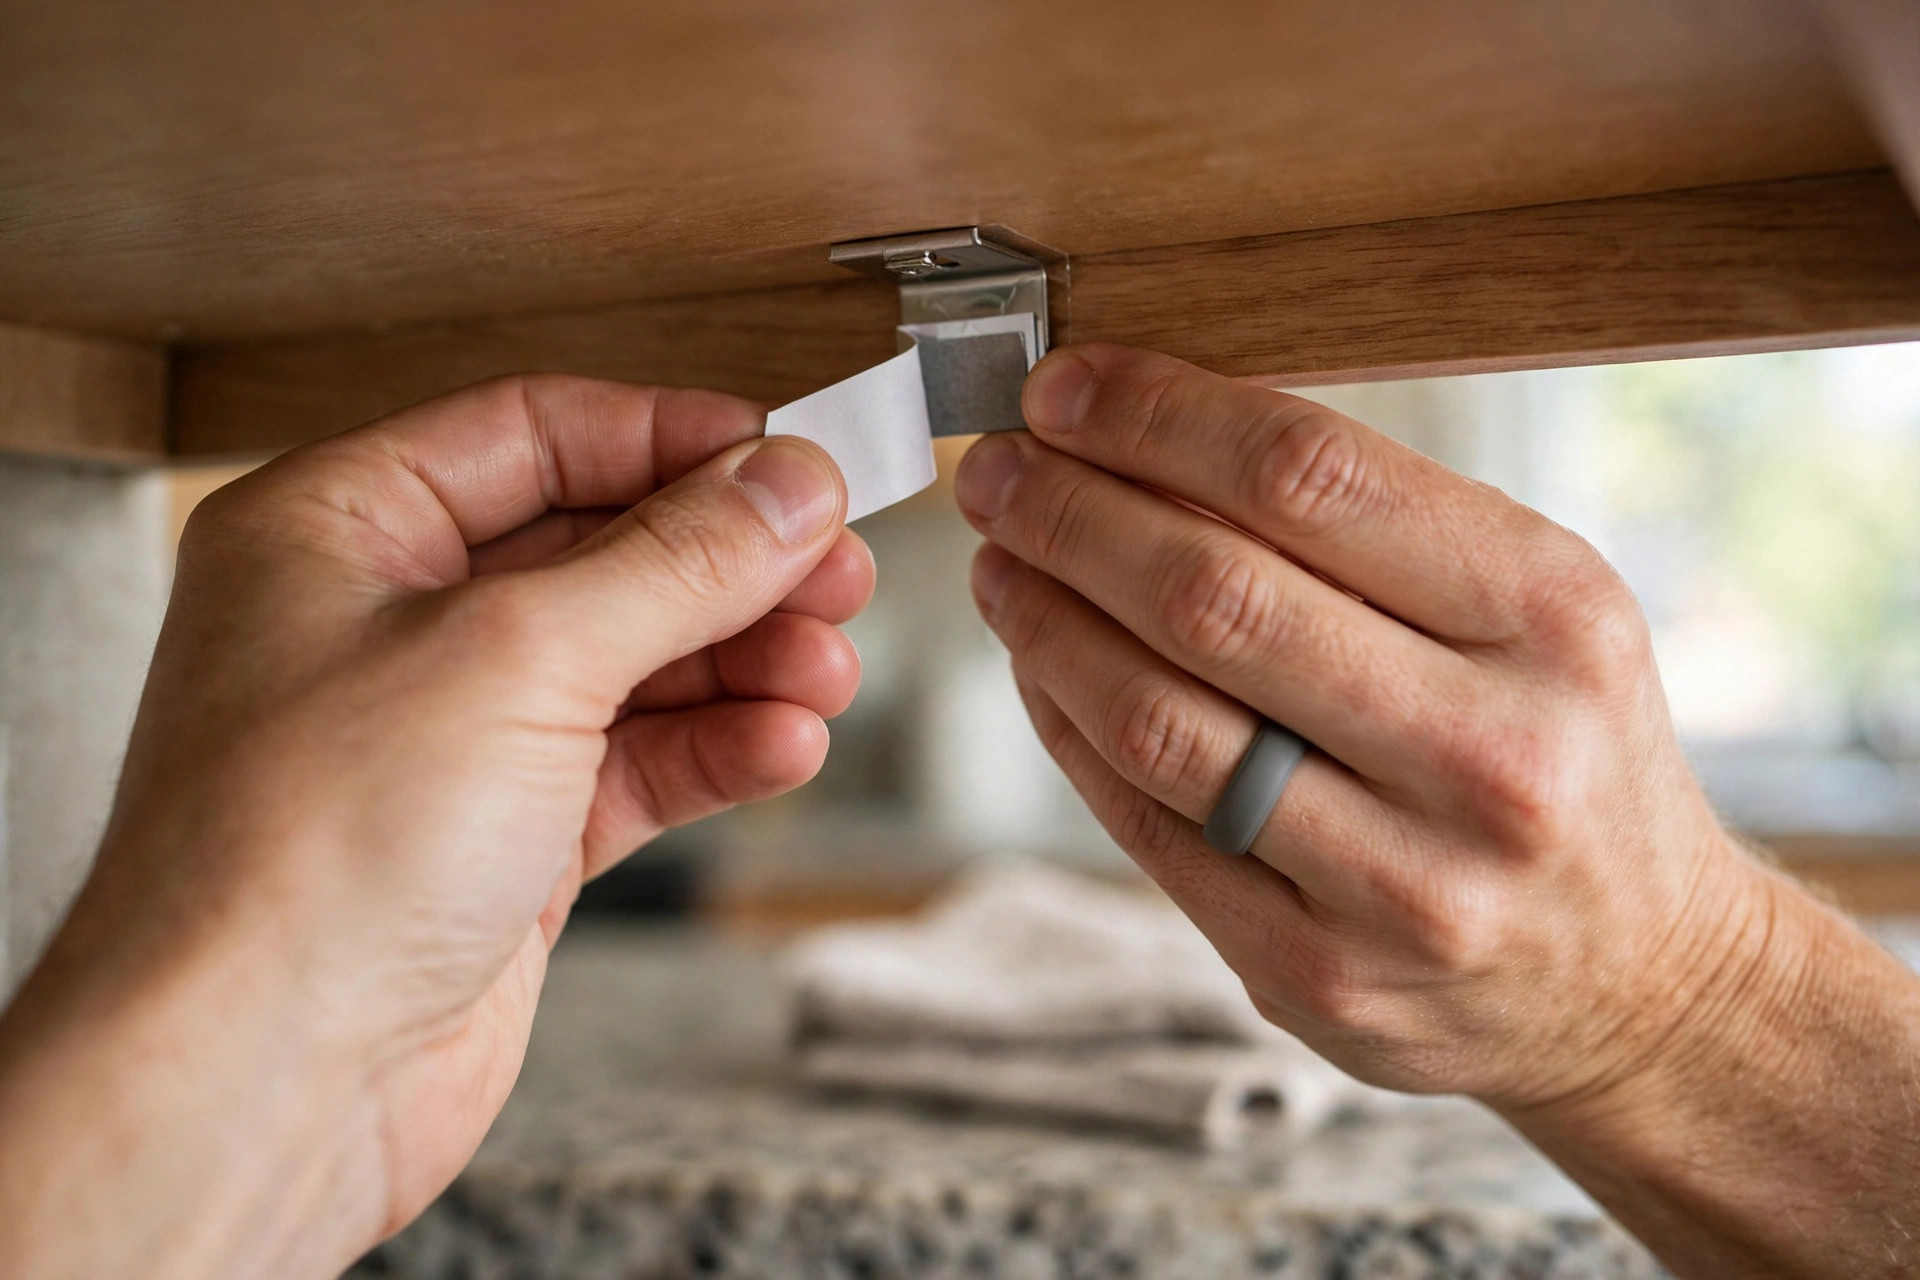
Battery lights are only renter friendly if they come down cleanly, so the mount matters as much as the light.
Choose lights whose adhesive pads sit on a removable bracket rather than on the light body itself. When moving day comes, warm the pad gently with a hairdryer before removal, the way quality adhesive strips are designed to release.
Be honest with yourself on this one: finishes vary, and cheap pads can lift paint or veneer. Test one pad on the underside of the least visible cabinet first and leave it a week. If that pad misbehaves, switch to magnetic mounts and skip the regret.
6. Mount Lights at the Front Lip, Not the Back
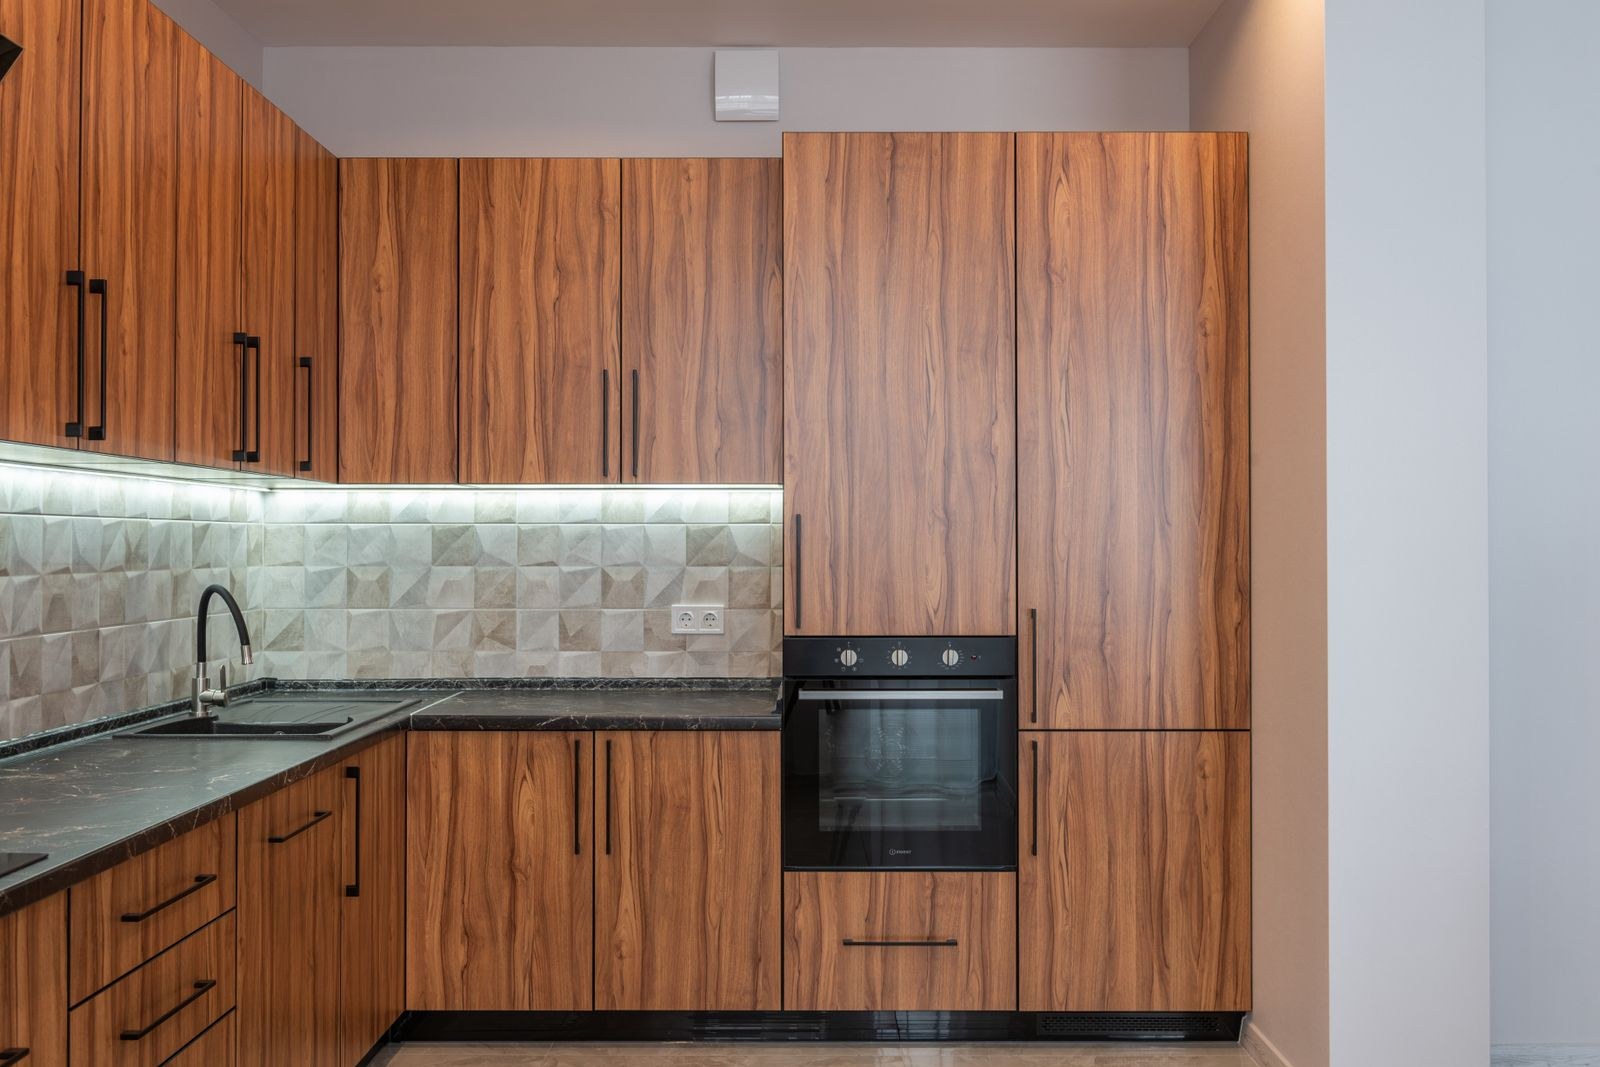
Where you stick the light matters as much as which light you buy. This is the section that saves the whole project.
Mounted at the back of the cabinet underside, a bar throws light down the backsplash and leaves the front half of the counter, where your hands and knives actually are, in shadow. Mounted close to the front lip, a few inches back from the edge, the same bar washes the whole work surface and hides itself from standing eye level.
Follow the placement logic wired installations use: light the counter, not the wall. Stand at the counter after fitting and check that your own hands are lit before you call the job done.
7. Choose Warm Light Over the Prep Zone
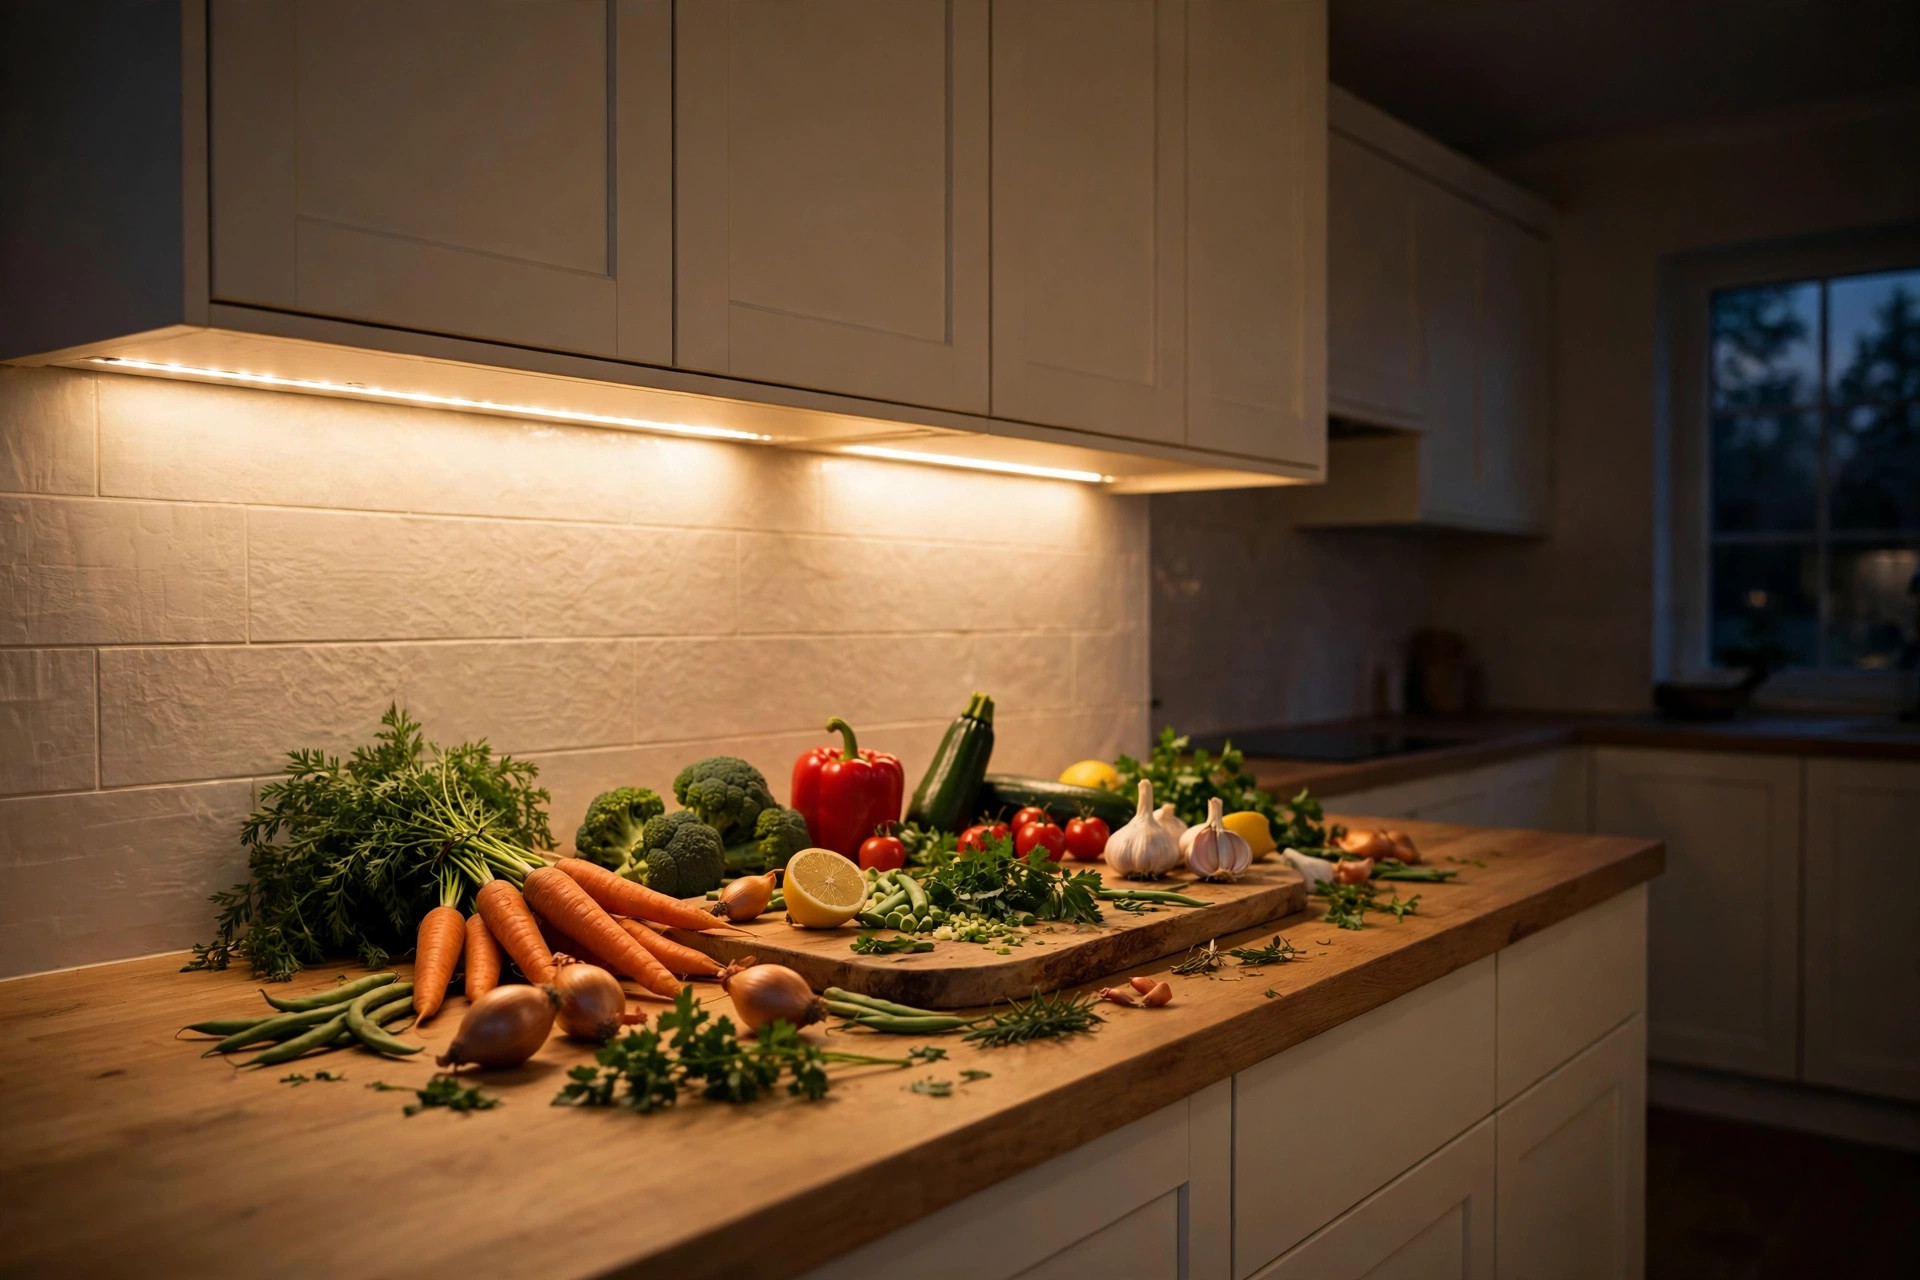
Light color changes how a kitchen feels and how food looks.
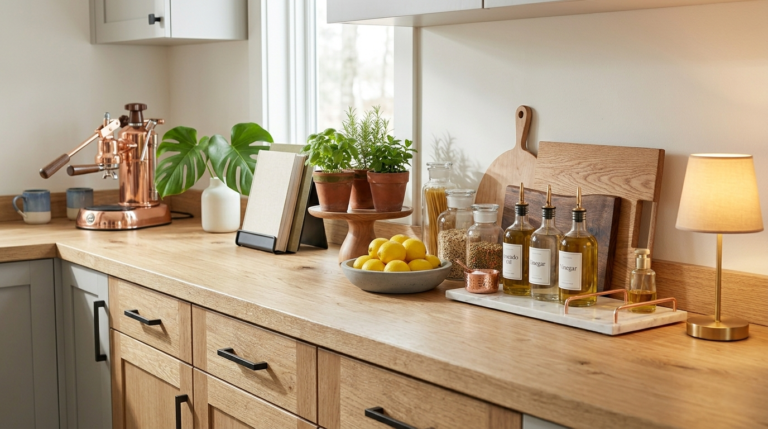
Warm white light flatters wood counters, makes produce look fresh, and sits comfortably beside the styling choices in most kitchen counter decor picks. Cold blue white light can make a tidy counter feel like a clinic. Many bars offer two or three warmth settings, so set the prep zone warm and keep any cooler setting for inside cabinets, where accuracy matters more than mood.
If you buy lights in stages, match the stated color temperature on the box to the set you already own. Two bars of different warmth on one run look patchy every single evening, and it will bother you more than you expect.
8. Light the Backsplash So It Shows
A backsplash you chose carefully disappears the moment the ceiling light is your only source, because you stand between it and the counter.
One battery bar at the front lip throws a gentle wash down the tiles and turns the backsplash into the feature it was meant to be. That is reason enough to pair this upgrade with removable peel and stick backsplash ideas in a rental refresh: the light makes the cheap upgrade look expensive.
Glossy tiles bounce the light further across the counter; matte finishes soak more of it up. A matte backsplash may want the bar a touch closer to the front edge to get the same glow.
9. Put Battery Lights Inside Dark Cabinets Too
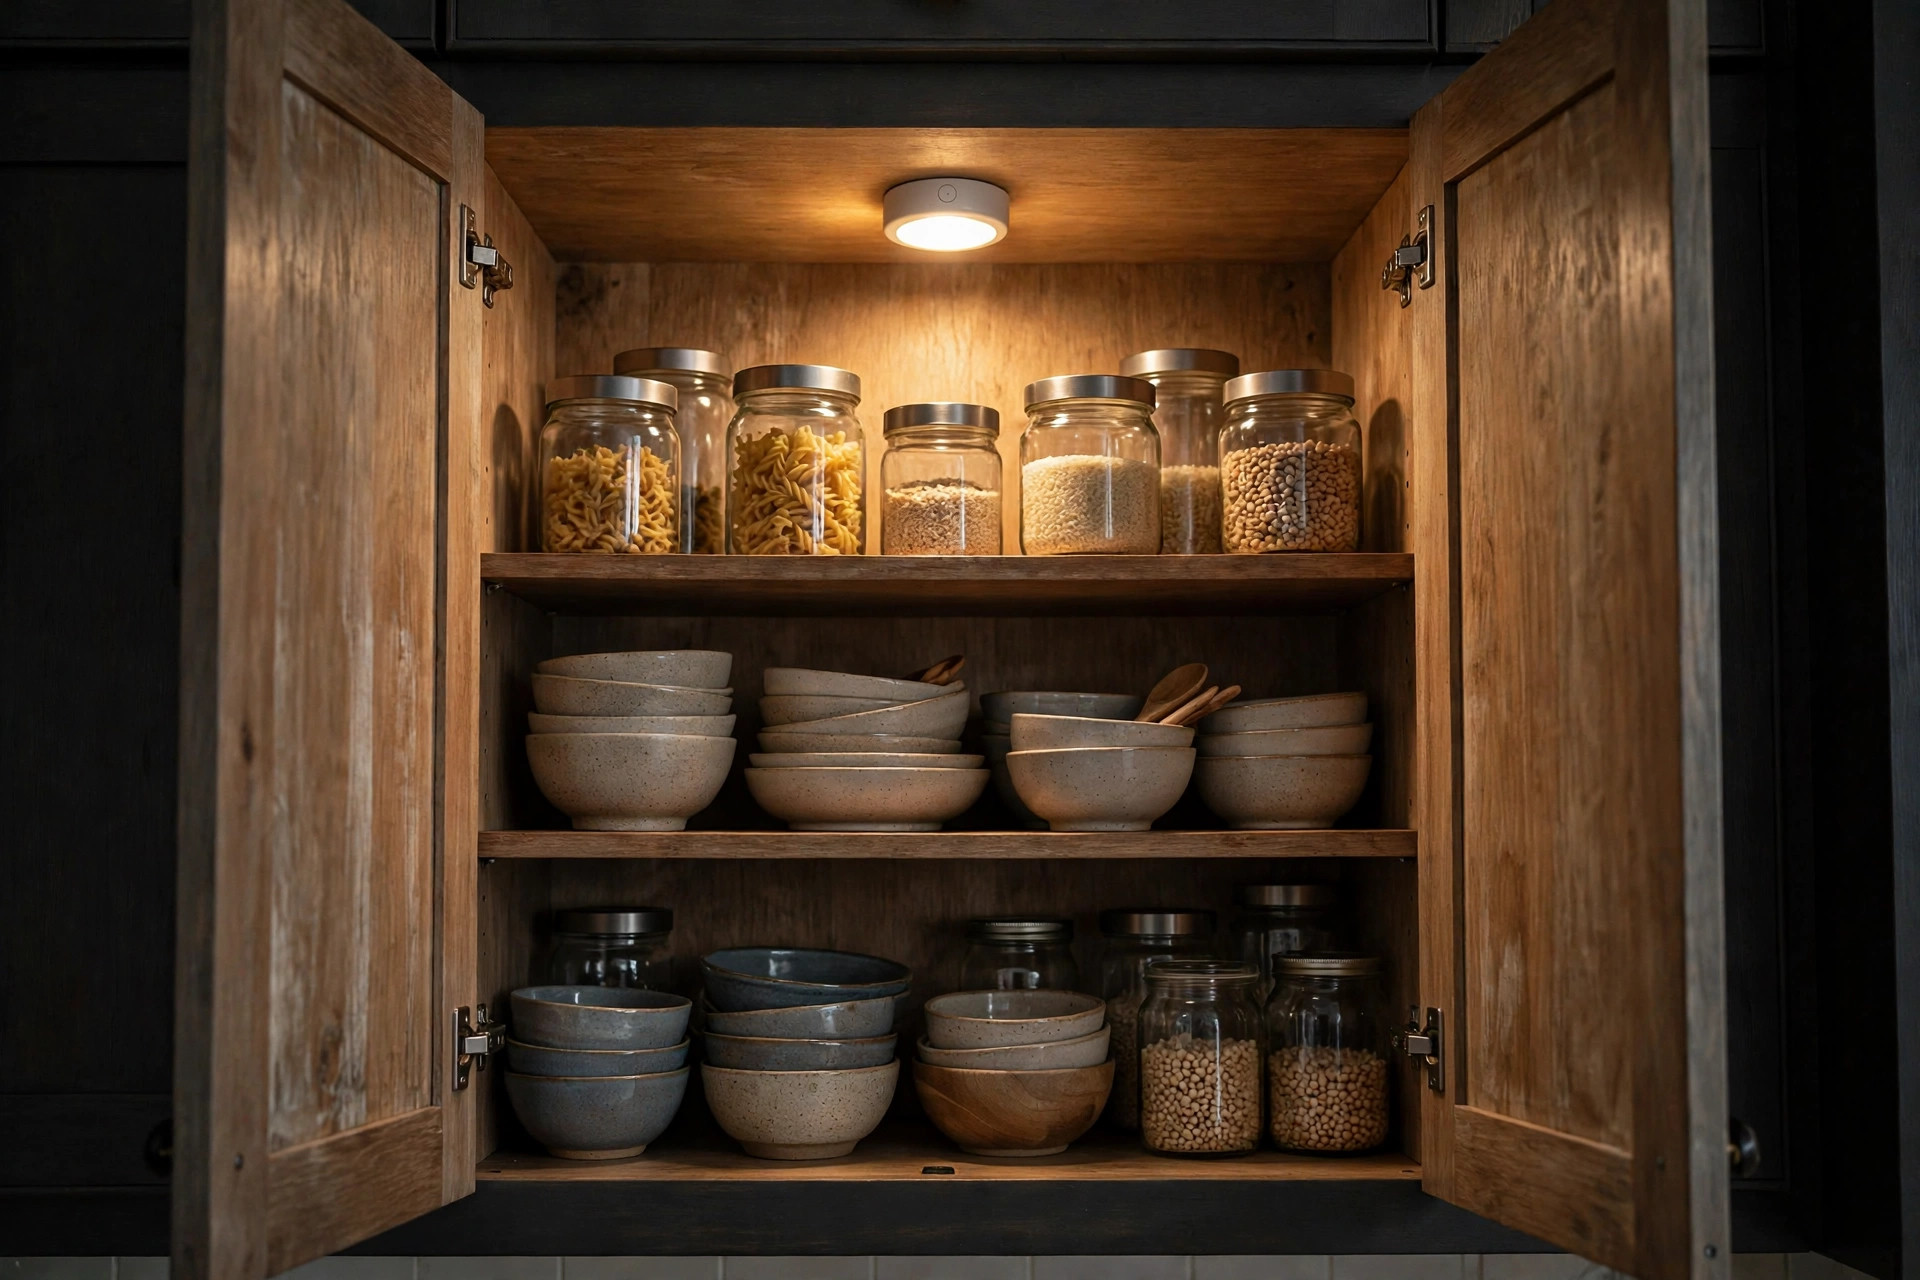
The under cabinet idea works just as well inside the cabinets themselves.
A short puck or slim bar inside a deep base cabinet ends the torch in mouth routine when you are hunting for the blender lid. A motion sensor model there is genuinely useful, because it lights the moment the door opens. Glass fronted cabinets take the same lights decoratively: one small puck above each shelf turns stored glassware into a display after dark.
Keep lights inside food cabinets away from steam and grease, and favor low heat LED models anywhere near stored ingredients. Heat and flour dust are a poor mix. Mine is a motion sensor model, and it earns its keep every time the cabinet door opens after dark.
10. Keep a Plug In Bar Where an Outlet Sits Close
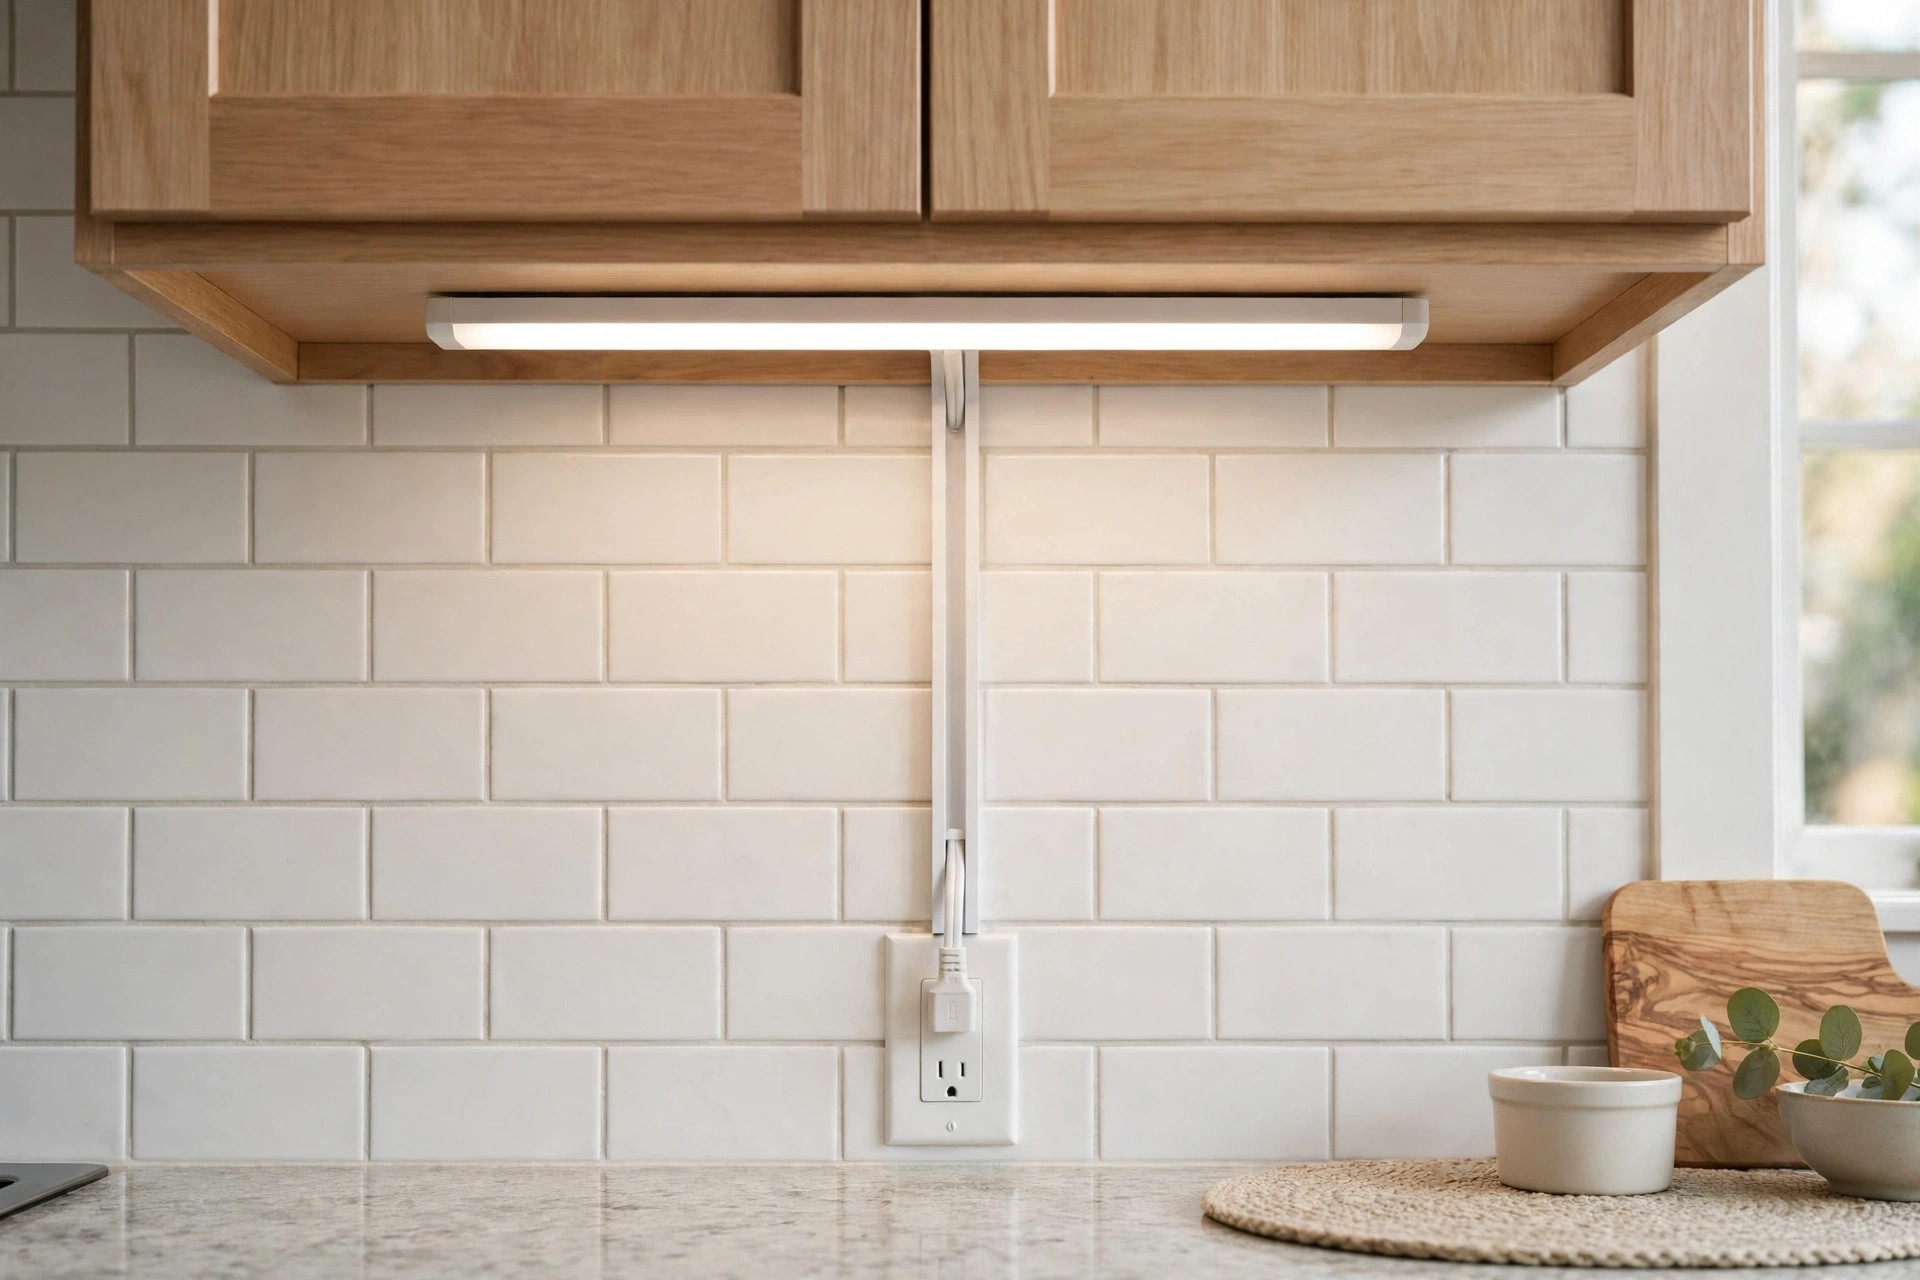
Battery and plug in lighting are cousins, not rivals, and some runs suit a cord better.
If an outlet sits right beside a high use zone, a plug in bar there never needs charging, while battery bars cover the runs far from power. The cord management tricks are the same ones used for plug in wall sconce ideas: run the cord flat along the cabinet underside, cover it with a paintable channel, and let it drop to the outlet at the least visible point.
Mixing the two types across one kitchen is normal. Just match the light warmth so the room reads as one scheme, not two projects.
11. Build a Charging Routine So Lights Never Die Mid Recipe
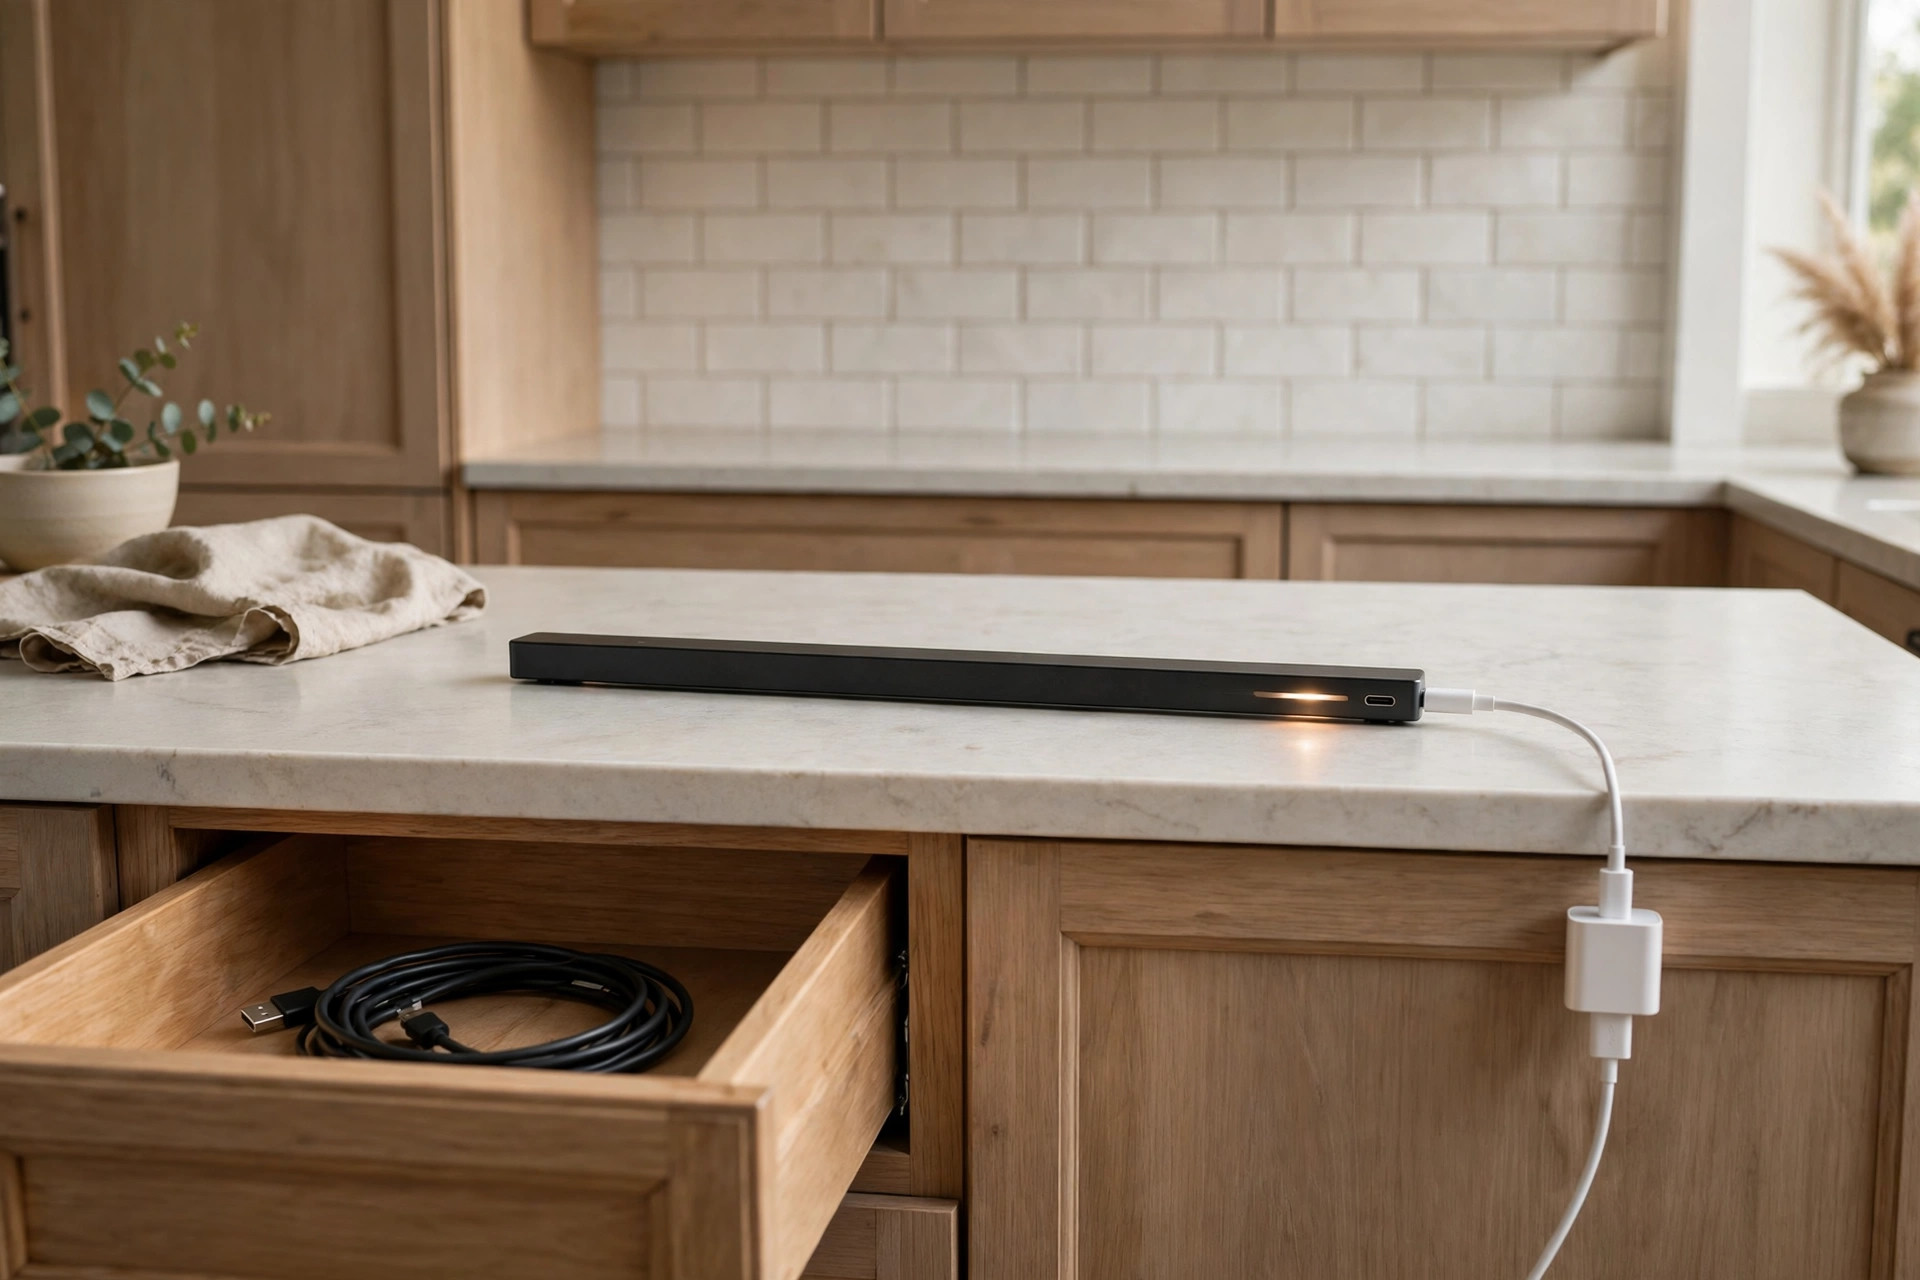
The one real weakness of battery lighting is the flat battery at the worst moment, and a routine fixes it completely.
Charge the bars on a set rhythm, the same evening each week, the way you would charge anything else you rely on. Keep a short USB cable in the kitchen drawer so charging happens in place or at the nearest outlet without a hunt. Sunday evening is charging time in my kitchen, and the bars go back up before the kettle boils.
If the kitchen is busy, own one spare bar and rotate it through the mounts; the spare charges while the others work. Skip buying a full matching set on day one, though. Light the main prep run, live with it for two weeks, then extend. A light that is always ready stops feeling like a gadget and starts feeling like wiring you never paid for.
The Bottom Line
Battery under cabinet lighting asks nothing of the building: no wiring, no electrician, no landlord permission, just light placed exactly where your hands work. Start with one rechargeable bar over the main prep zone, near the front lip, set to warm. Add pucks for corners, a sensor bar for the night route and a light inside the deepest cabinet. Keep the charging rhythm boring and regular, and the kitchen stays bright every single evening.
Start with one bar over the chopping board. If your hands are lit, the job is already half done.
Frequently Asked Questions
Are battery under-cabinet lights bright enough for cooking prep?
Yes, if you choose models sold as task lighting rather than accent or night lights, and place them near the front lip of the cabinet so the light lands on the work surface. Check the manufacturer’s stated brightness for the model you buy, light one full prep run first, and add a second bar only if your own chopping test still feels dim.
How long do rechargeable under-cabinet lights last between charges?
It depends on the model, the brightness setting and how many hours a day they run, so treat any figure on the box as the manufacturer’s best case under their test conditions. In real kitchens, a weekly charging rhythm keeps typical bars ahead of demand, and motion sensor models set to low light mode stretch their charge furthest.
Do adhesive under-cabinet lights damage cabinets?
They can, if the pads are cheap or removed roughly, which is why lights on removable brackets are the safer buy. Warm the pad before removal, follow the manufacturer’s release instructions exactly, and test the first pad under your least visible cabinet. Magnetic mounts avoid the question almost entirely.
Where exactly should under-cabinet lights be placed?
Close to the front lip of the cabinet underside, so the light washes the whole counter instead of pooling on the backsplash. One continuous bar beats scattered pucks over a main prep run, while corners and short runs suit single pucks. Stand at the counter and check the light reaches your hands, not just the back edge.