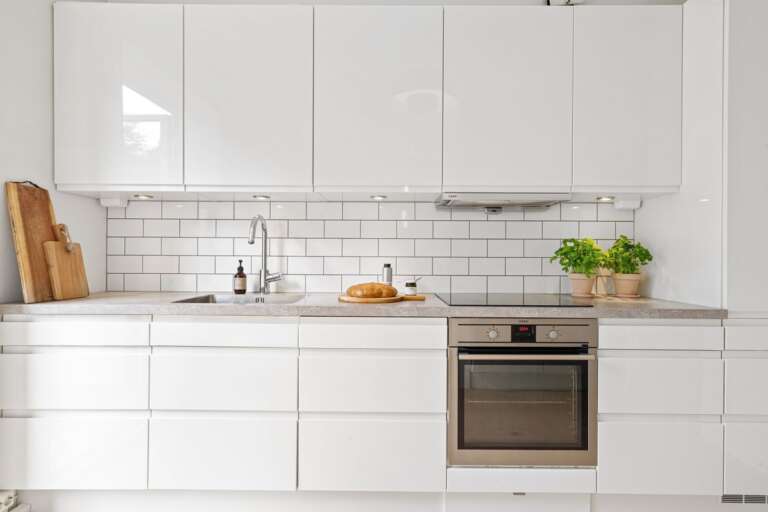
19 Small Kitchen Organization Ideas for Apartments
The peeler is lost in a drawer across the room. Lids spill out when you open the cabinet. Mugs sit on the counter because the shelf is full. Spices hide behind the oil and you buy them twice.
That is not a size problem. It is a home problem, nothing has a fixed home. I stopped blaming the size a long time ago. These small kitchen organization ideas for apartments fix the homes first, in 3 zones, using walls, doors, and gaps, with no drilling and nothing a landlord can flag. Work in order and most of it fits in 1 weekend.
The short version, before we start:
Zones first. 3 zones only, prep by the counter, cooking by the stove, food in 1 cabinet run. Move what you own before you buy anything.
Walls and doors do the lifting. 1 rail, 1 magnetic strip, and racks inside 3 or 4 cabinet doors add storage with no new cabinets.
One tray on the counter. Daily items only, grouped on 1 tray. Everything else gets a cabinet, a drawer, or the door.
Keep it with 10 minutes. A 10 minute reset once a week stops the drift and saves a full re sort later.
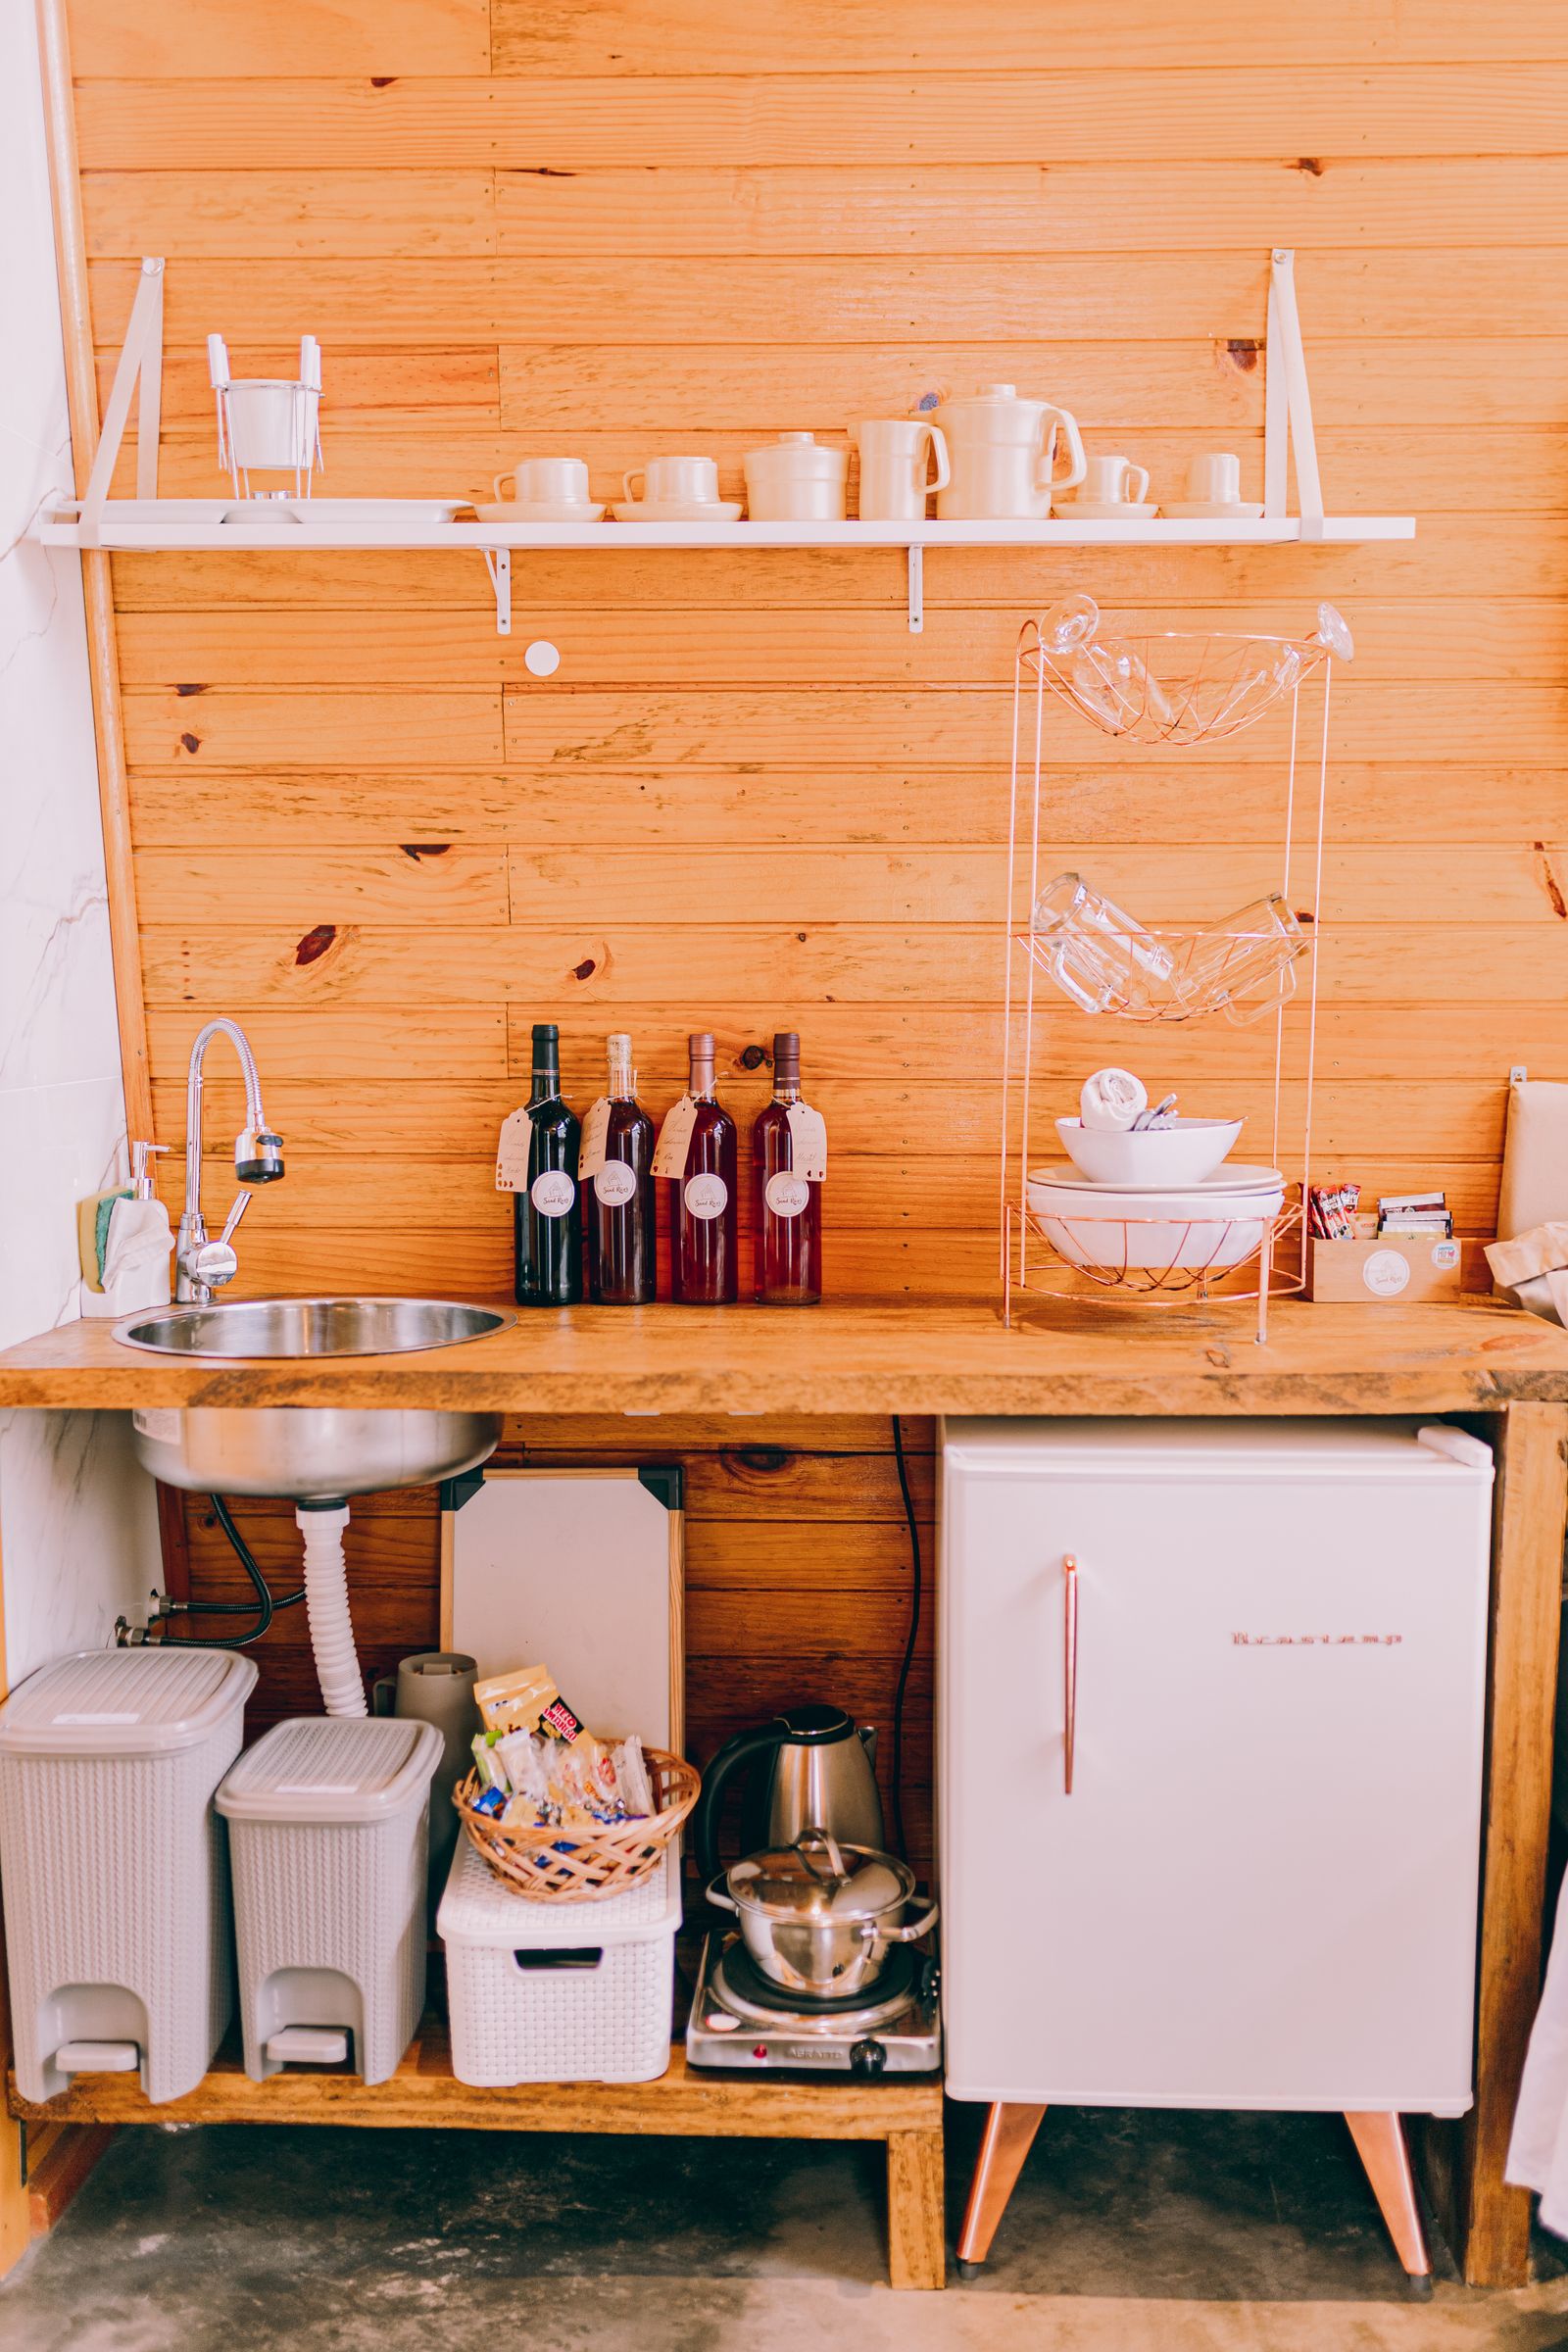
1. Start With Zones, Not Shopping
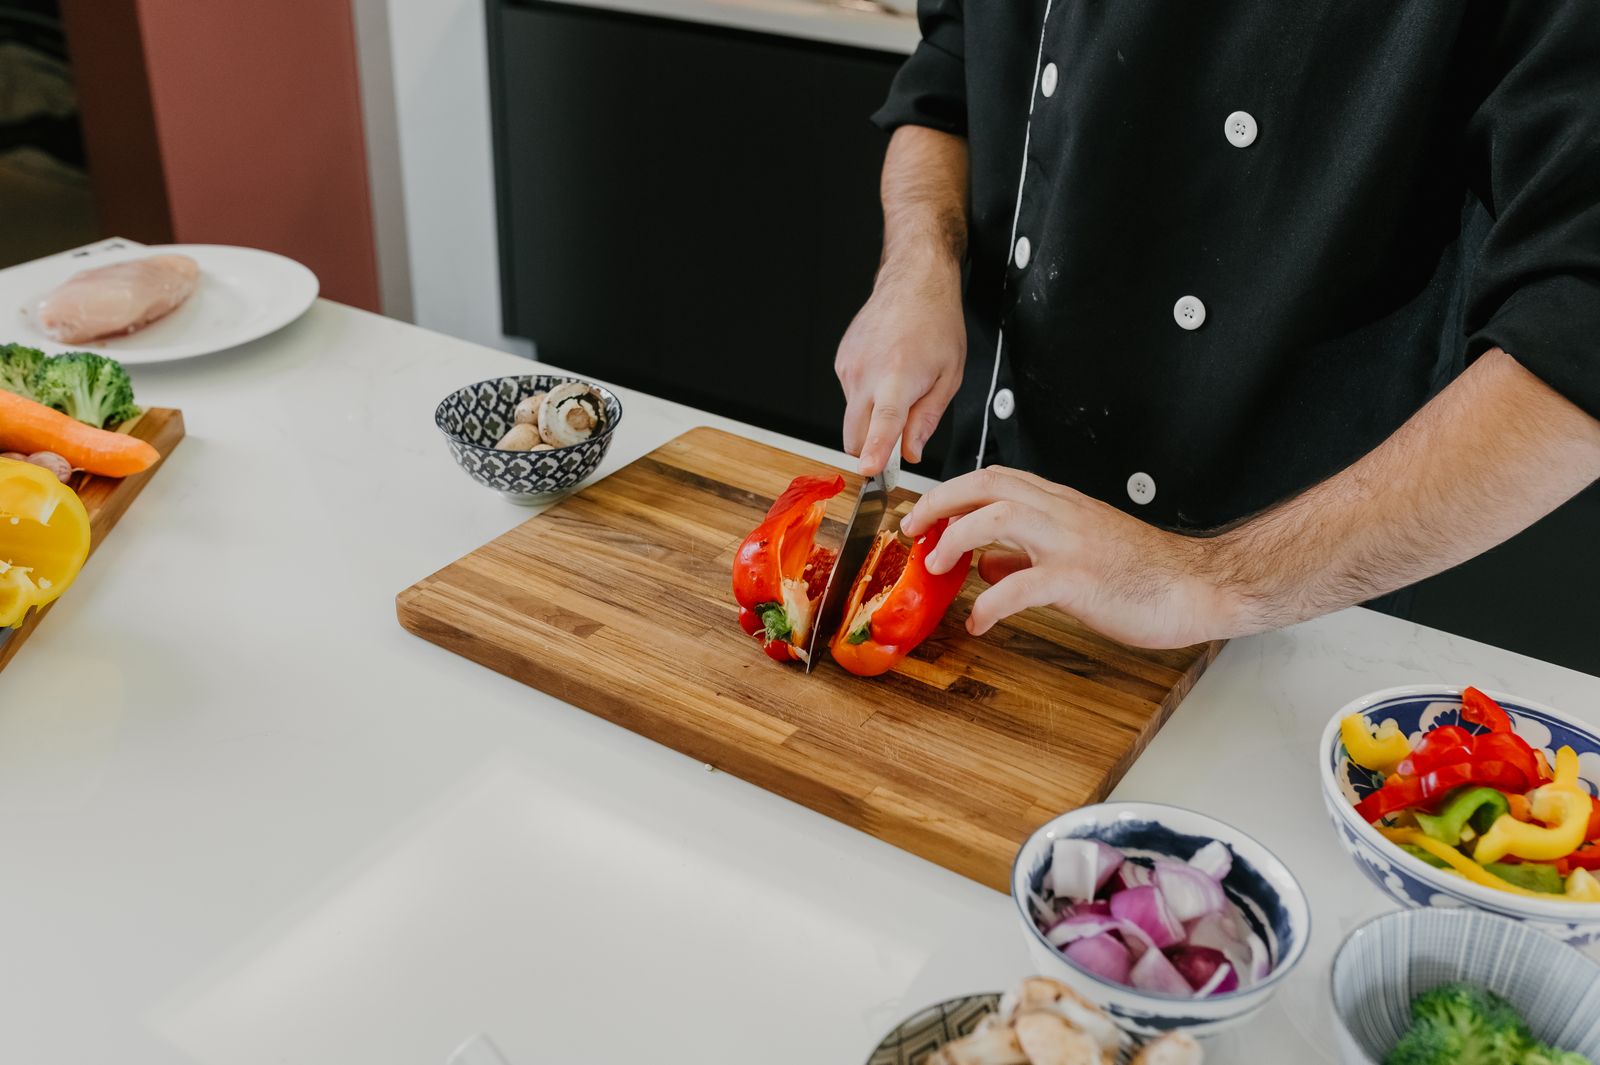
Do not buy a single bin yet. Put prep tools by the main counter, cooking tools by the stove, and food in 1 cabinet run. That is why the small kitchen design tricks start with layout, not products. It takes 20 minutes and costs $0. Skip matching sets until the zones hold for a week.
2. Clear the Counter Down to One Tray

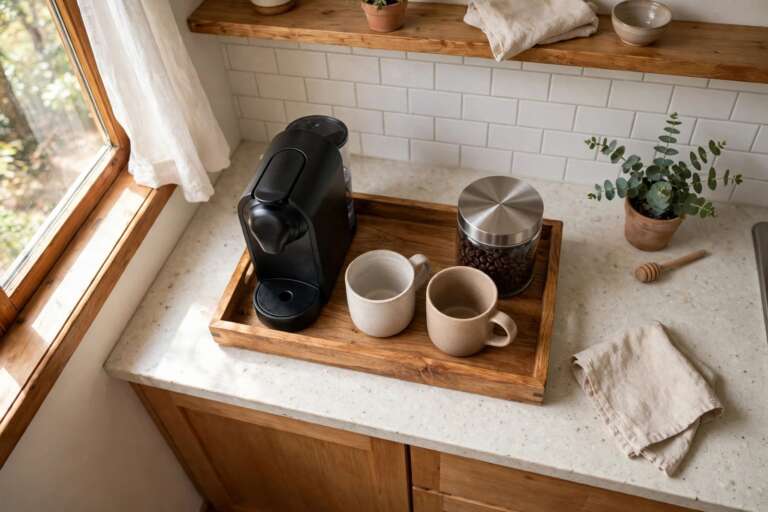
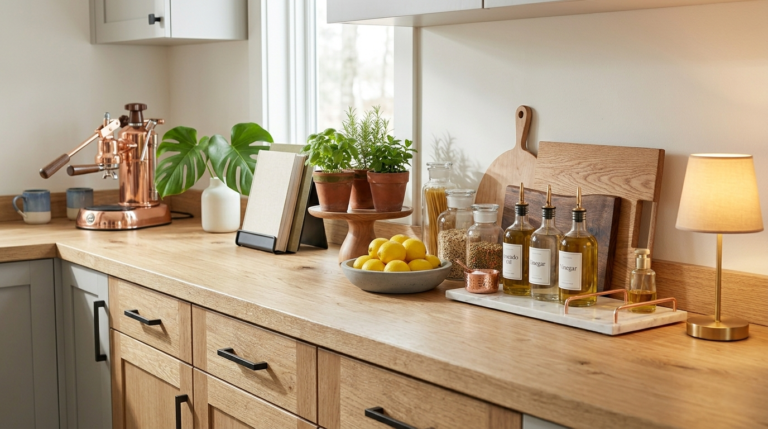
Your counter is work space, not storage. Put daily stuff on 1 tray only, oil, salt, knives, and the kettle if you use it daily. A tray holds the mess in 1 spot and lifts off in 2 seconds for wiping. Everything else goes to a cabinet or out. Once clear, these kitchen counter decor ideas add color without stealing your chopping spot. If the tray overflows, something loses daily status.
3. Put a Rail Up and Get Utensils Off the Counter
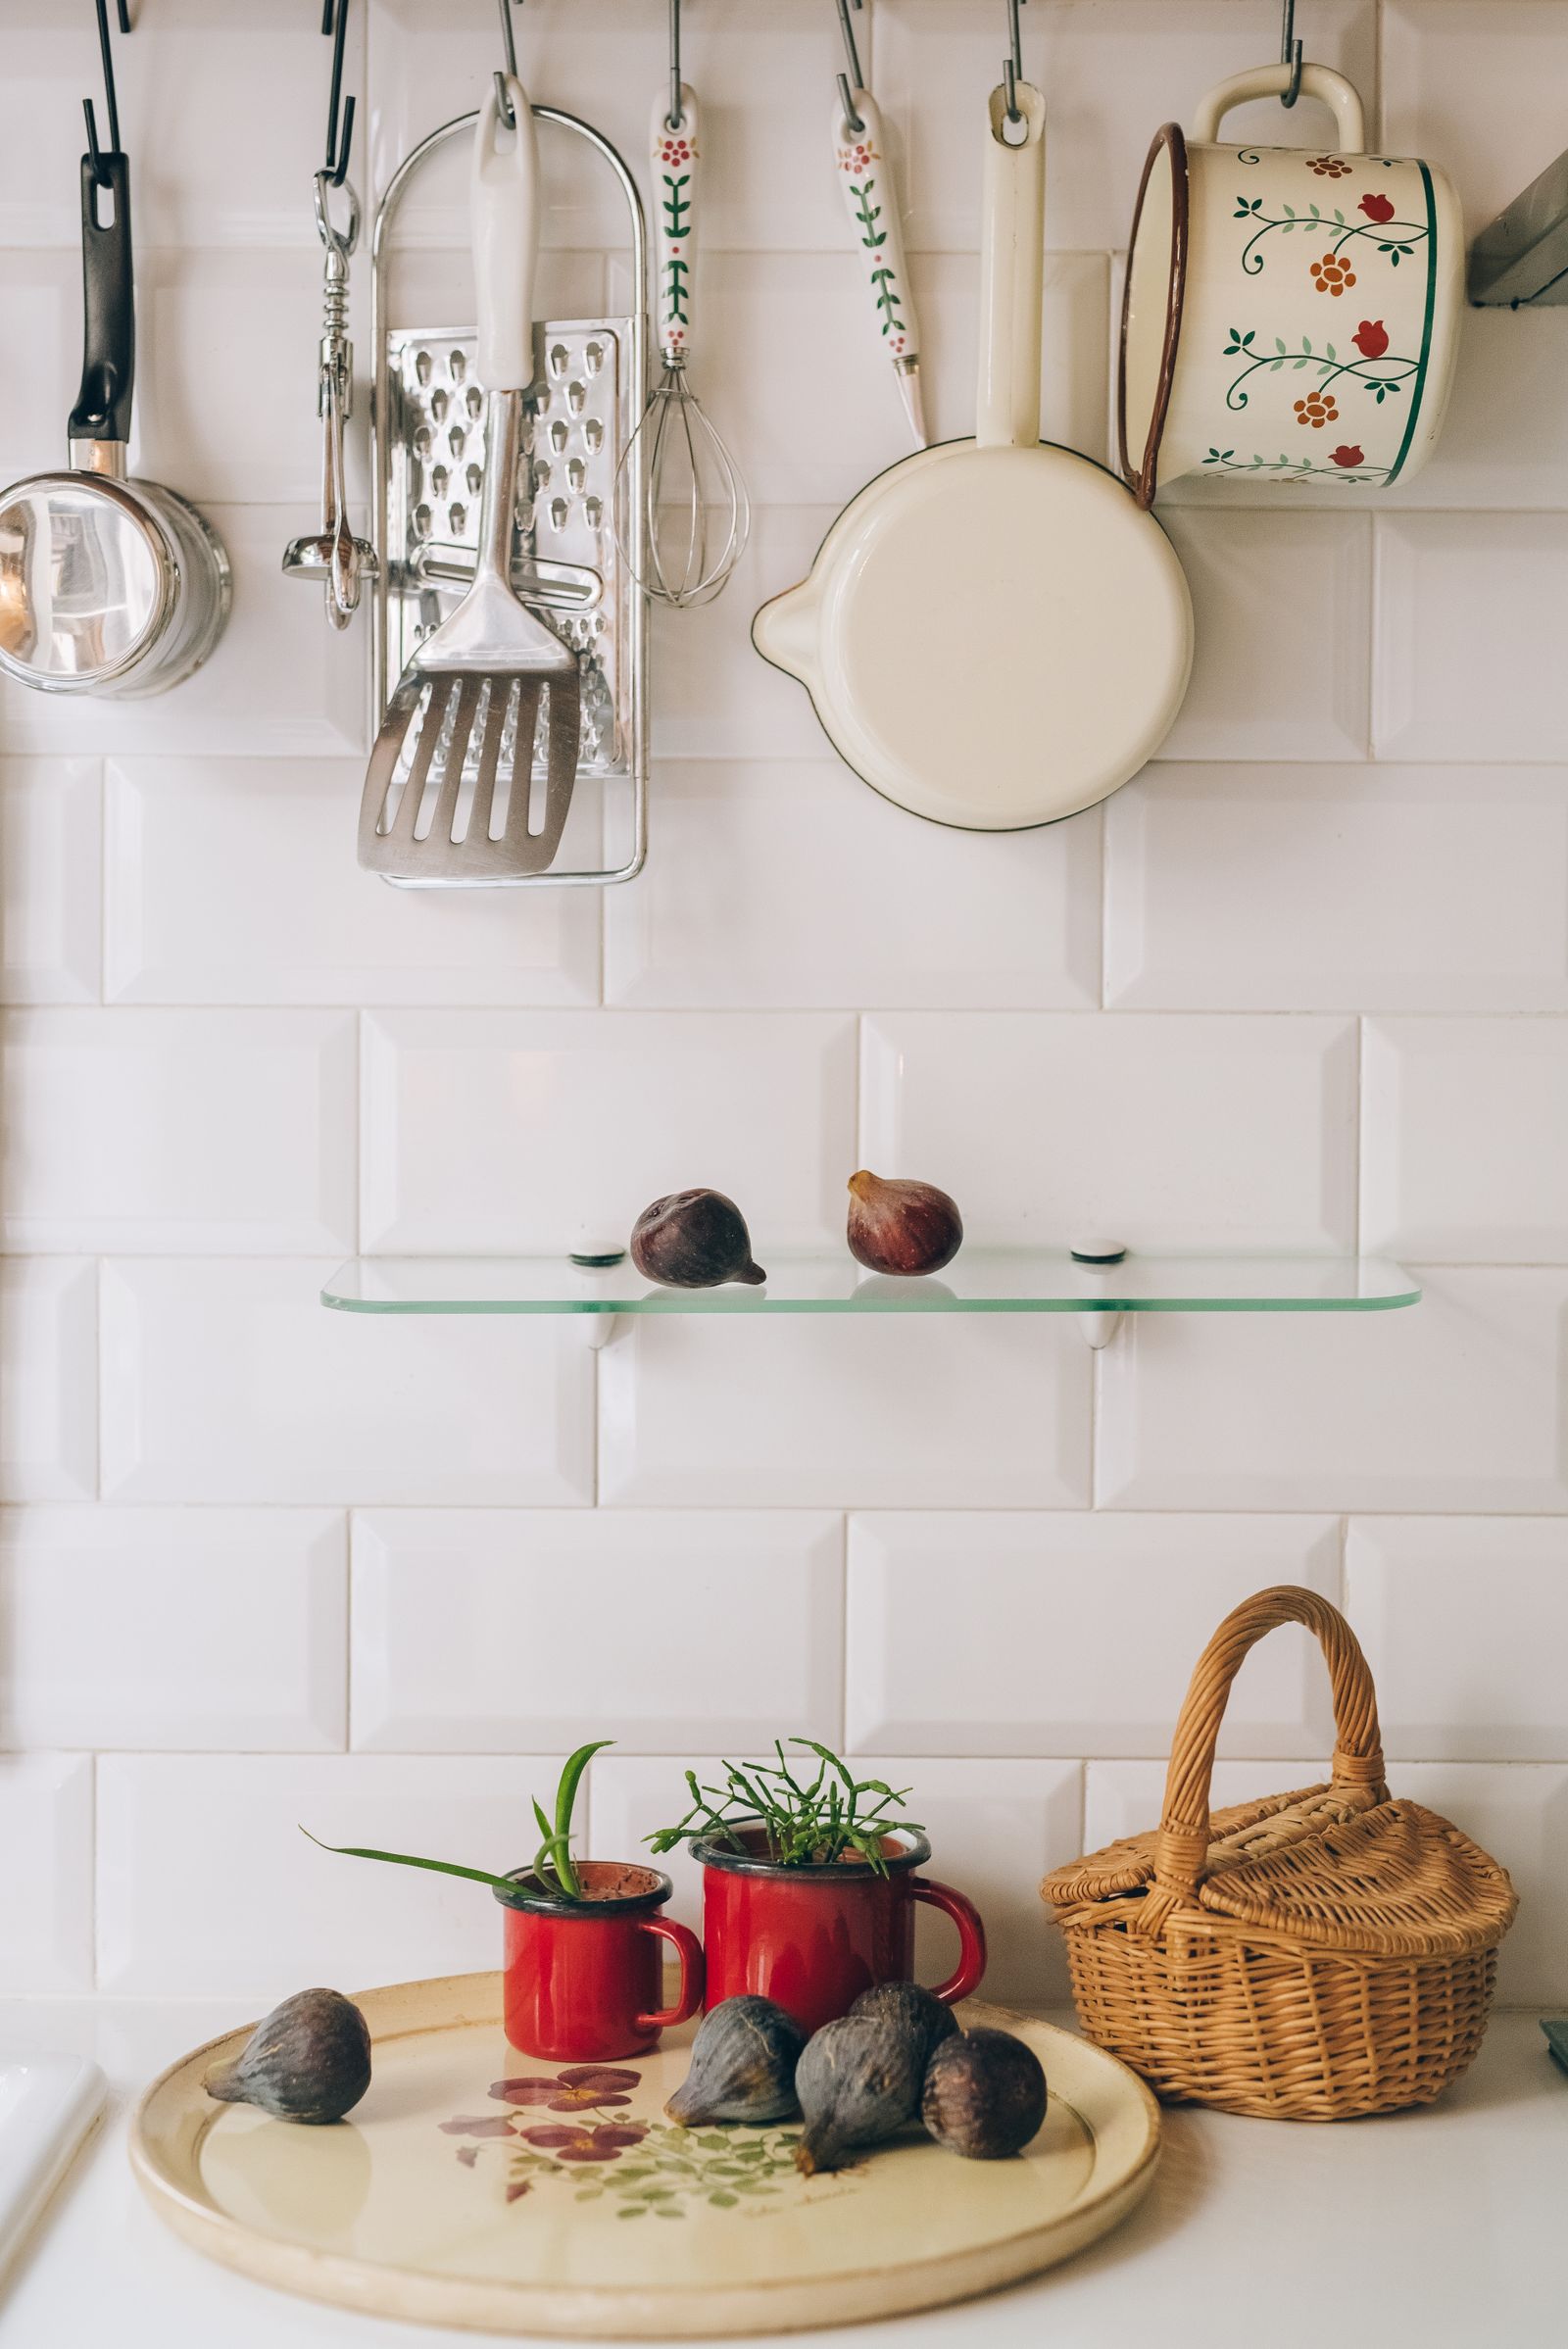
Get the daily utensils up on the wall. A rail turns blank backsplash into storage. Hang 5 to 7 tools and 1 or 2 pans, hooks about 2 inches apart so they do not bang. Adhesive rails usually run $15 to $35. Heads up, adhesive lets go in steam. Let it cure 24 hours and keep it clear of the kettle spot, or screw it in if your lease lets you.
4. Use the Inside of Every Cabinet Door
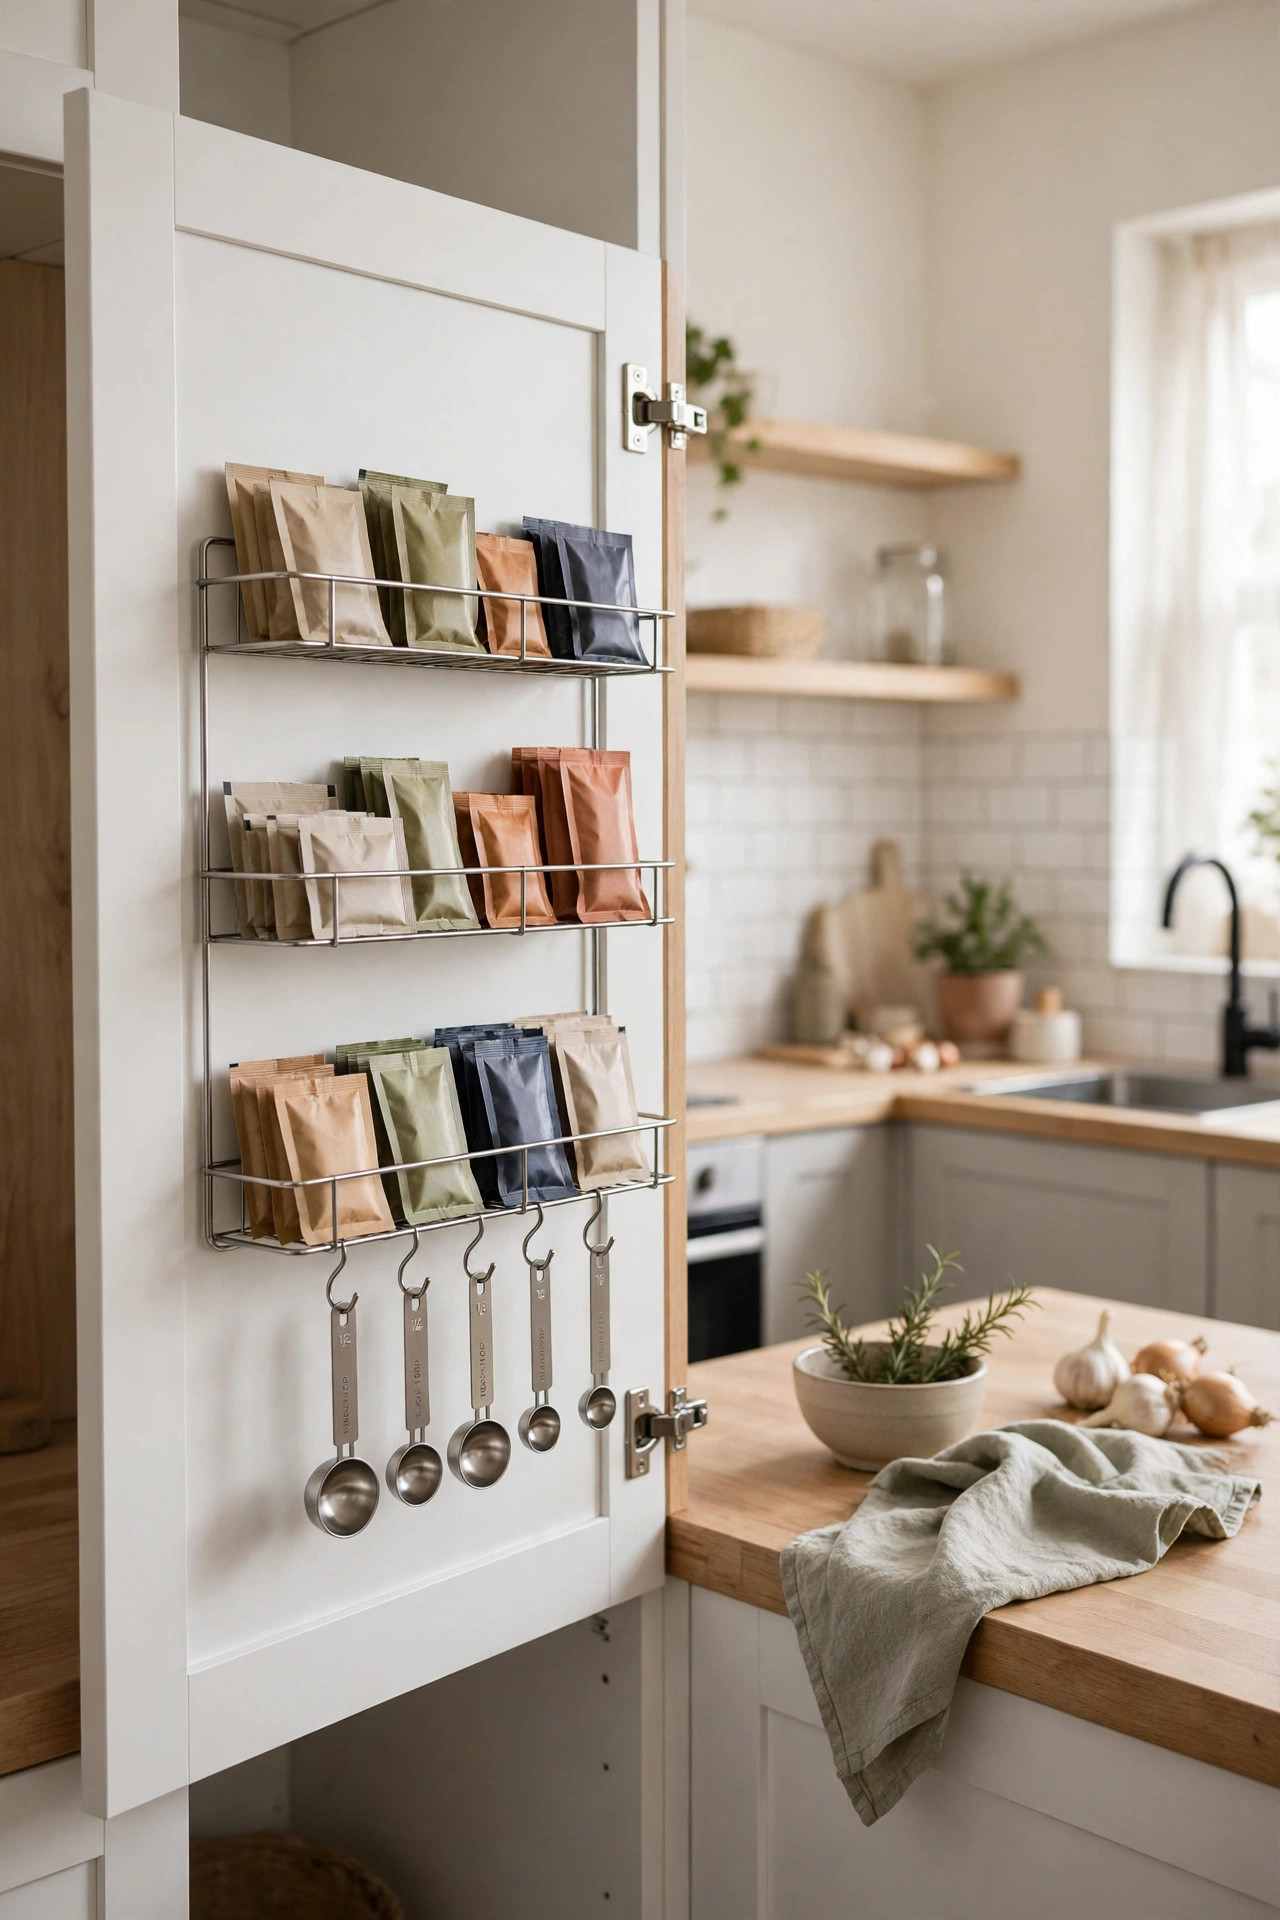
Measure the gap before you buy the rack. The inside of a door is flat storage by the job, good for spice packets, measuring spoons, and wrap boxes. Keep it under 2 inches deep and light. A deep rack hits the shelf and the door will not shut, that is the main failure. Test with the door closed first. Works on 3 or 4 doors, 5 minutes per door.
5. Double the Cabinet With a Shelf Riser
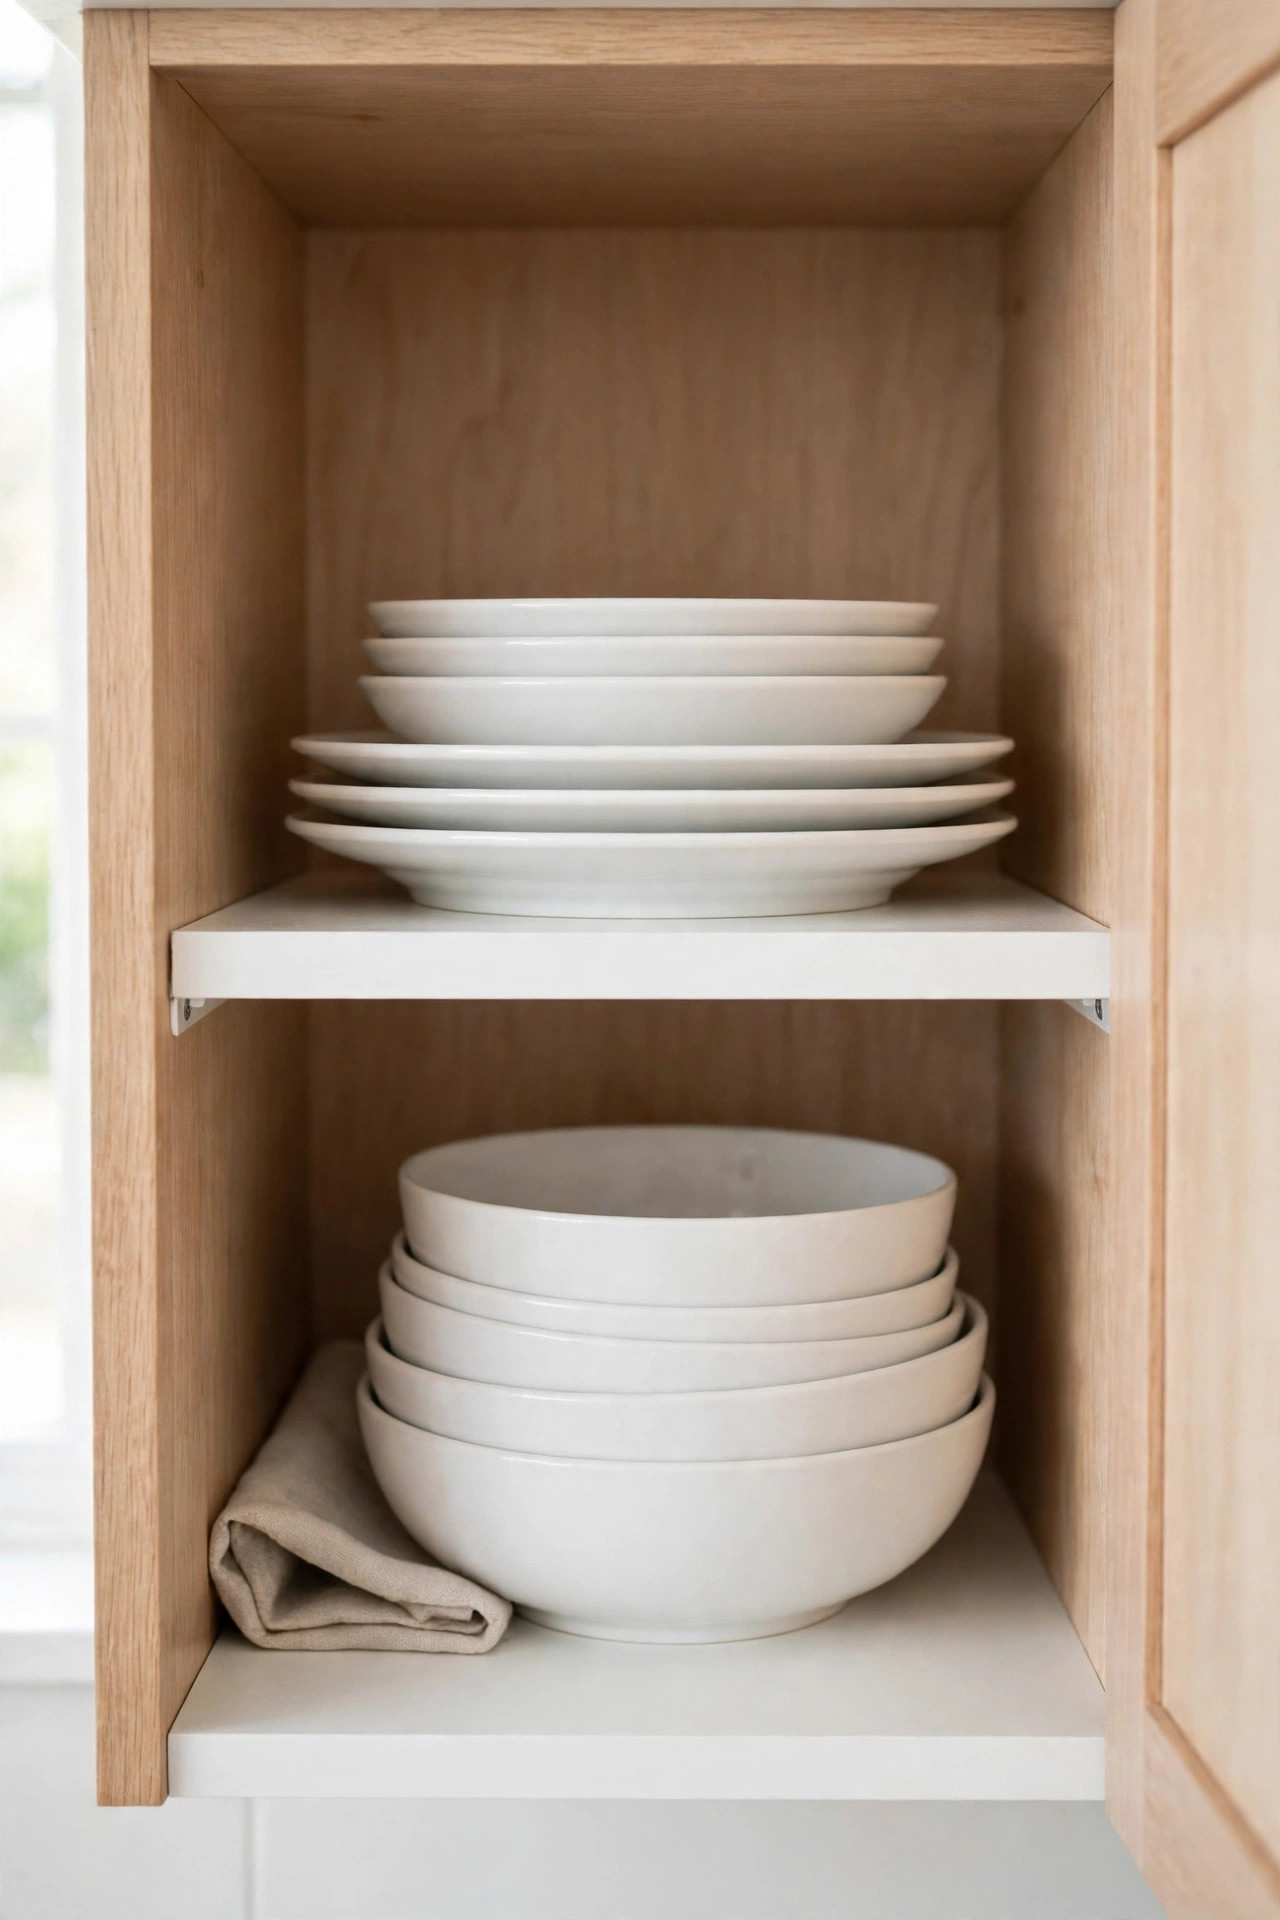
One shelf is really two if you split the height. A riser lifts plates over bowls and stops the back row hiding. Leave about 1 inch clear each side to lift it out for cleaning. I use bamboo risers in the food cabinet because they do not rattle. Most run $10 to $20. Too tall is the trap, keep 6 inches above for mugs.
6. Stop Storing Loose Stuff in Deep Cabinets
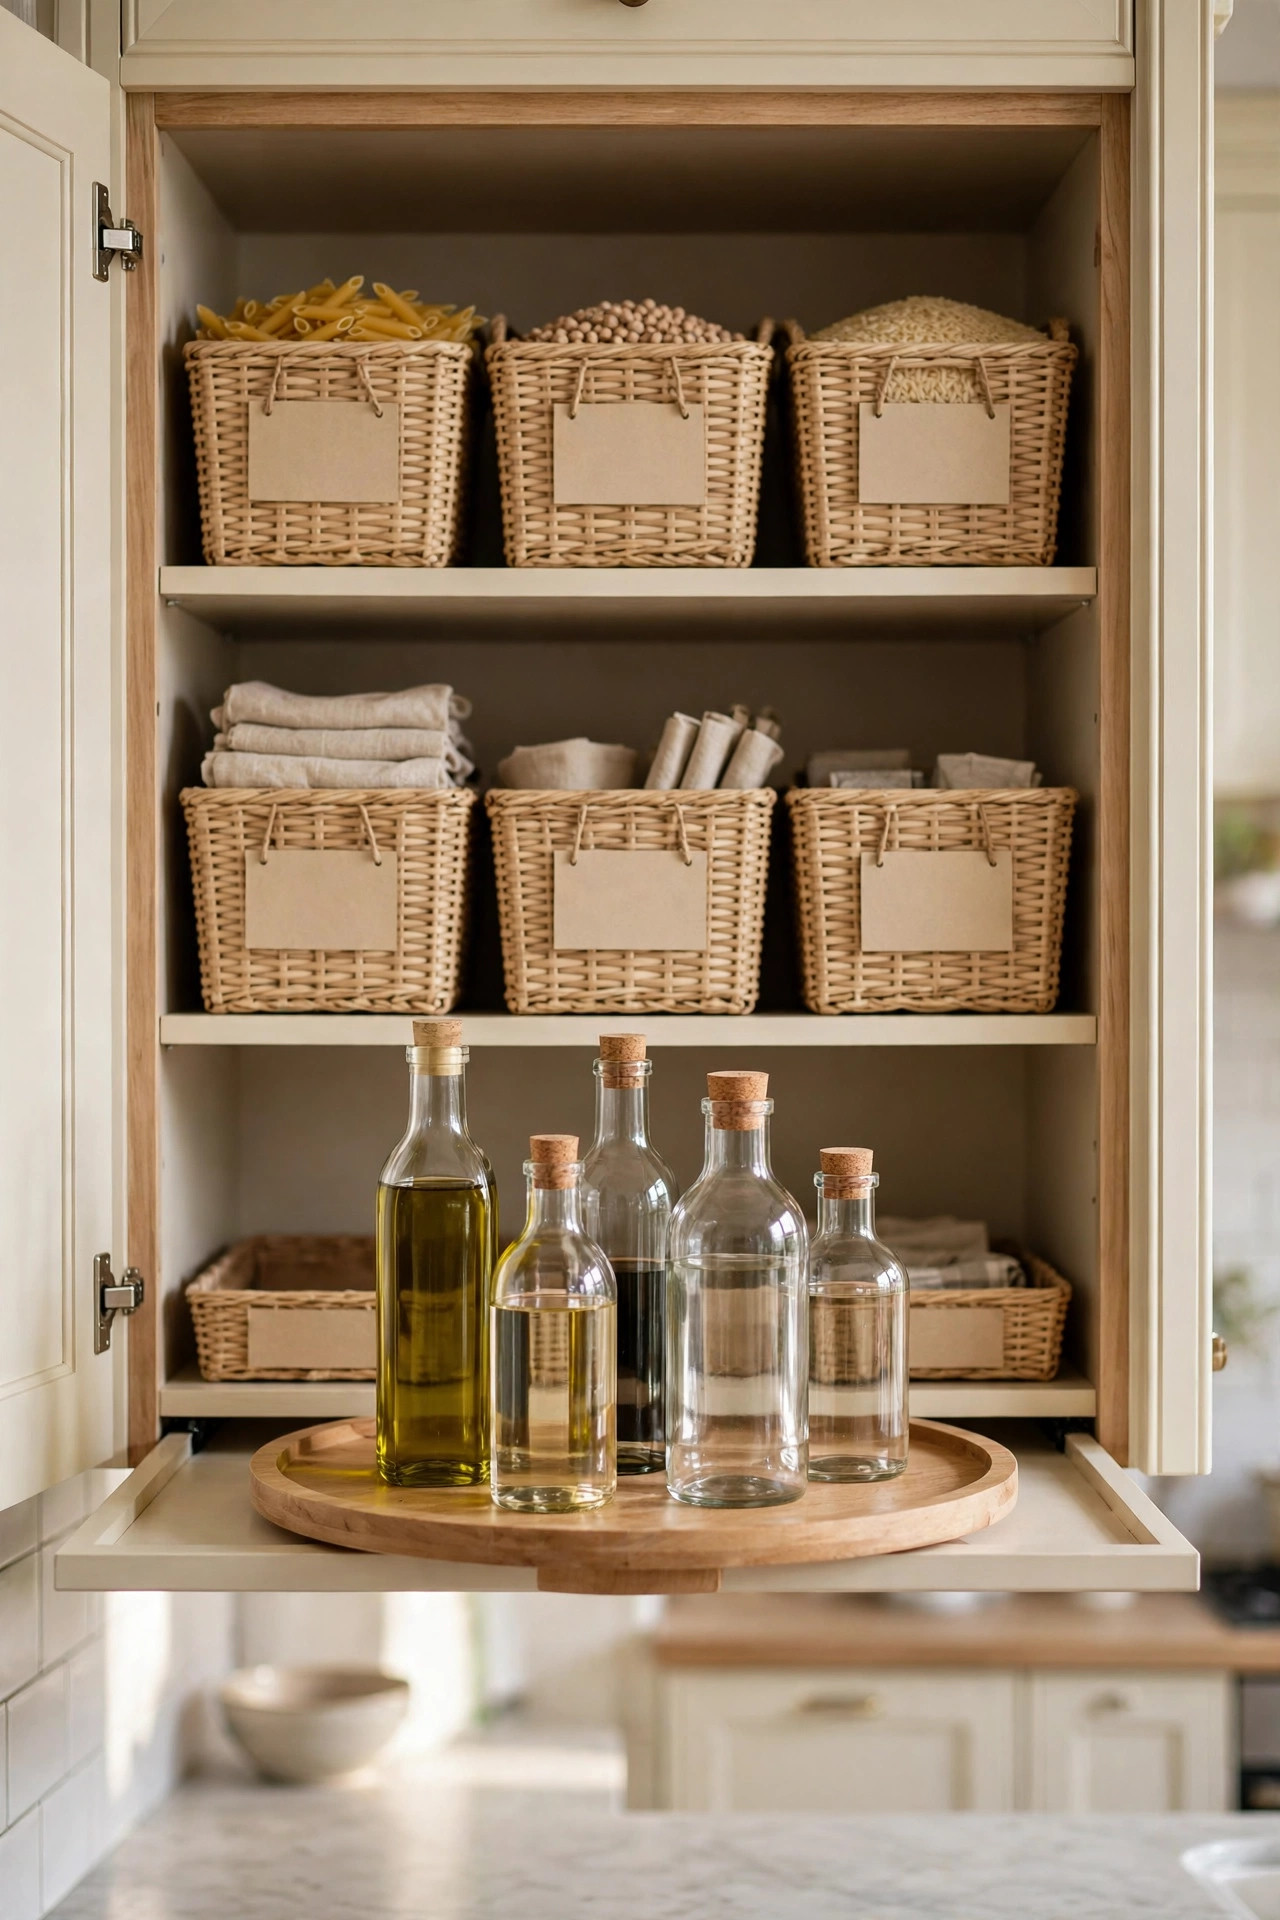
Stop putting loose bottles in a deep cabinet. They roll to the back and vanish. Group things in 3 or 4 open bins and pull the bin out like a drawer. A 10 to 12 inch turntable fixes bottles, a spin beats reaching past 5 jars. Label the bins if you share the kitchen. No label, no system.
7. Give Food One Home, Only One
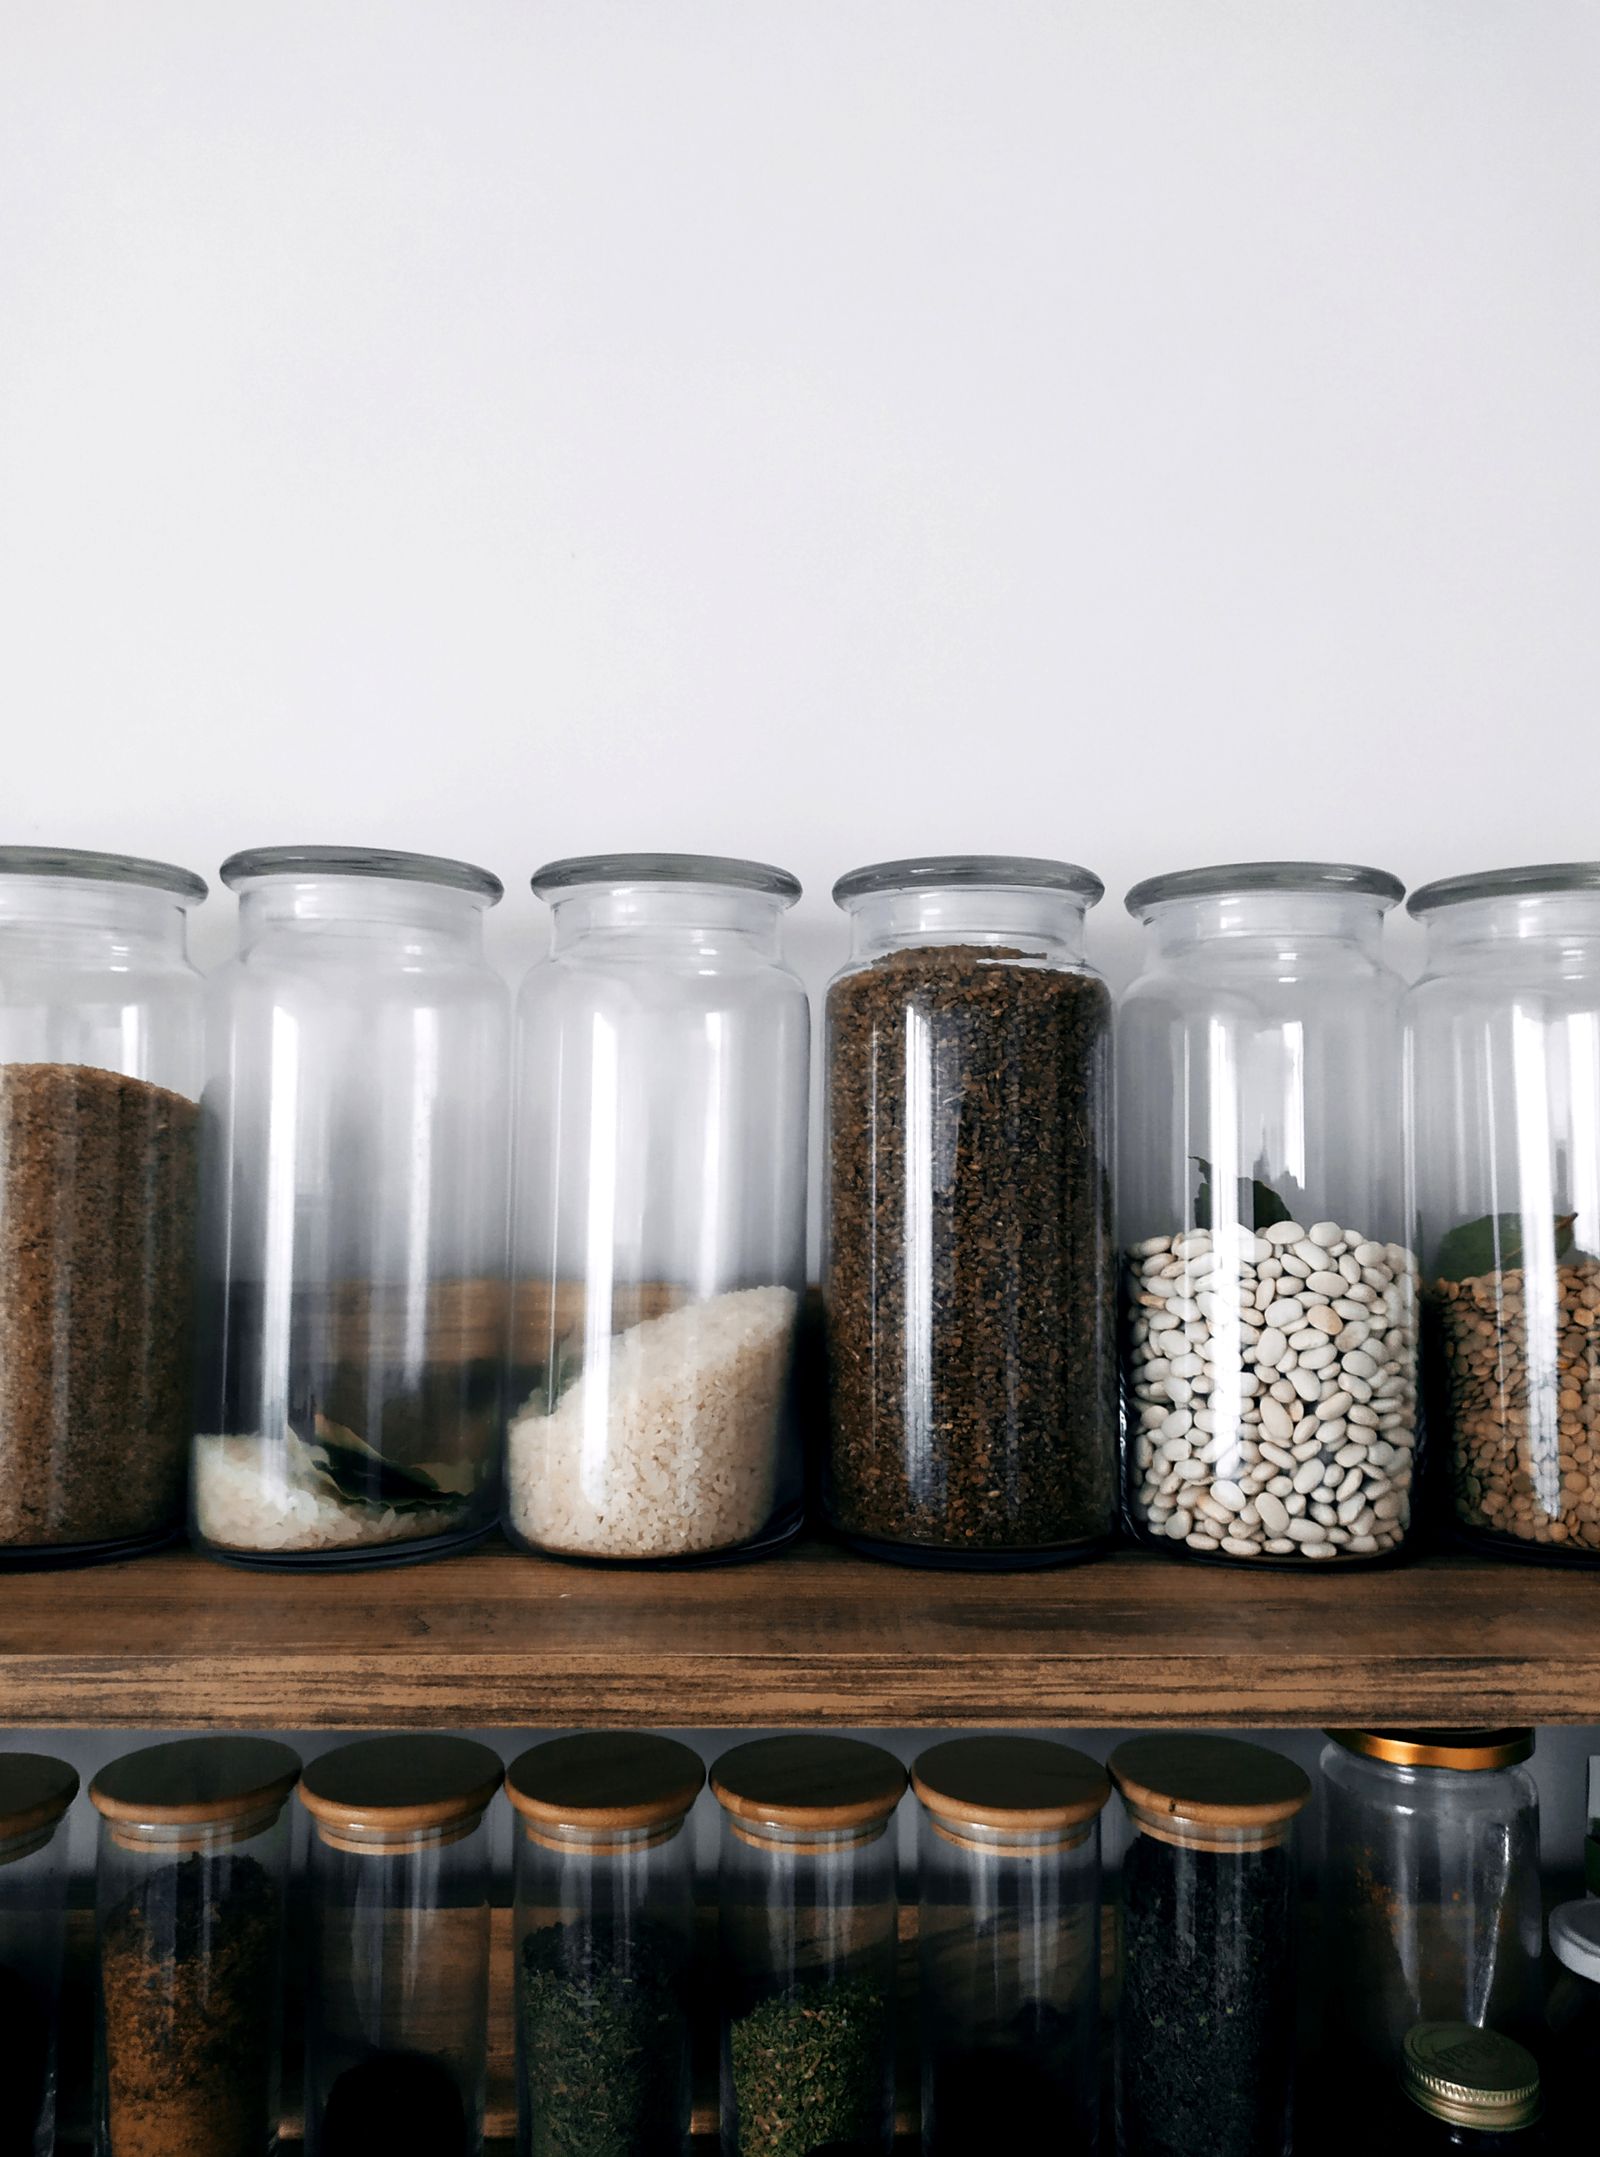
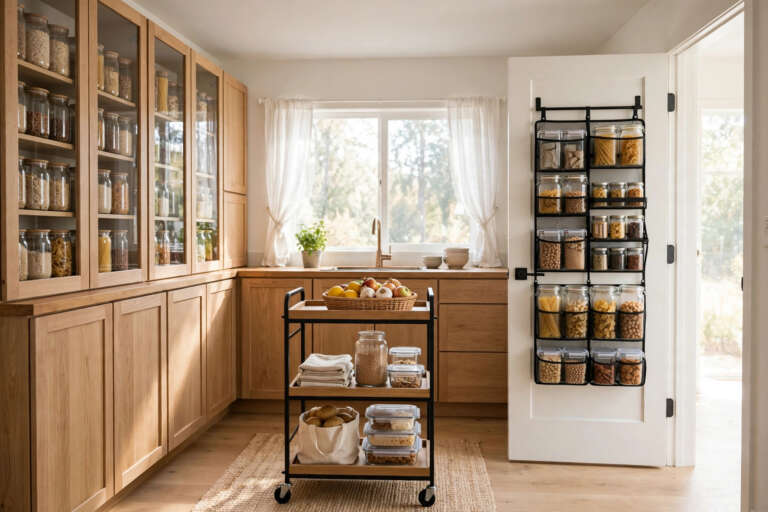
Food scattered across 3 cabinets means you buy pasta you already own. Pick 1 cabinet run as the only food home. Put rice, pasta, oats, and flour in clear tubs with name and date on tape, newest at the back. If space is still tight, the wider kitchen storage ideas for homes with no pantry cover carts for overflow. Skip fancy canister sets, plain tubs at $12 to $25 do the same job.
8. File Your Lids Upright Like Books
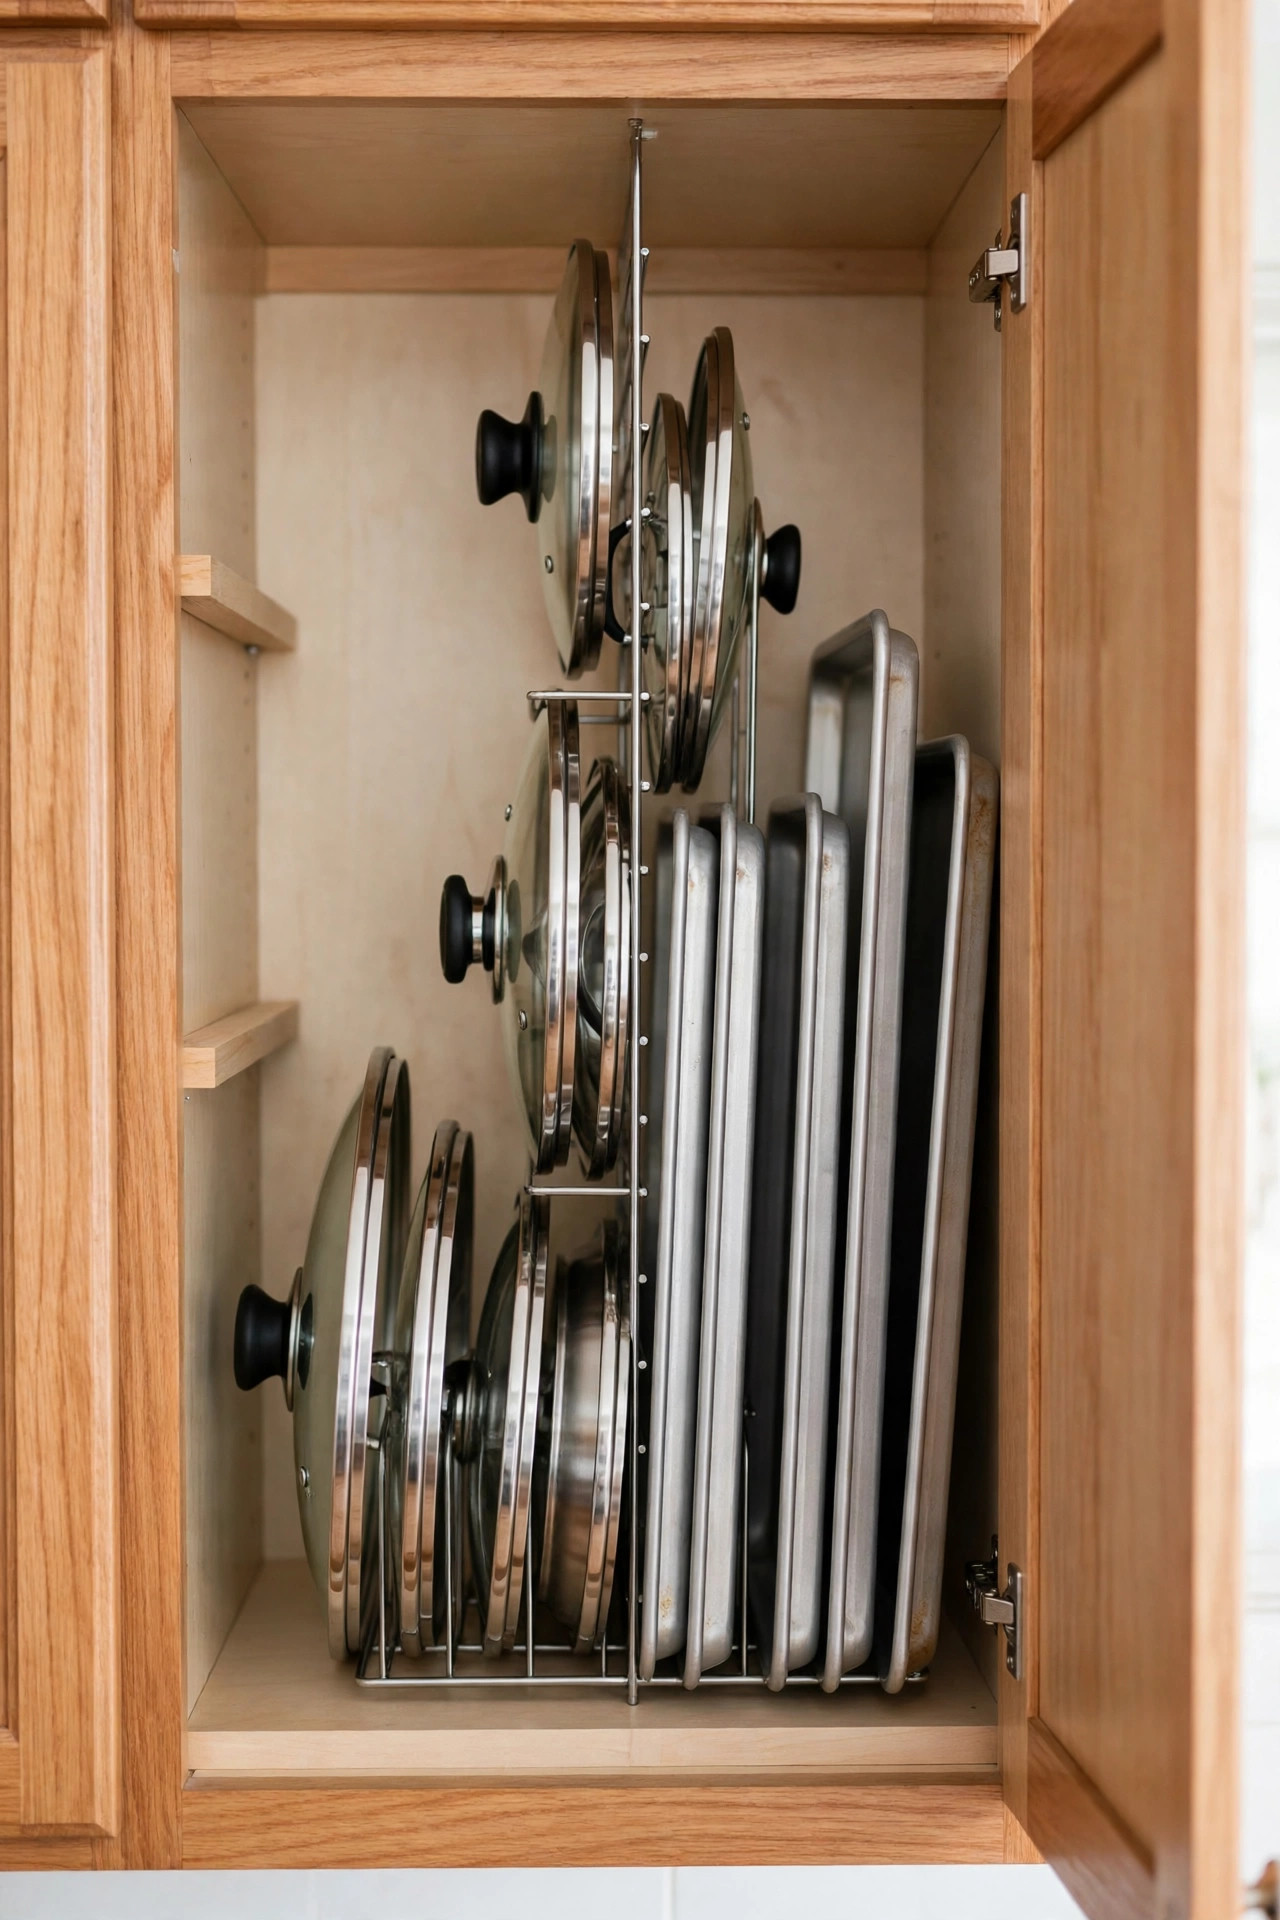
File the lids, do not stack them. Upright in a rack, each lid slides out without moving the rest. The same rack holds trays and boards, so 1 for lids and 1 for bakeware by the stove works well. Most cost $10 to $18. A lid too bent to file straight is telling you something. Let it go.
9. Slide a Slim Cart Into That Fridge Gap
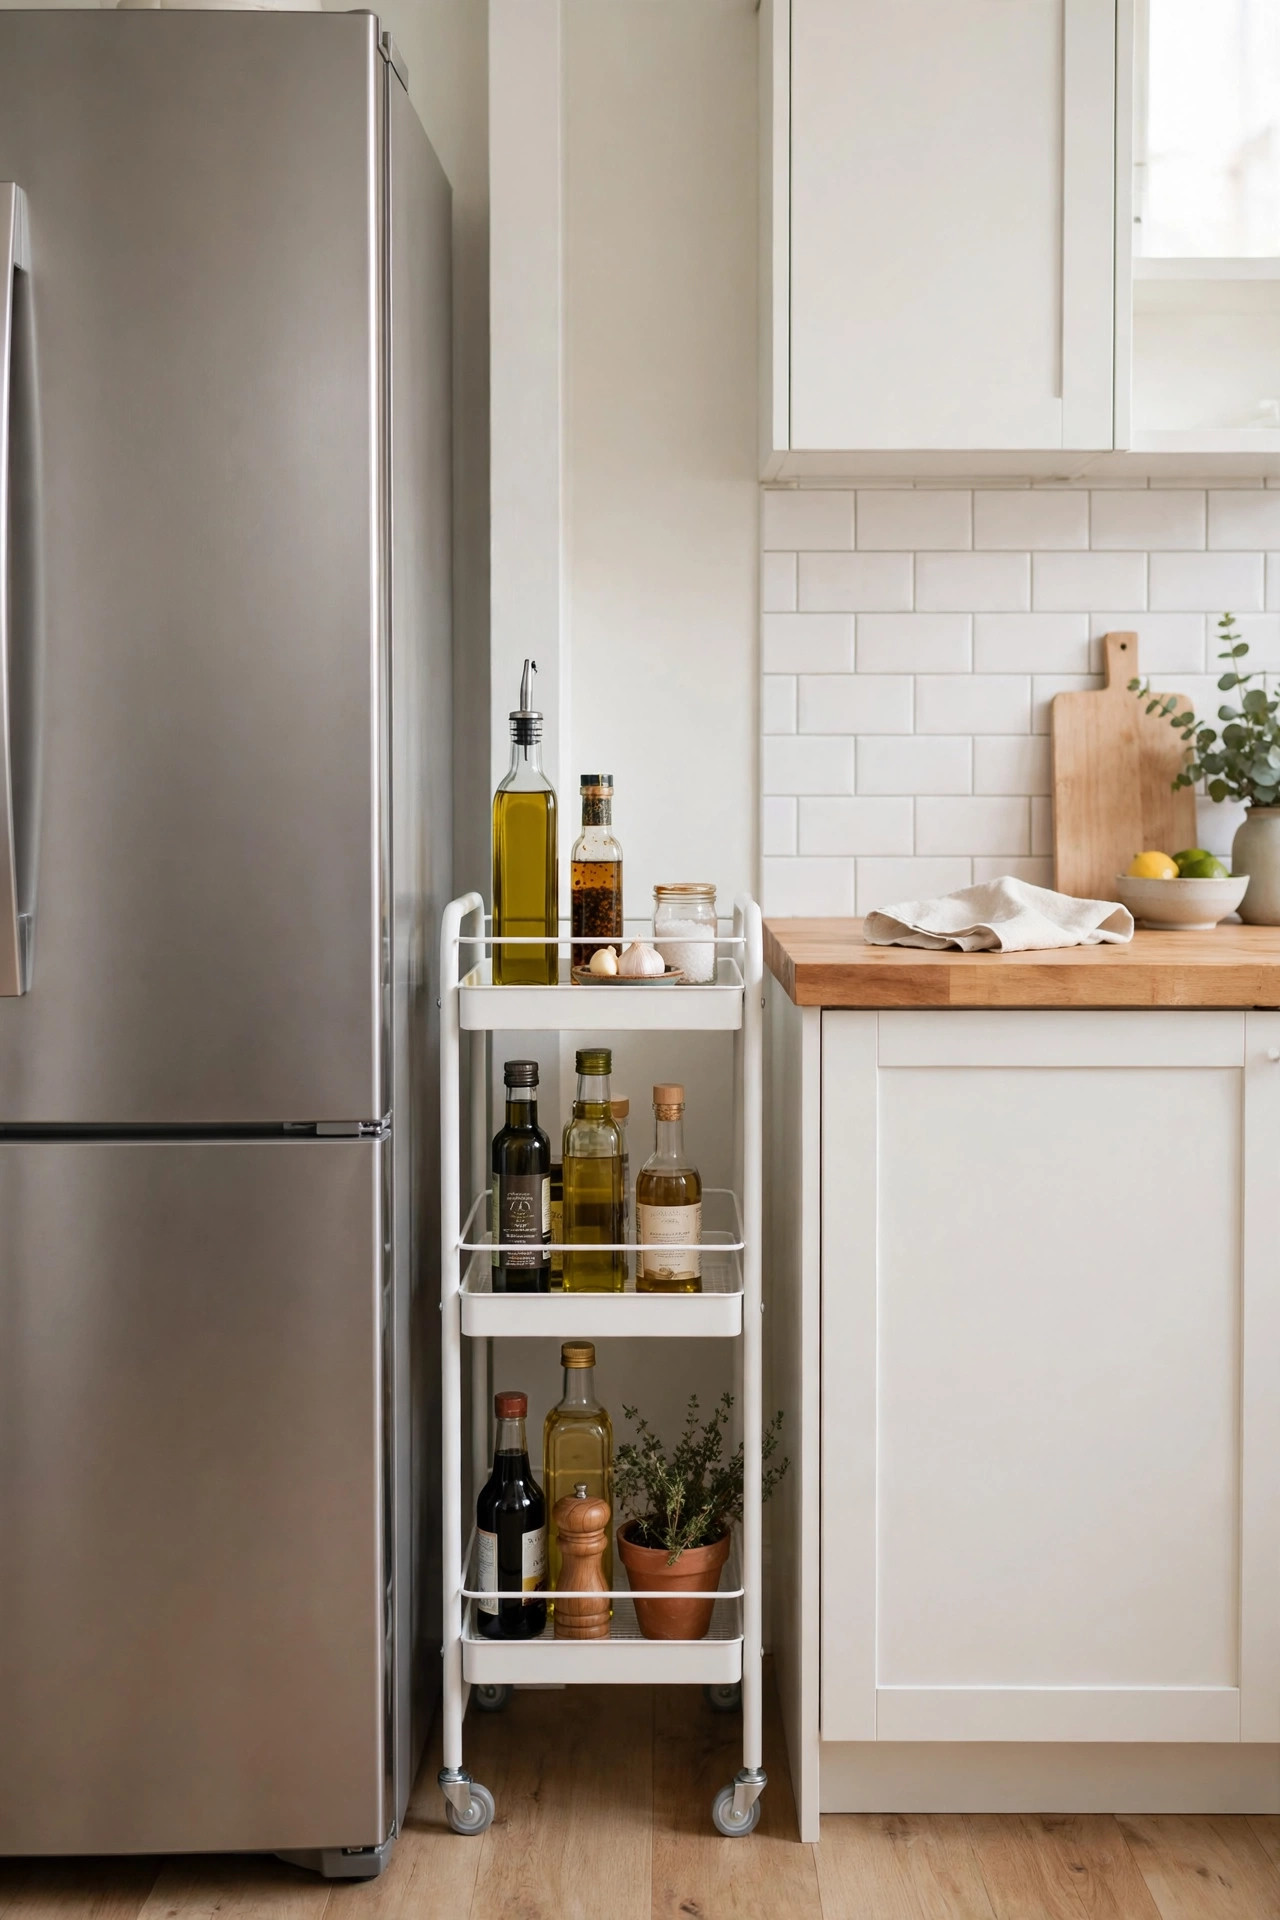
That gap by the fridge is storage, measure it honestly. Most fit a cart 5 to 7 inches wide, and 3 tiers triple the floor space. I keep oils, sprays, and foil upright there, tall stuff that wastes cabinets. A cart 1 inch too wide jams on the baseboard, so measure at the floor and check the fridge door swing before you order.
10. Put Knives on a Magnetic Strip, Not in a Drawer
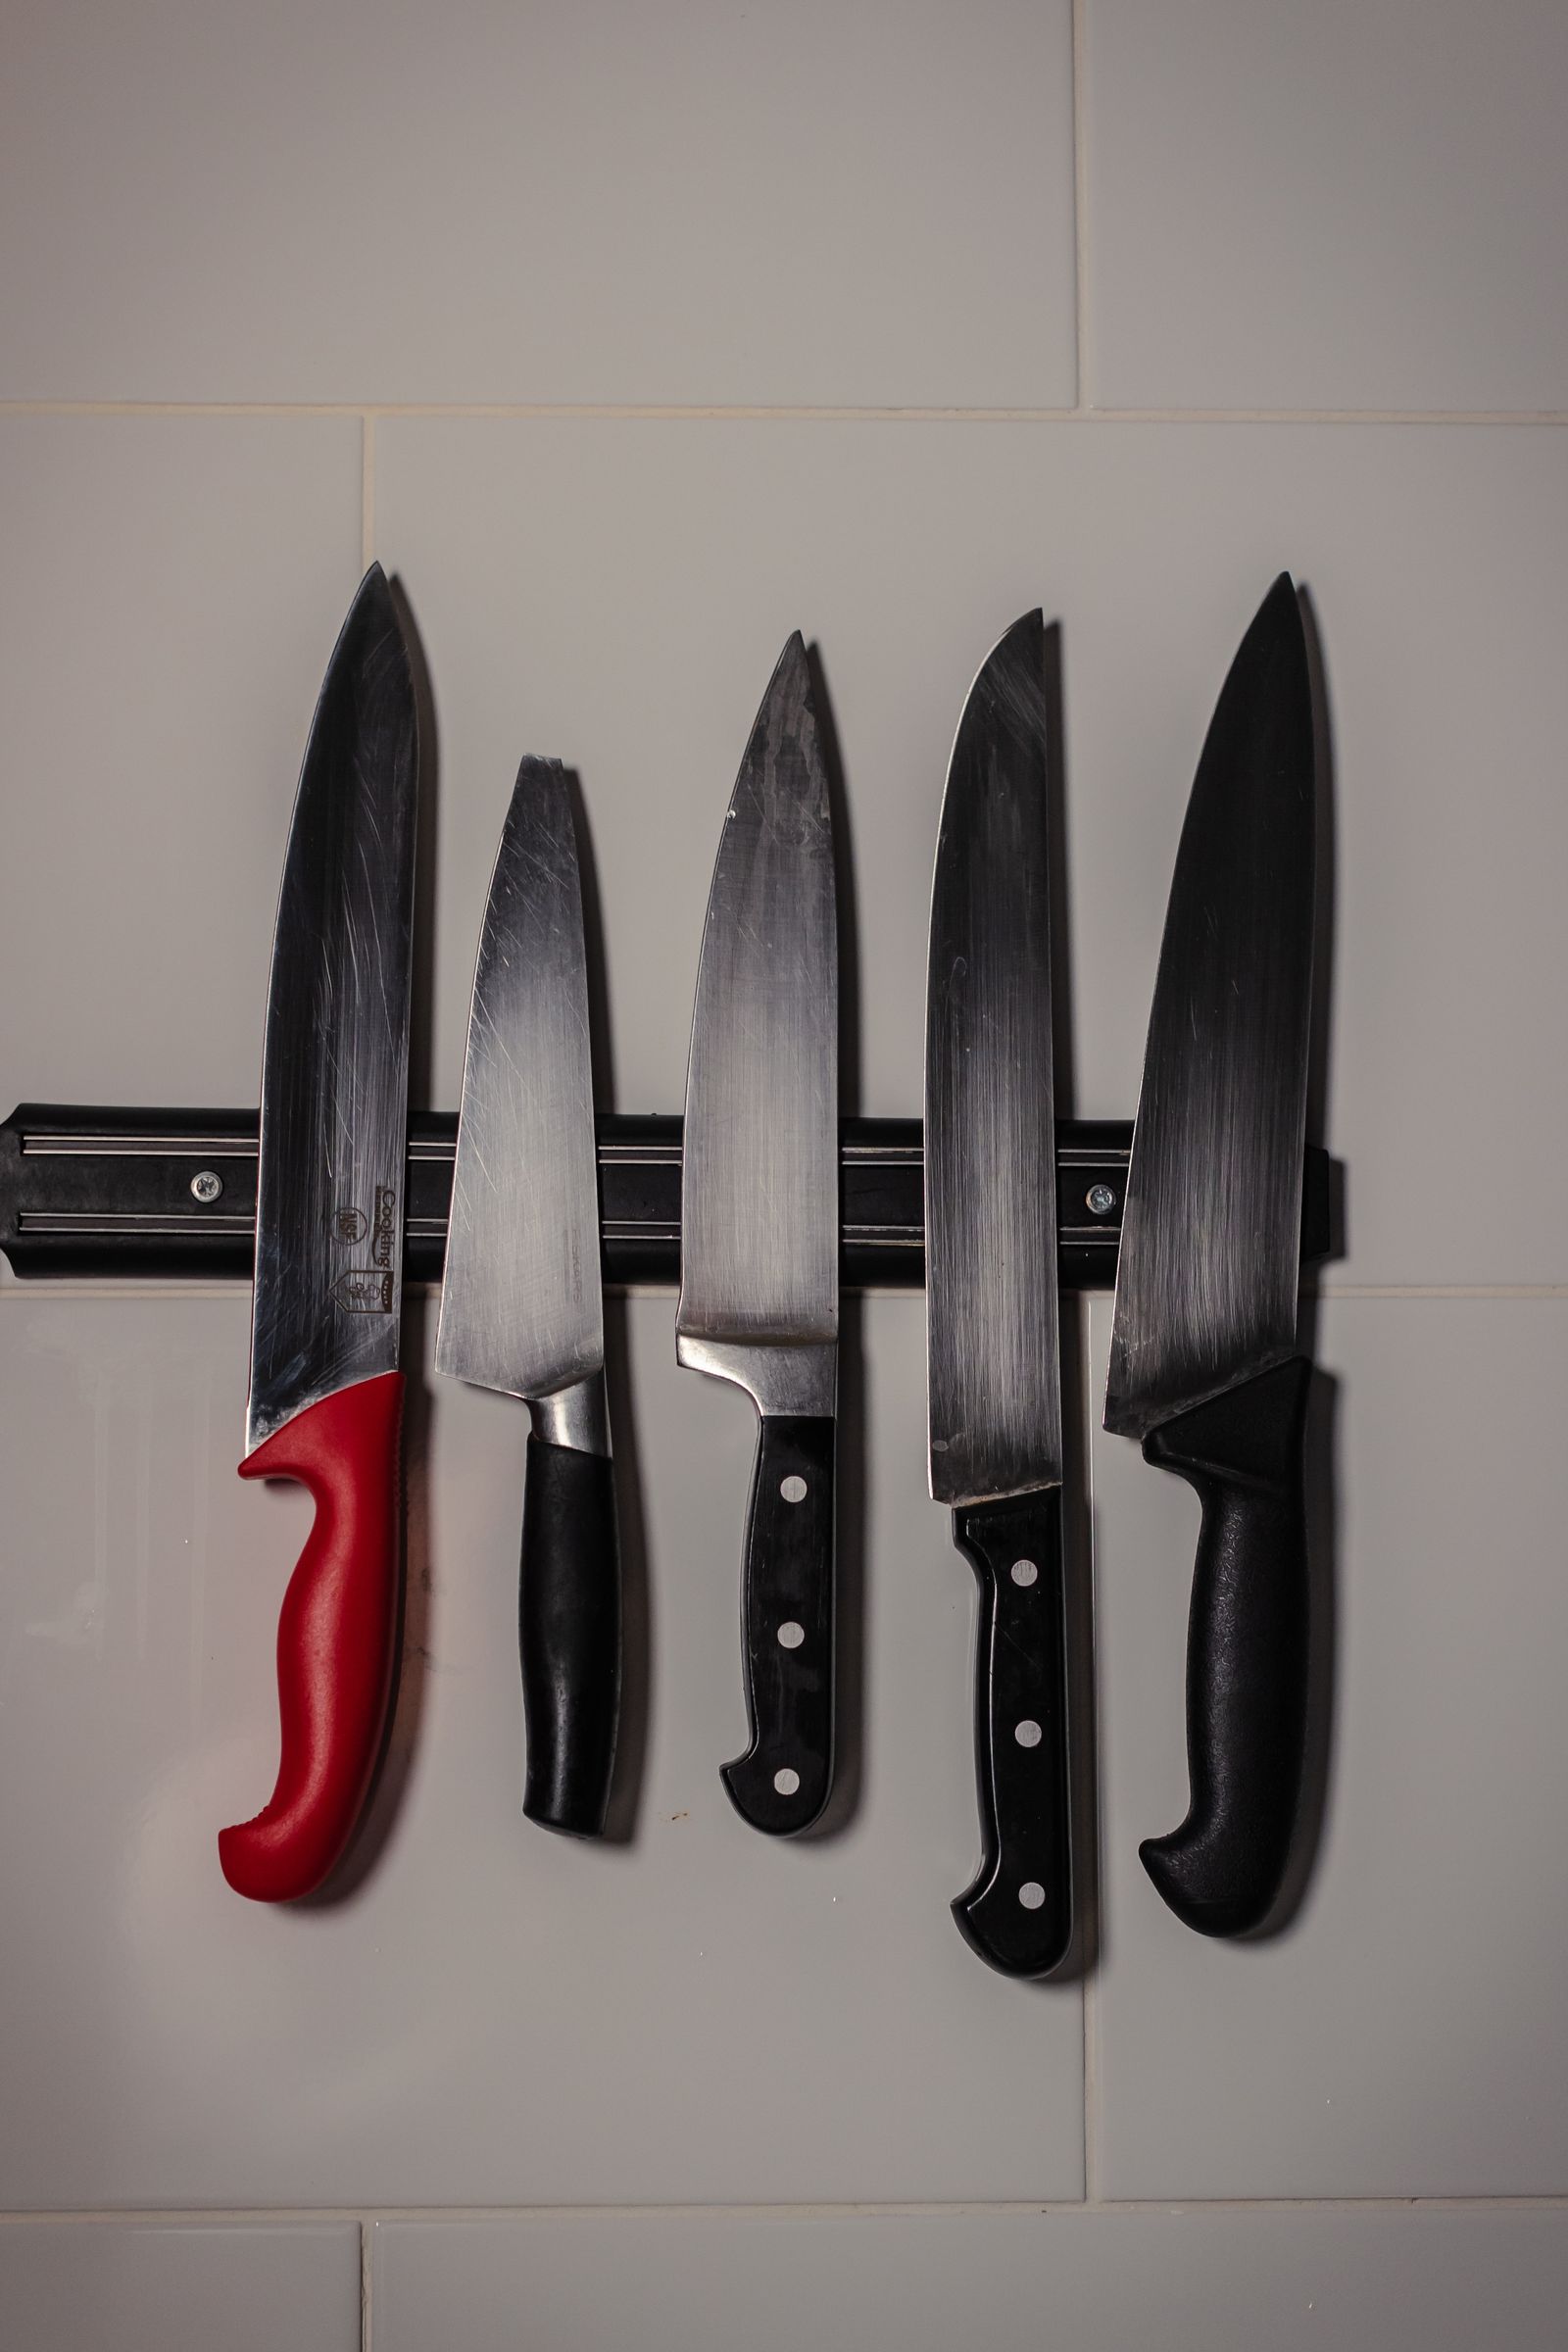
A knife block eats counter you do not have. A magnetic strip holds knives flat on the wall in the prep zone, blades visible. Add small spice tins on the same strip and free half a shelf. Strips run $15 to $30. Keep it out of steam, steam dulls blades and softens adhesive. If it feels loose after a week, move it 6 inches from the stove and refit it.
11. Stand Spices Up So You Can Read Them
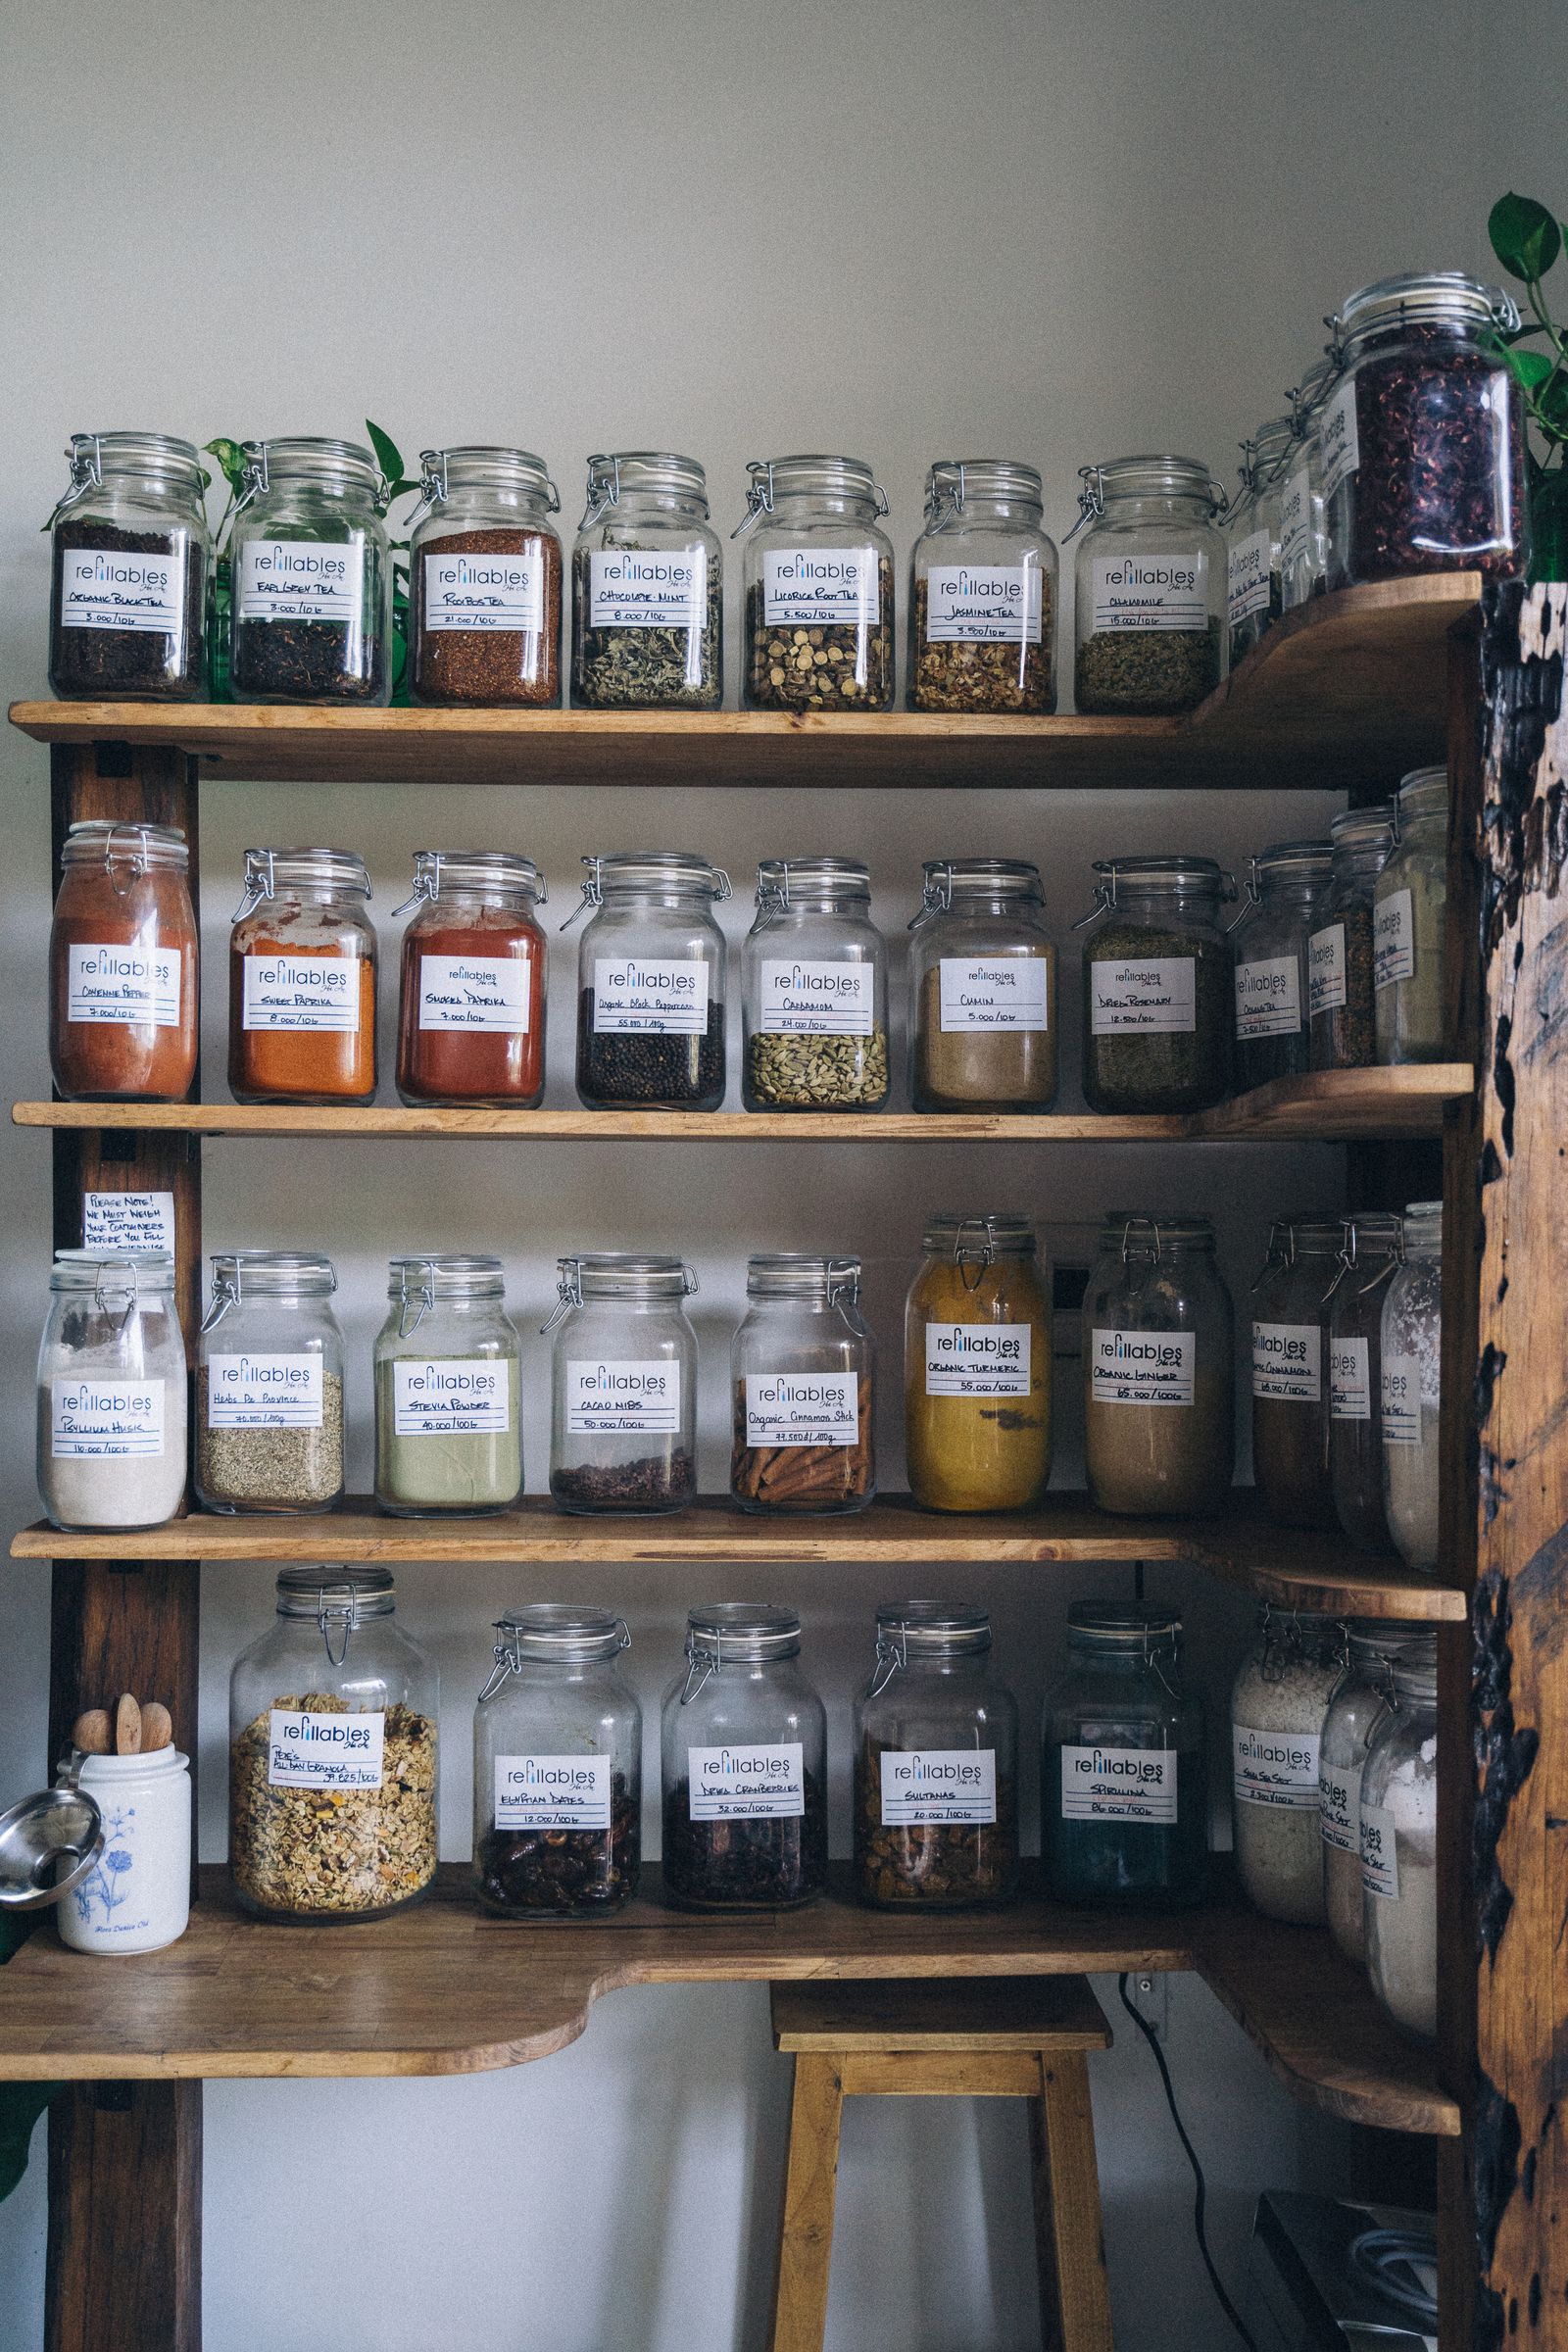
If you cannot read the label, you will buy the spice again. A tiered rack lifts the back rows so 12 to 20 jars show at once. I go alphabetical here, cumin in 2 seconds beats digging on a weeknight. Toss any jar with no smell left, it has no flavor left either. Keep daily spices low, rare ones higher up.
12. Use the Dusty Space Above the Cabinets
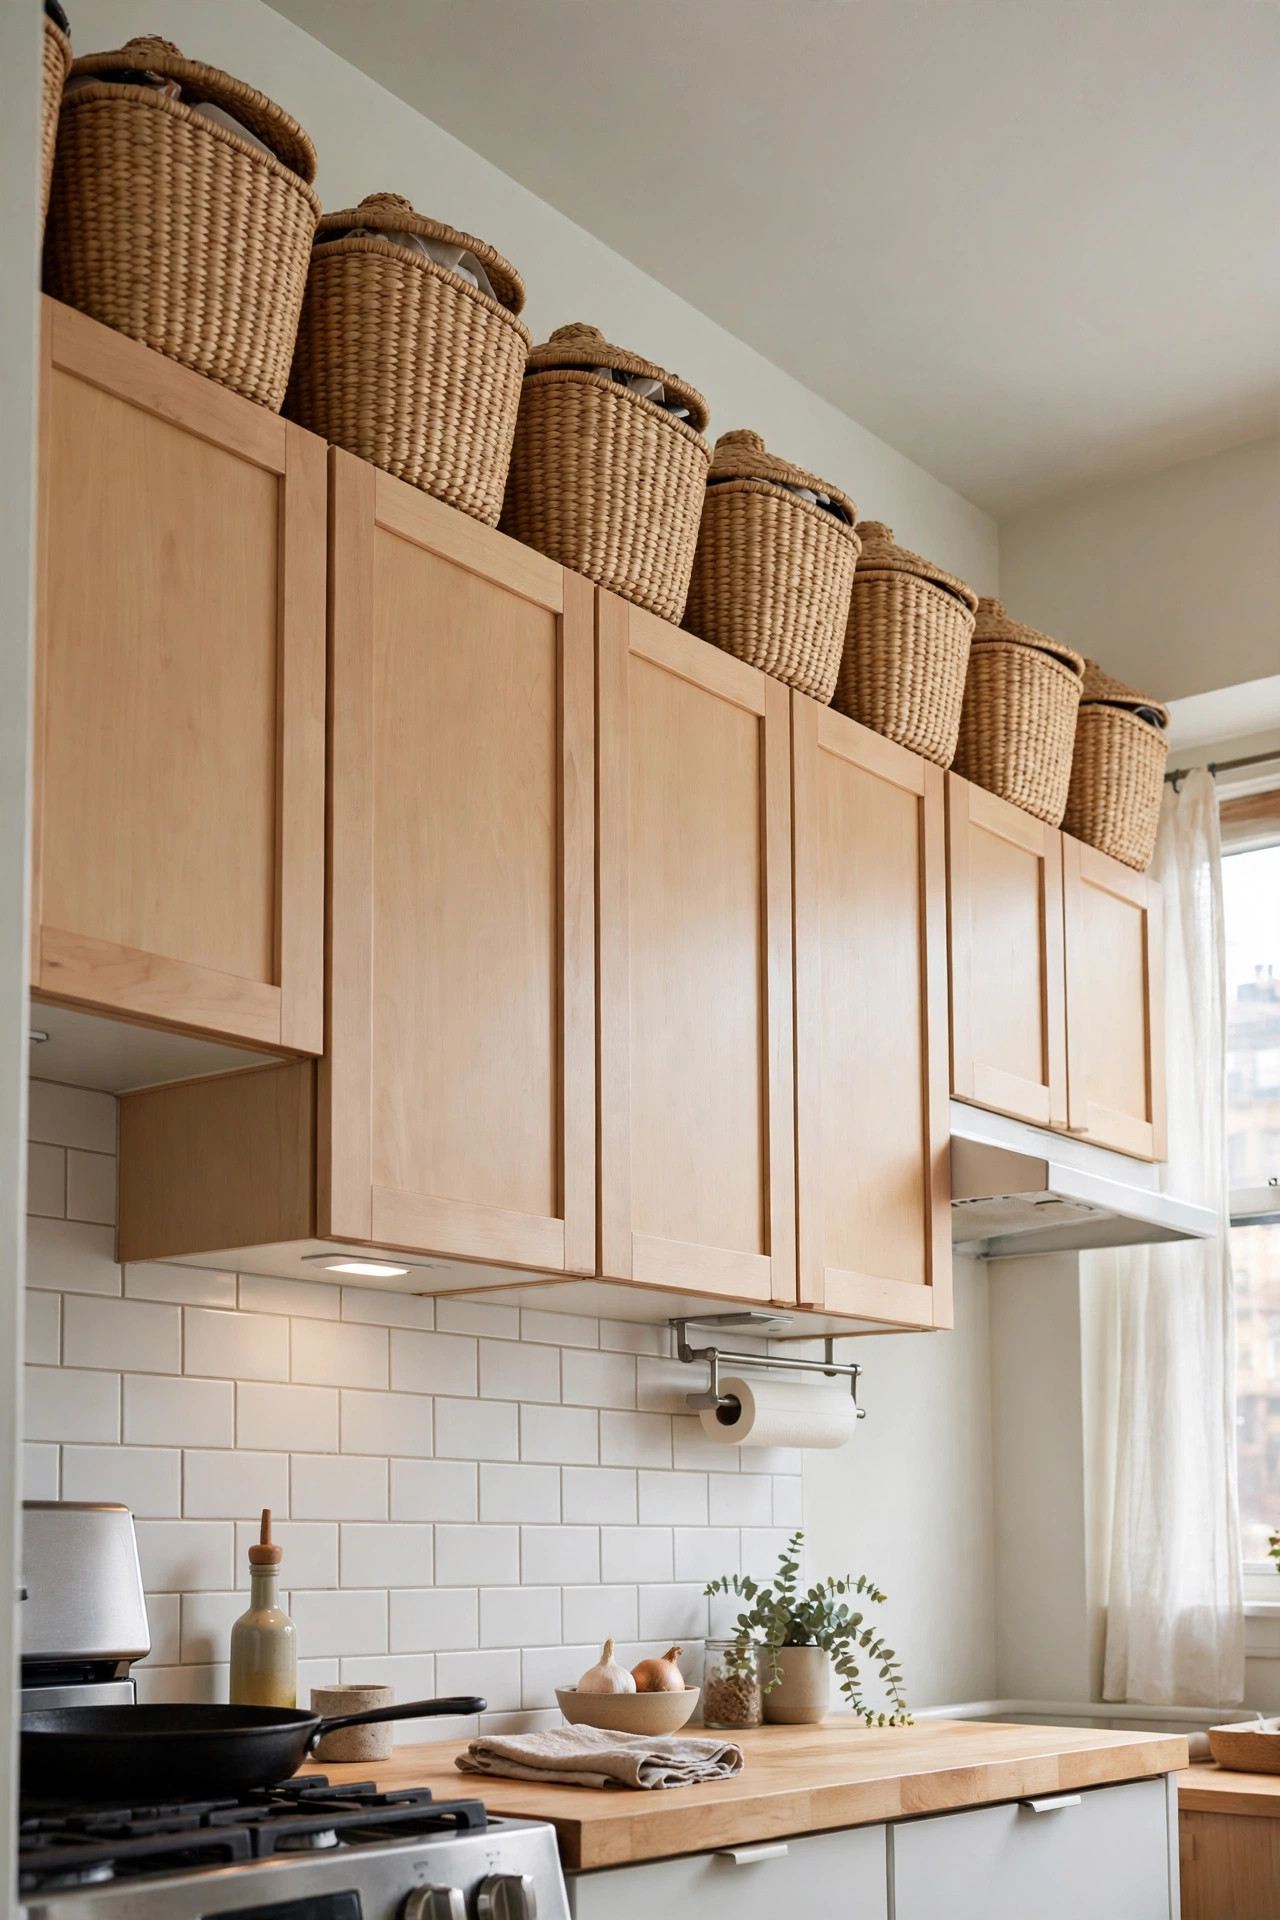
Use the high run for stuff you touch 3 or 4 times a year. Stockpot, cake stand, big platter, up top in closed boxes so dust stays off. Everyday plates up there will drive you mad. Keep a solid step stool close. Set a limit, 4 boxes max. A fifth appears, something down low needs to go.
13. Light Under the Cabinets and Use That Wall
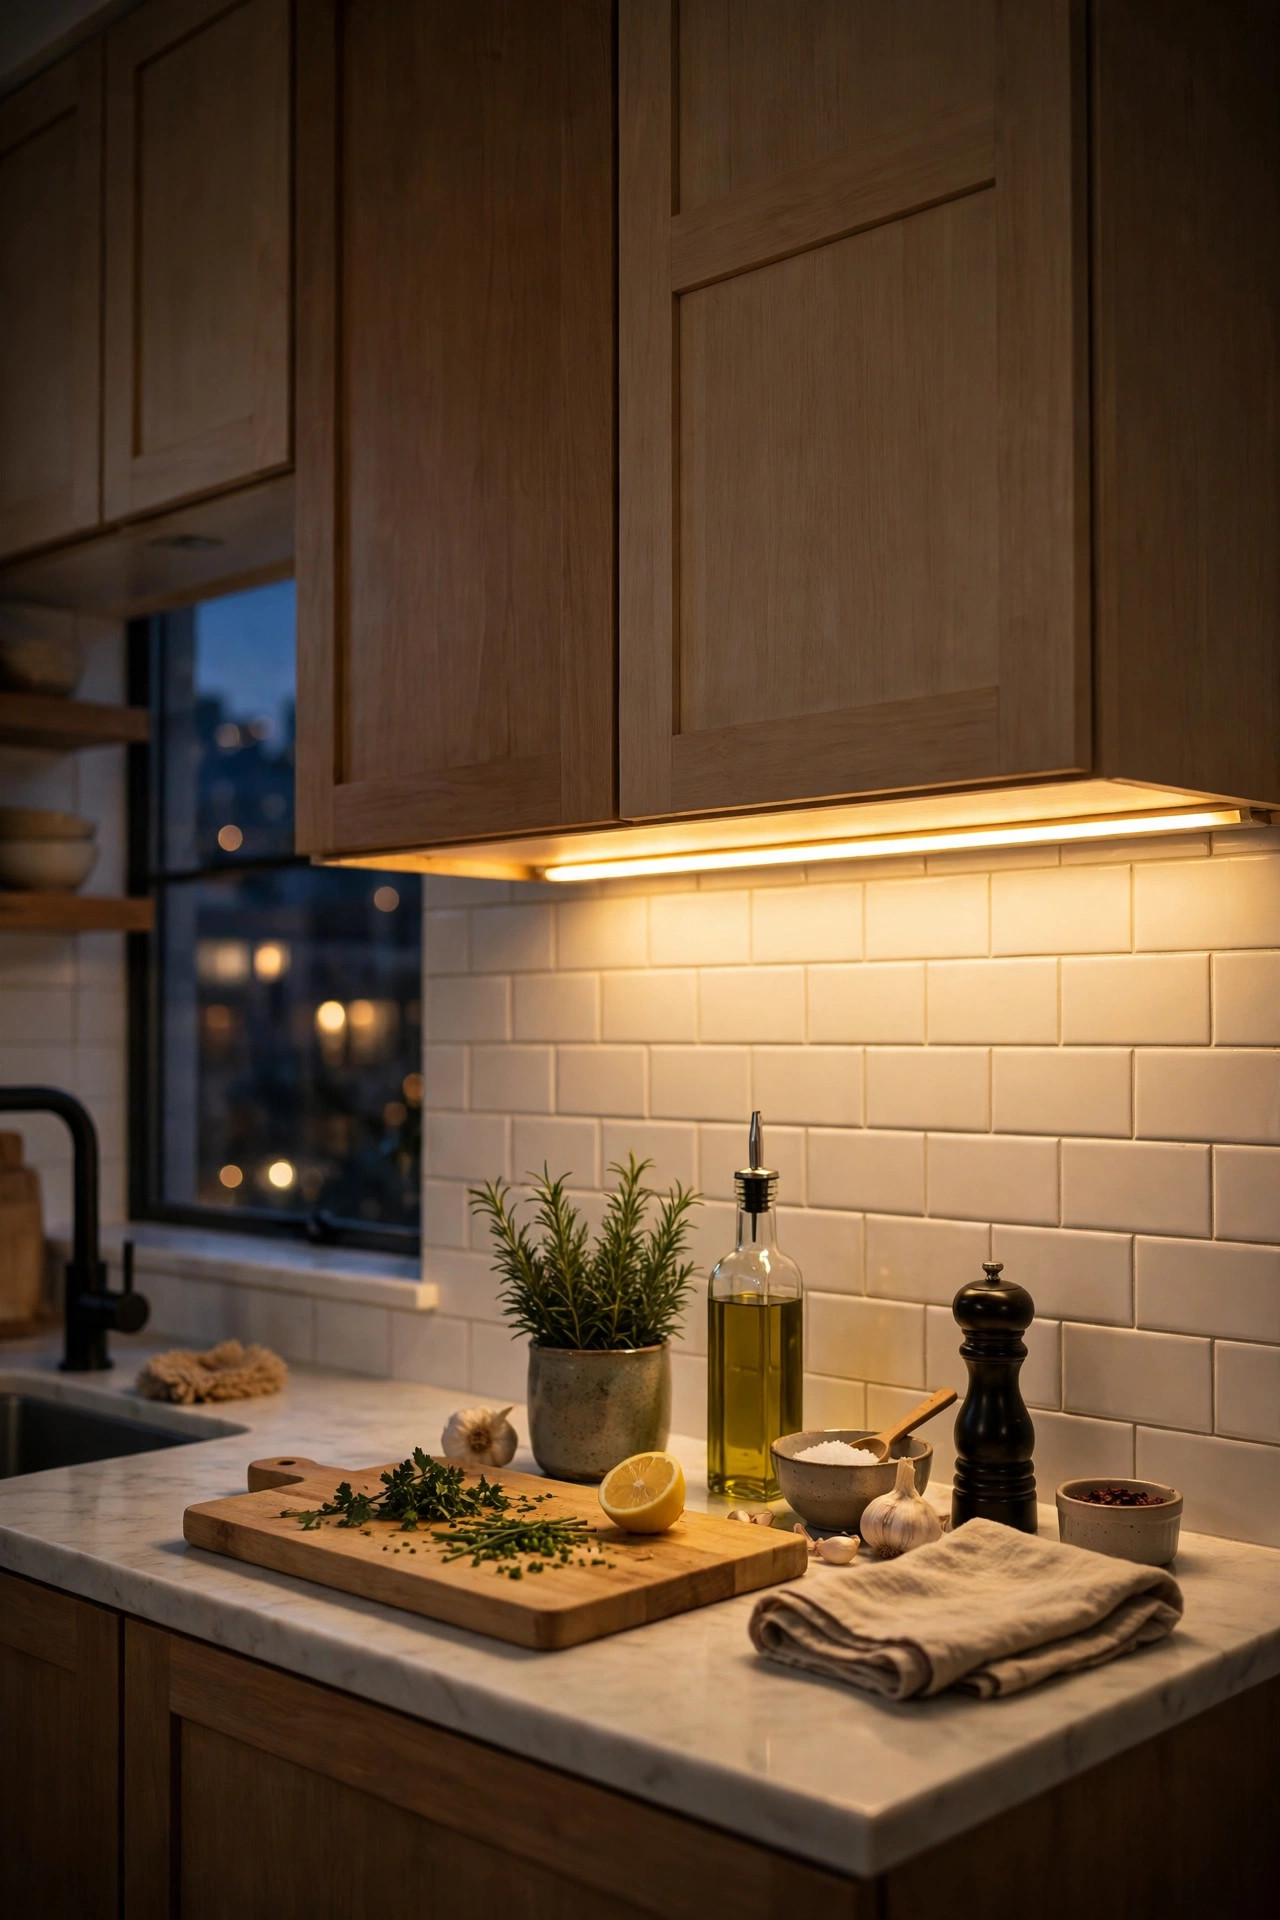
Dark corners look messy even when they are tidy. Battery strips under the uppers fix the prep spot in 10 minutes, rechargeable ones usually $15 to $25 a pair, no cord on the counter. Hooks on that wall hold measuring cups. Good battery under cabinet lighting ideas prove light alone makes a counter feel sorted. Charge them on a set day, dead lights help nobody.
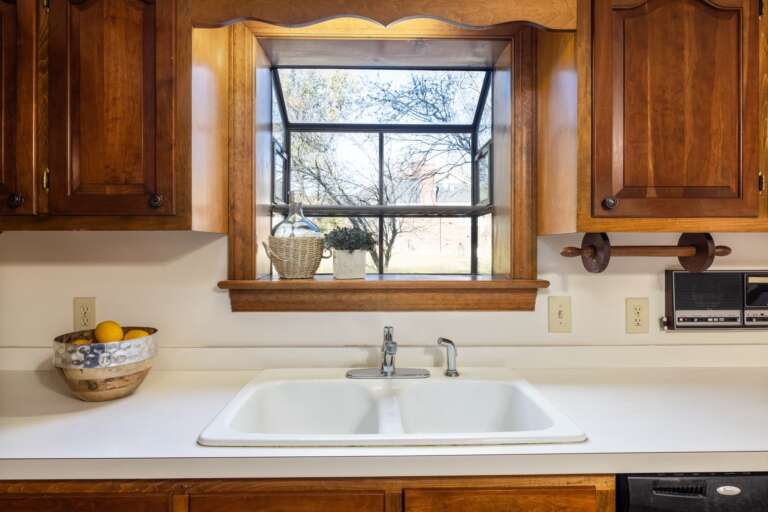
14. Make the Sink Area Earn Its Keep
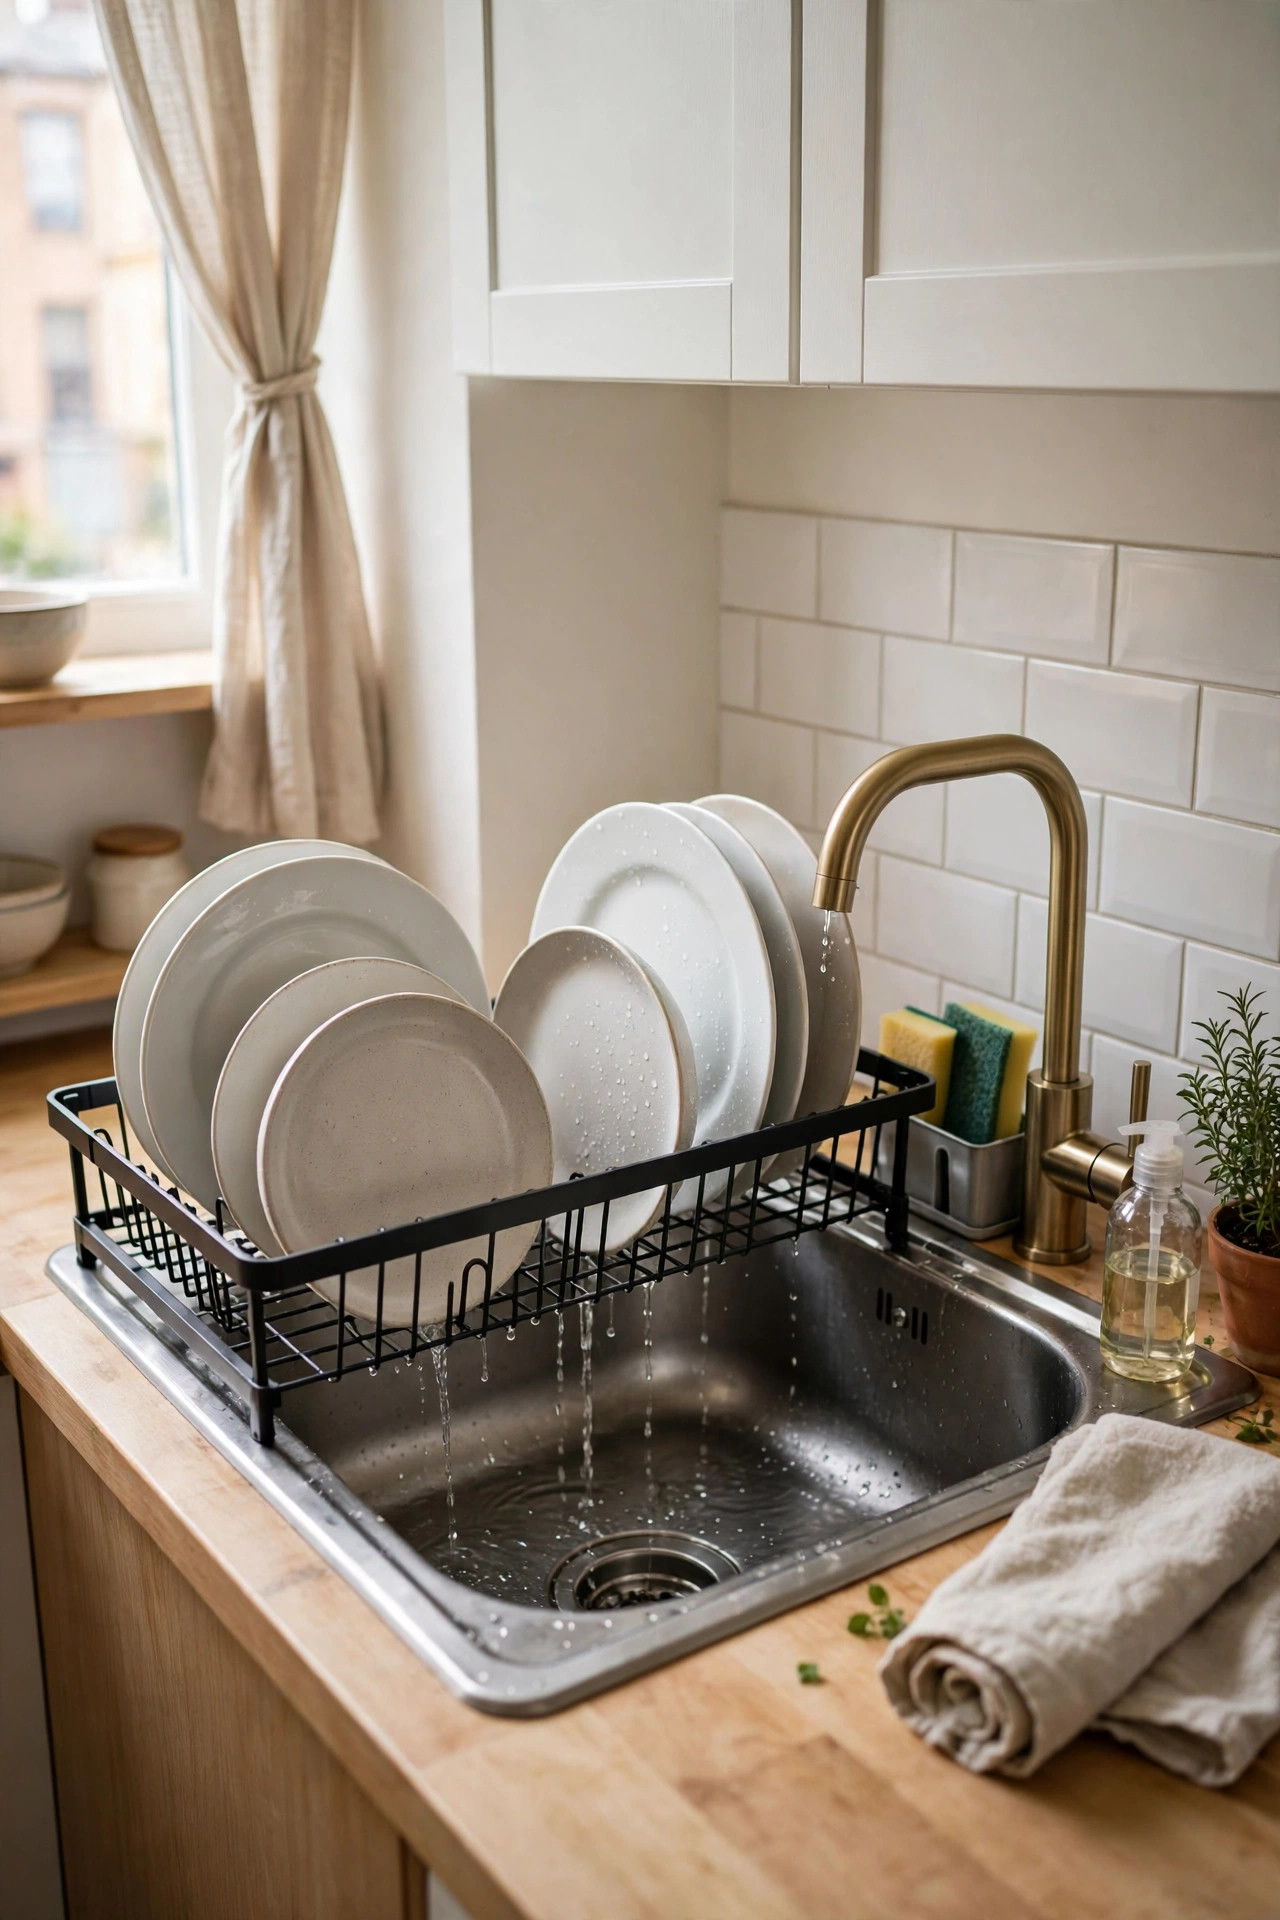
Give the sink 3 things and nothing more. Sponge caddy, brush, and 1 bottle by the tap, plus a towel hook inside the door. An over sink rack drains into the bowl, so the counter stays dry for chopping. If the rack wobbles, it is too narrow. Measure first, most racks need the exact span plus 1 inch each side.
15. Hang Mugs Underneath and Free a Whole Shelf
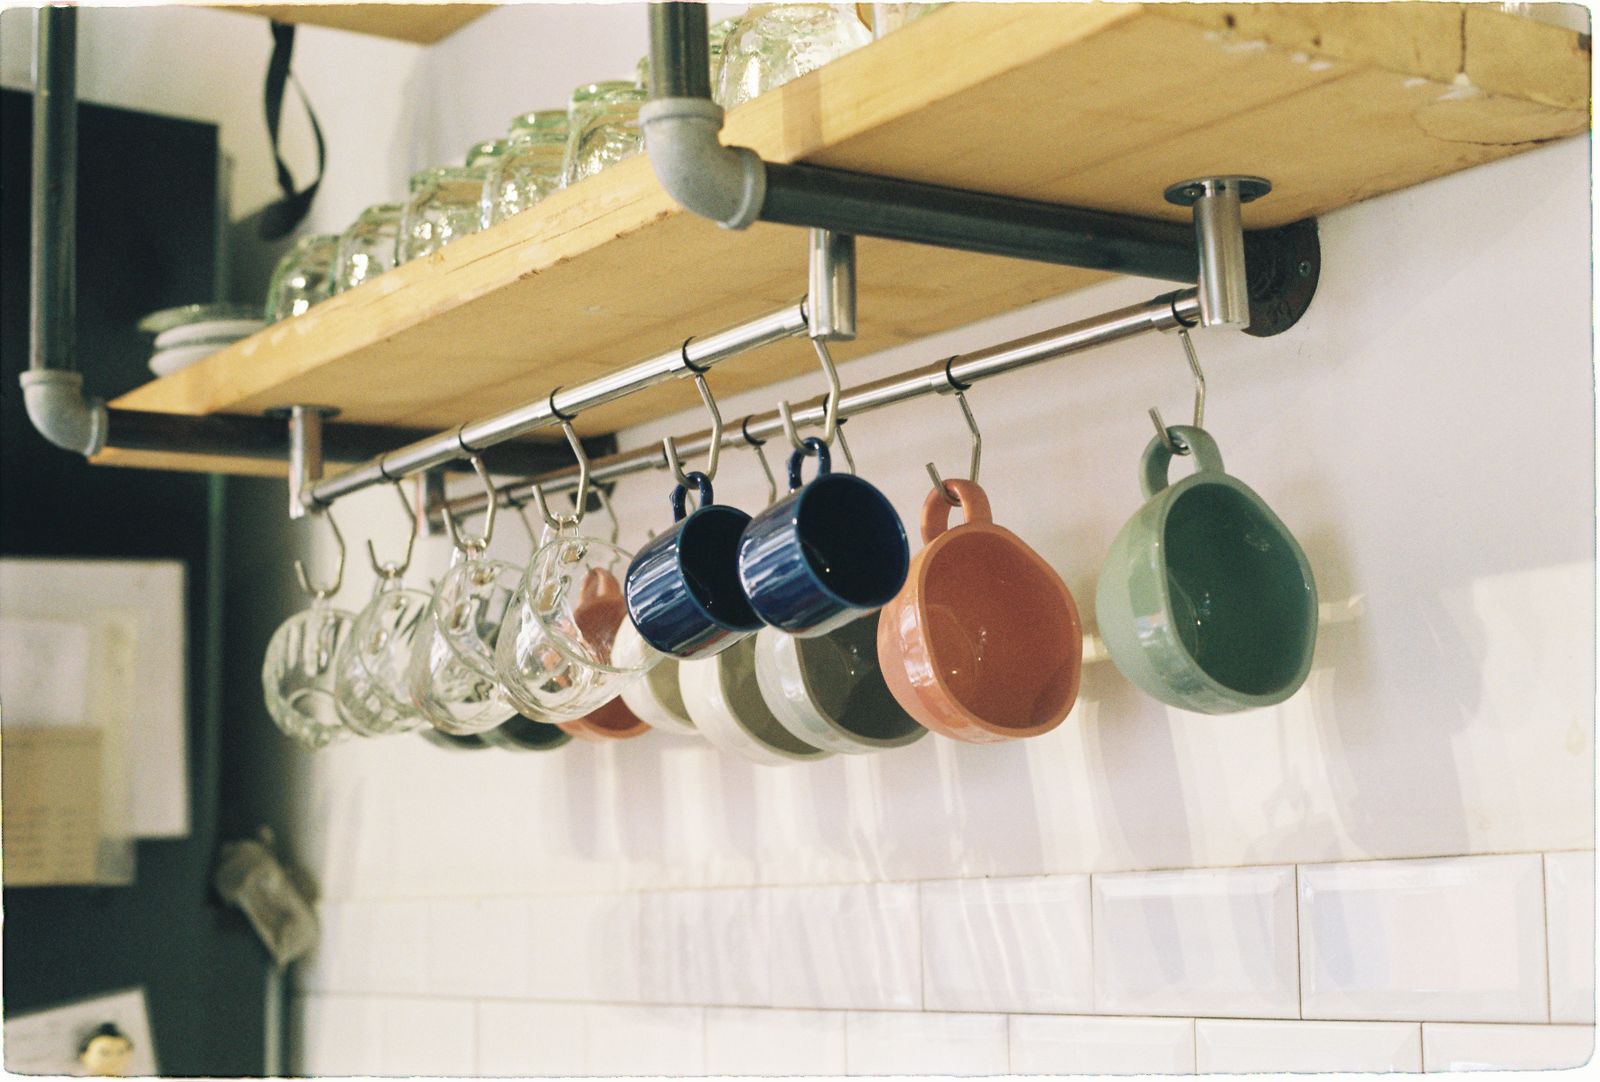
Mugs waste a whole shelf if you stack them. Hooks under the uppers turn dead space into a row, 5 or 6 mugs in daily use, extras higher. Space hooks about 4 inches apart and test the swing against my biggest mug first, tight hooks chip rims. Adhesive hooks run $8 to $15 a pack. Heavy stoneware is too much for adhesive, keep those in the cabinet.
16. Divide the Drawer and Lay Utensils on the Diagonal
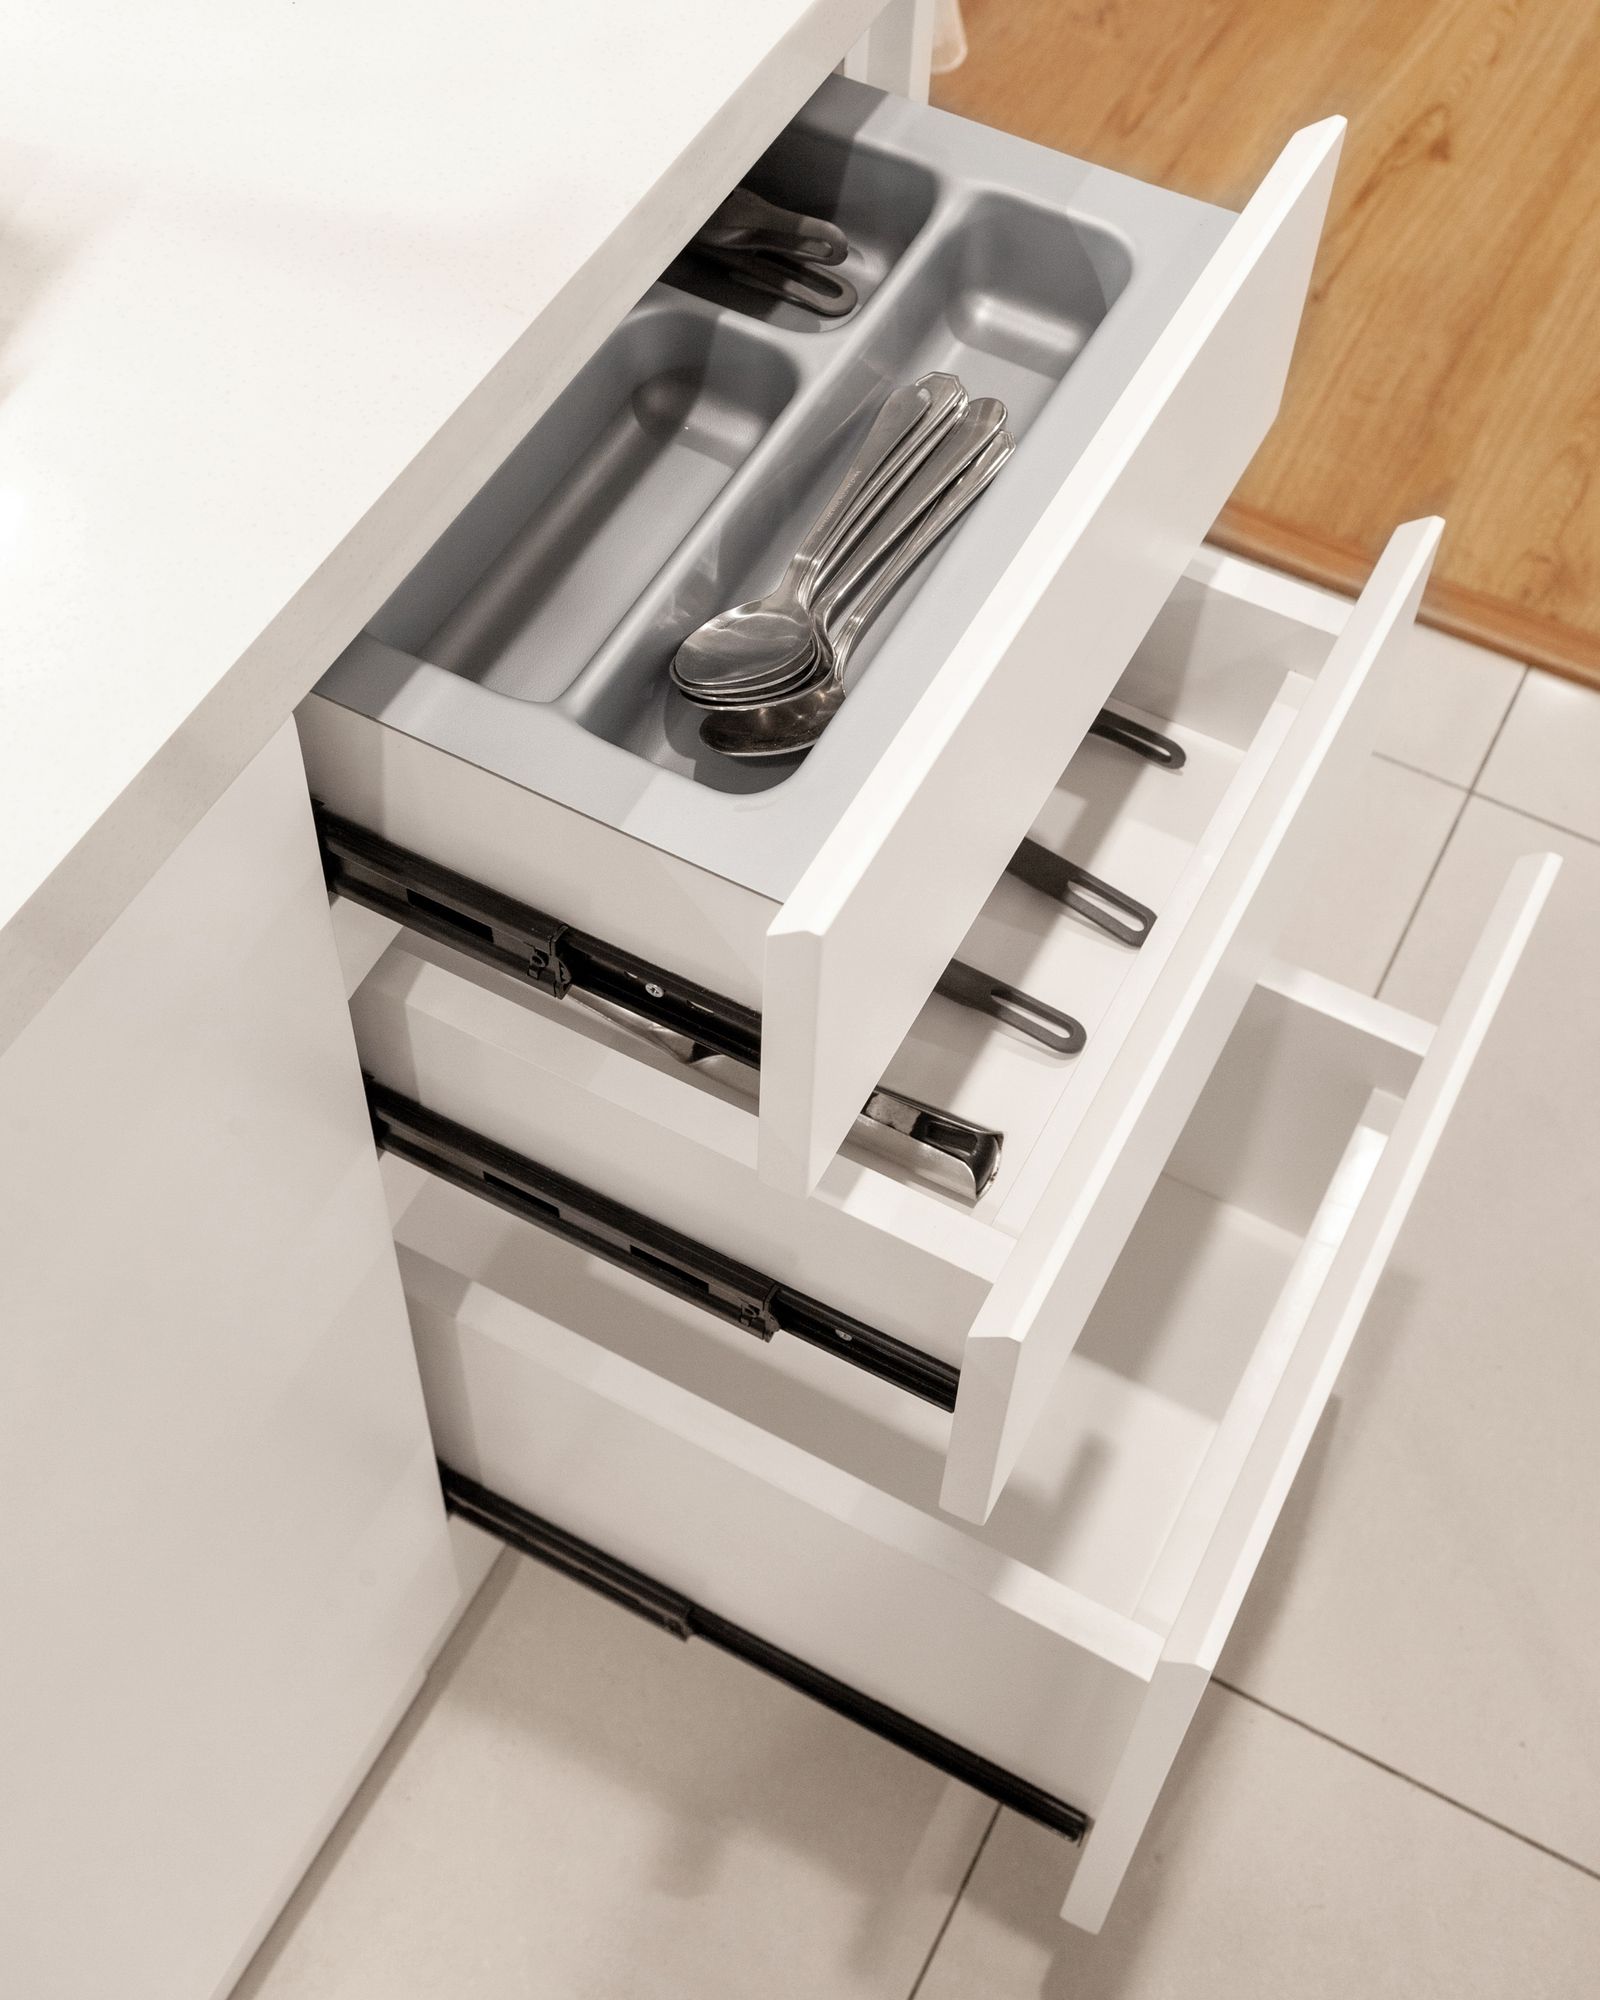
One drawer can work, if it has lanes. Dividers split it into cooking, prep, and odd bits, so you are not digging. Lay long tools on the diagonal, they fit better in an 18 to 24 inch drawer and tangle less. Add a liner so nothing slides. Test is simple, find the peeler in under 5 seconds, in the dark, mid cooking.
17. Add One Rolling Cart That Works as a Pantry
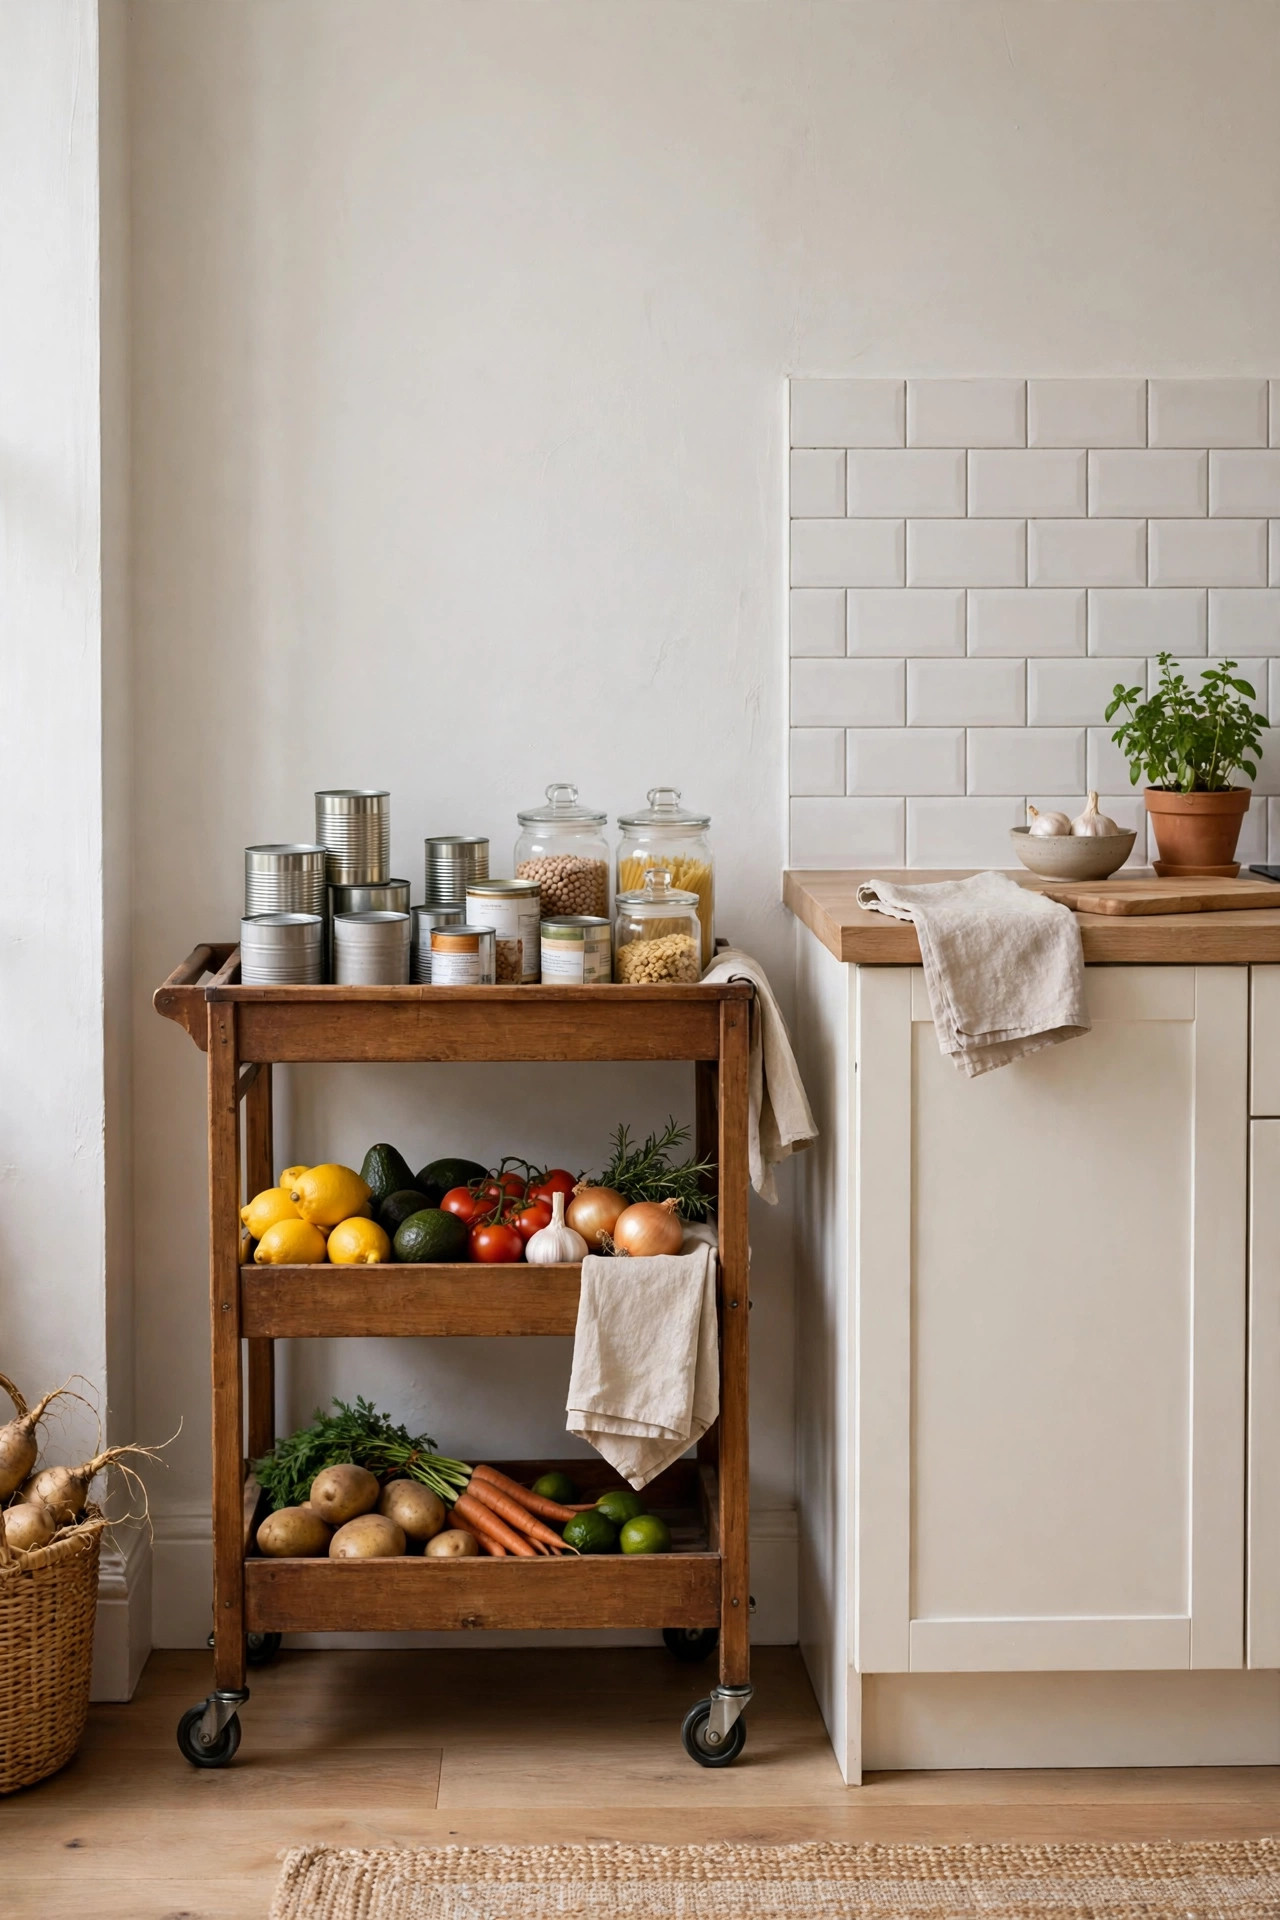
One rolling cart can be the pantry you never got. Park it on a free wall, cans on 1 tier, baking on another, onions on top. Roll it to the counter to cook, roll it back after. Pick 1 tier tall enough for bottles, about 12 inches, and lockable wheels if your floor slopes. A cart that rolls on its own ends in the doorway.
18. Run One In, One Out, No Exceptions
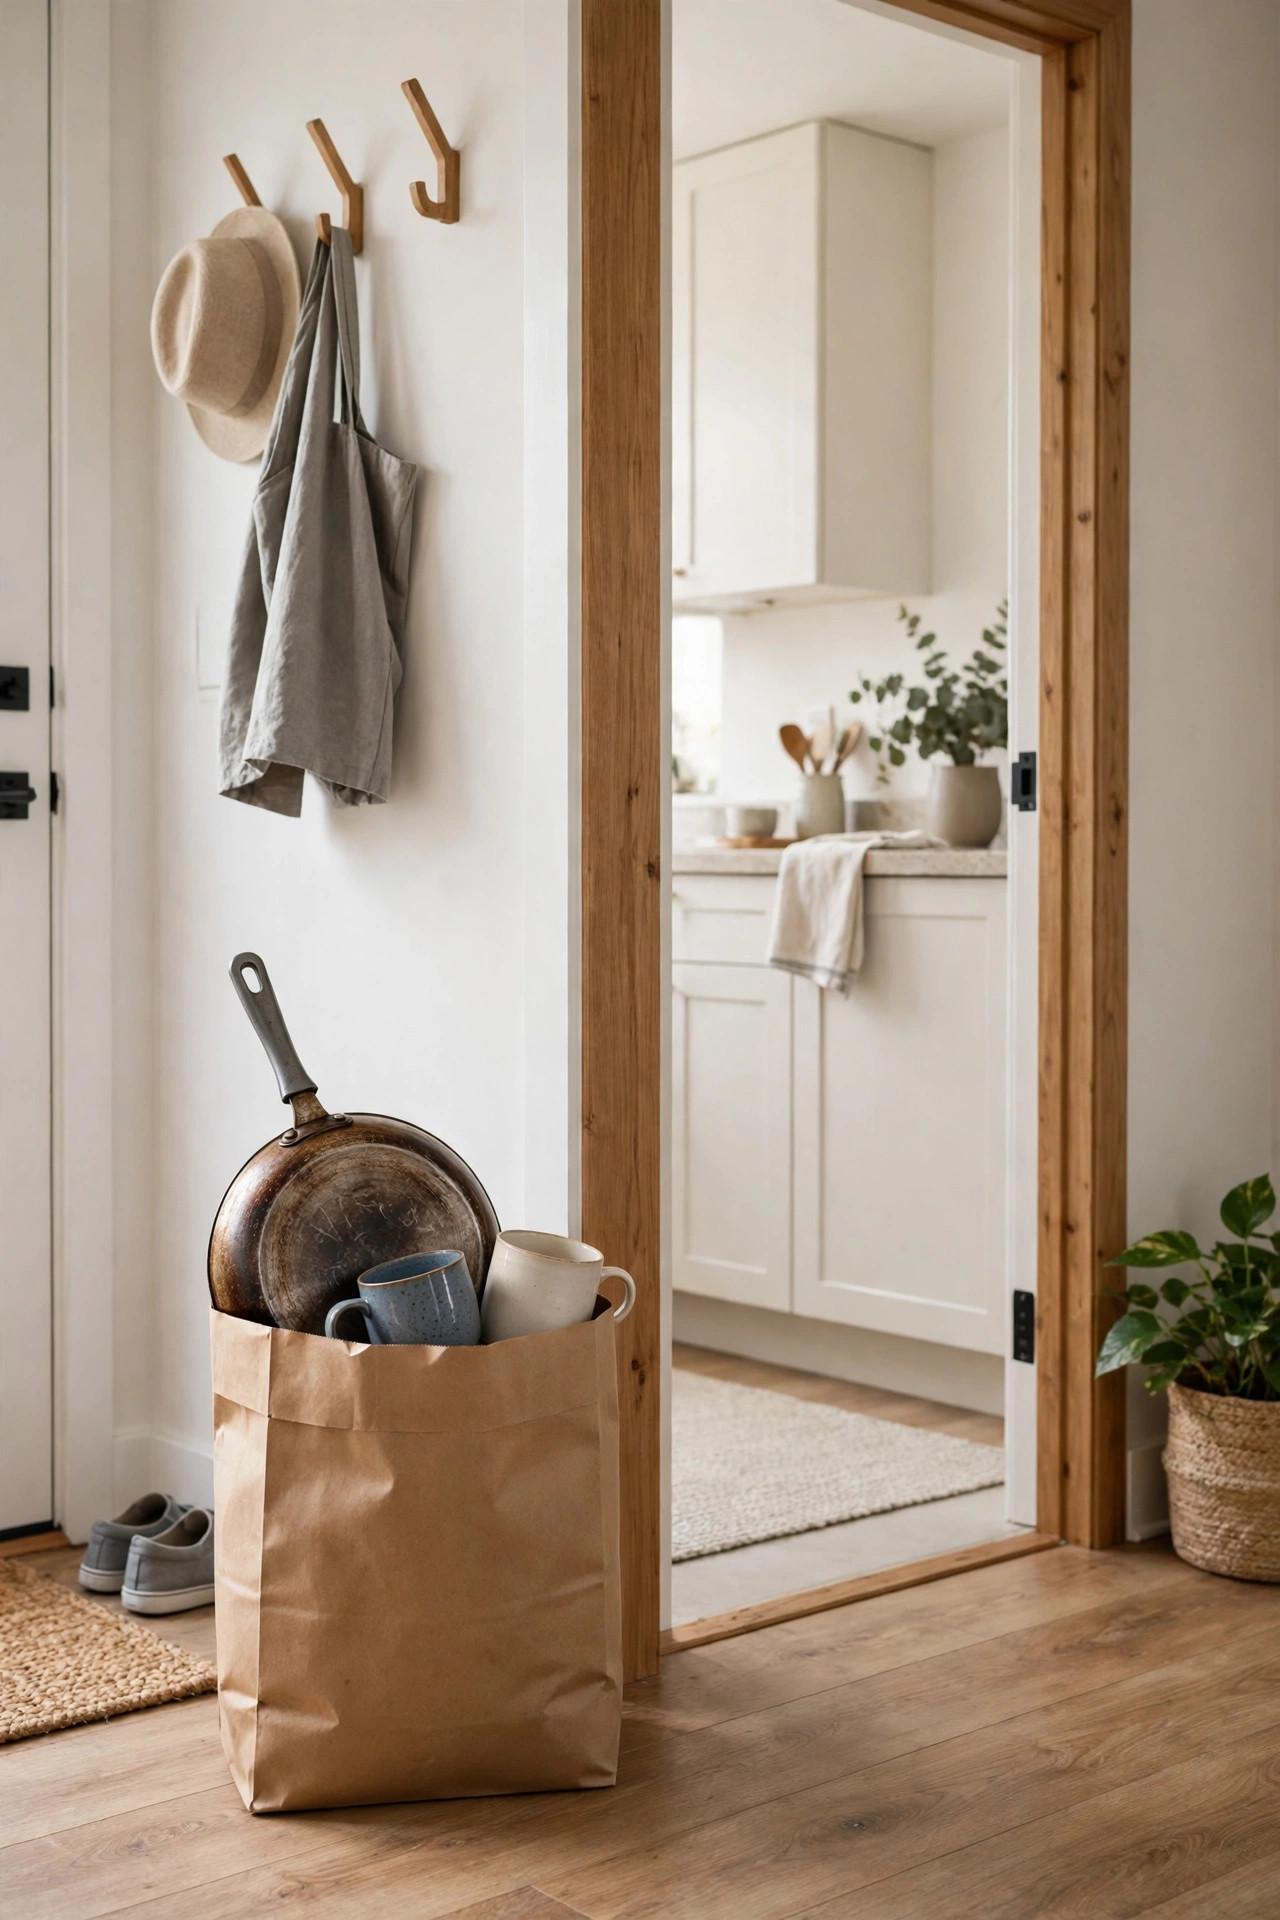
Systems die when more stuff keeps coming in. I keep 1 paper bag by the door for this. New pan in, wobbly pan in the bag. New mug in, chipped mug out. When the bag fills, it goes out on the next trip, not next month. A small kitchen holds what you use weekly, not everything you have ever used.
19. Do a Ten Minute Reset Every Week
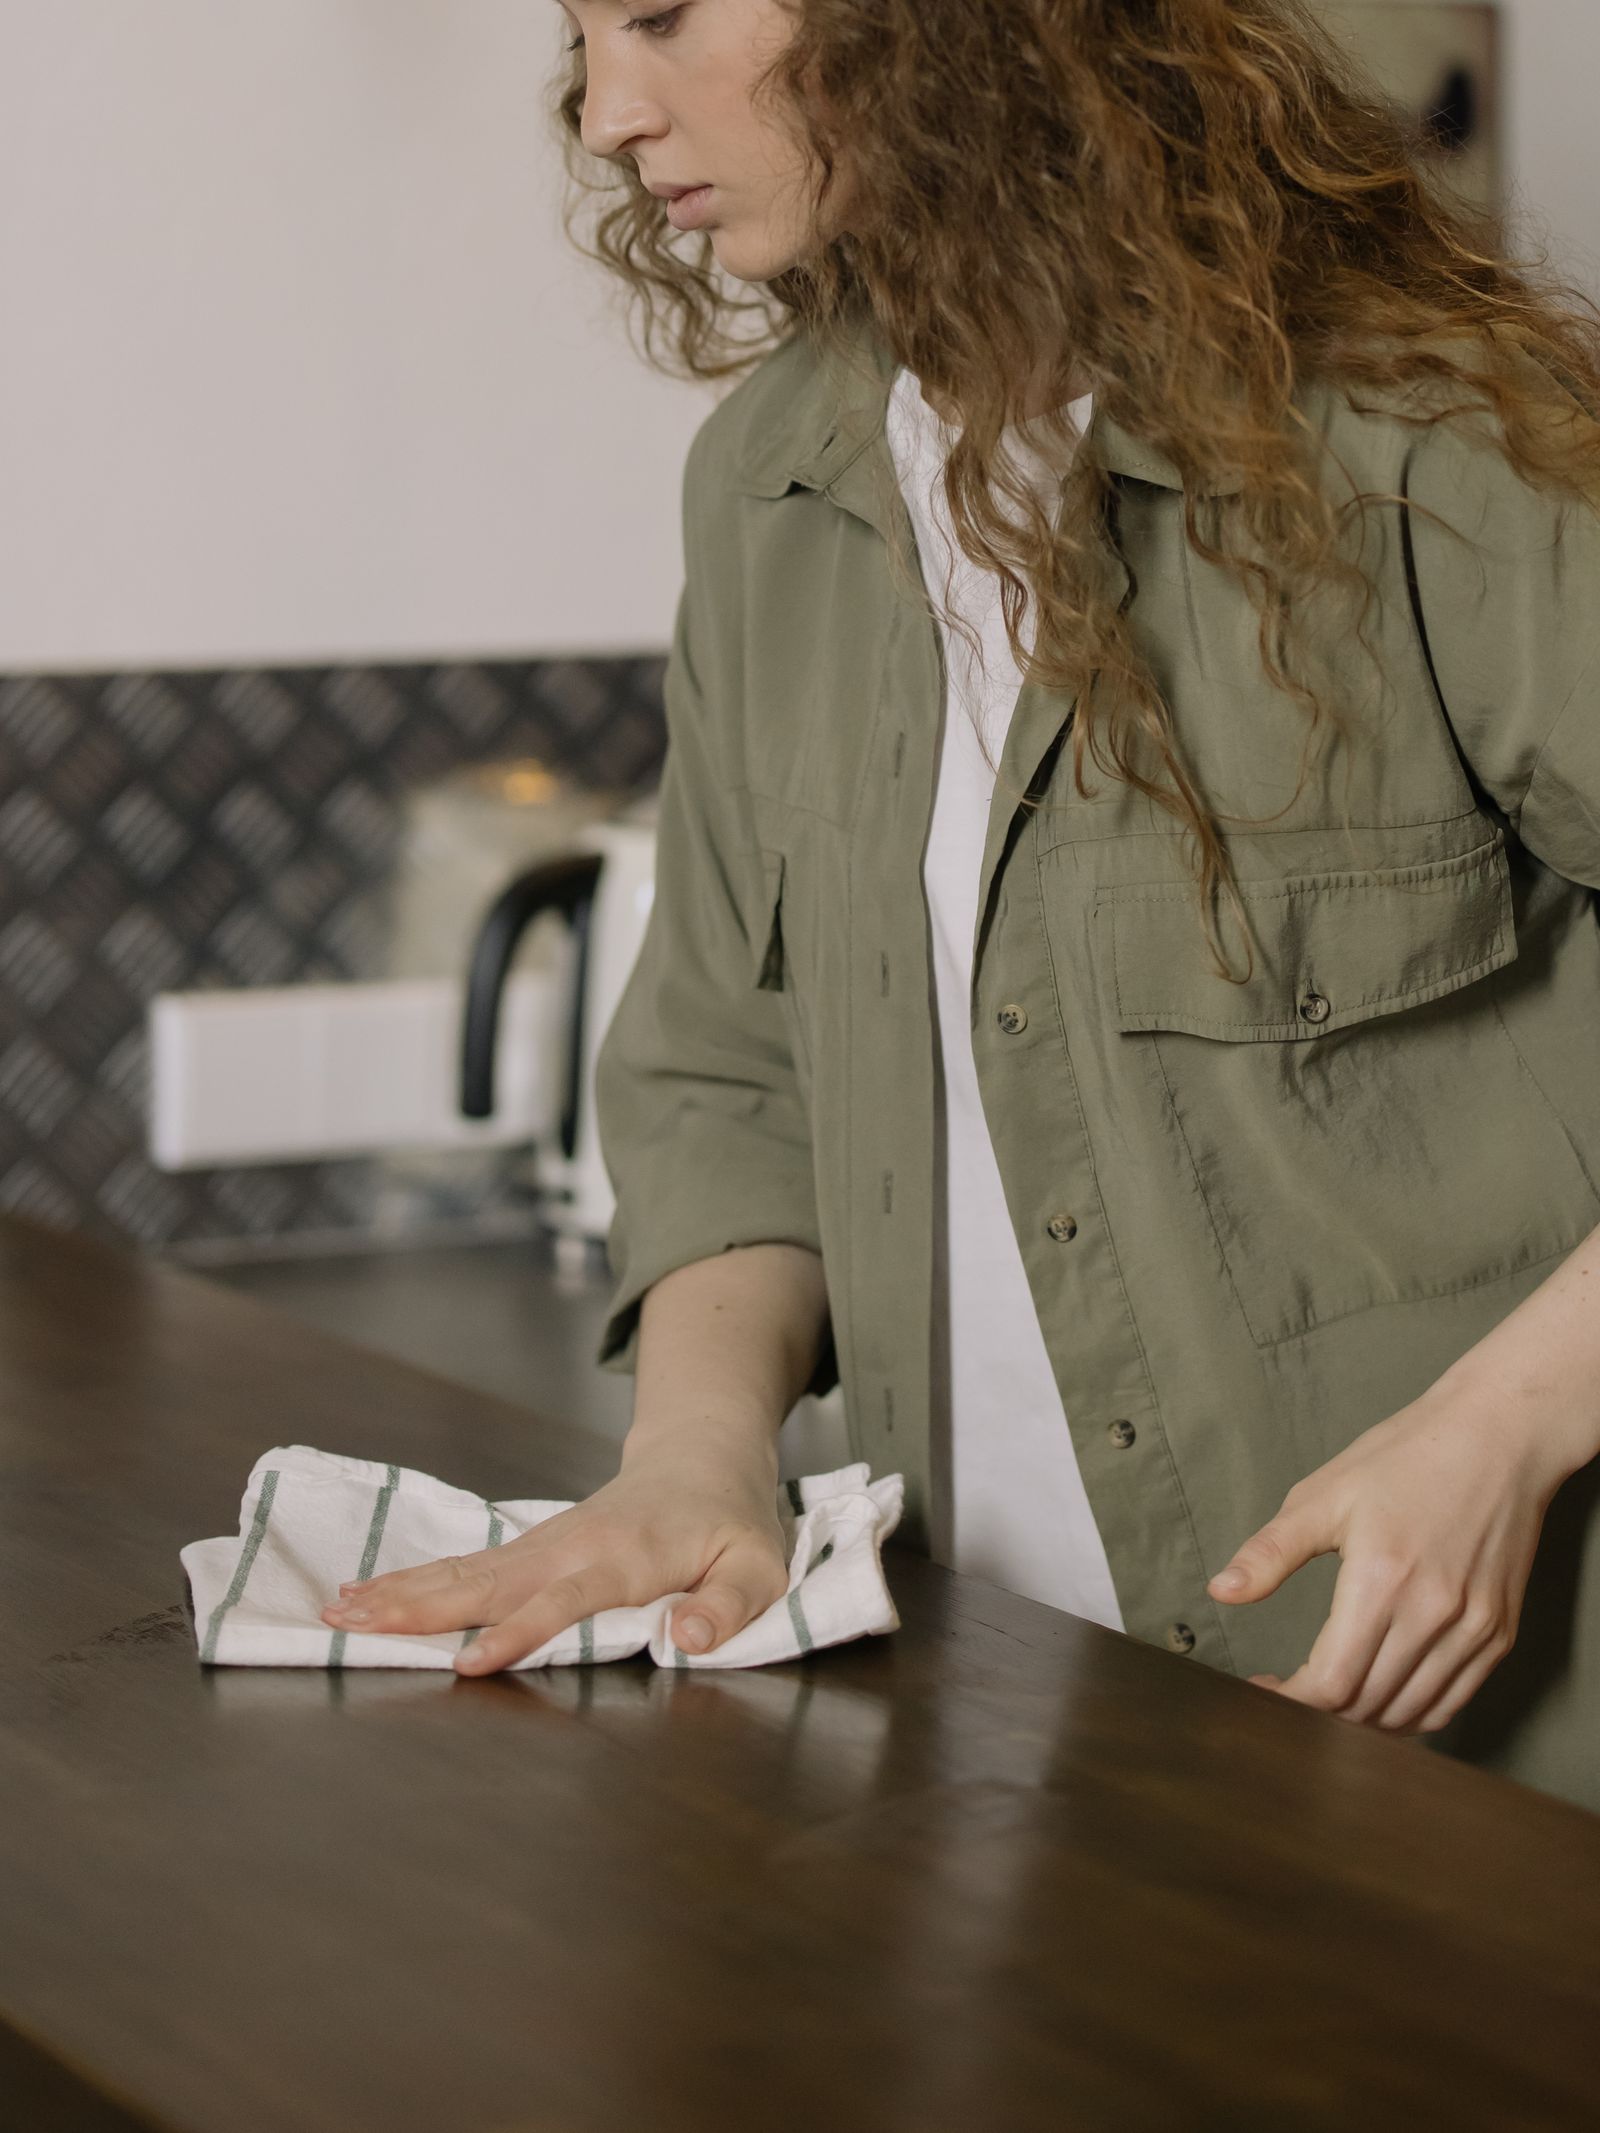
Set a 10 minute timer once a week and stop there. Put strays back in their zones, wipe the tray, check the food cabinet for doubles, clear the counter creep. Stop when it rings, even if 1 drawer still bugs you. Same slot each week works best, Sunday night for most people. Skip a week and you feel it by Tuesday.
The Bottom Line
A small kitchen works when everything has 1 fixed home and the counter stays clear. Zones do the heavy lifting, walls and doors add the space, and the 10 minute reset keeps it from sliding back. Do the zones first, add storage only where a zone still fails, and stop when you can find the peeler in 5 seconds.
Start with the zones. Move what you own into 3 zones tonight, it takes 20 minutes and costs nothing.
Frequently Asked Questions
How do I organize a small kitchen with no counter space?
Keep the counter for work only and put daily items on 1 tray. Move storage up, 1 rail, 1 magnetic strip, mug hooks under the cabinets, and racks inside the doors. Add an over sink rack for dishes and let a slim cart, 5 to 7 inches wide, act as extra pantry space.
What is the best way to organize cabinets in a small apartment kitchen?
Zone cabinets first into 3 zones, prep, cooking, and food. Inside each one, use risers to split the height, bins for deep cabinets, and a 10 to 12 inch turntable for bottles. Keep daily items between knee and shoulder height and heavy items low.
How can I add storage to a rental kitchen without drilling?
Use adhesive rails and hooks rated for the weight, over door racks, risers, and freestanding carts. Let adhesive cure a full 24 hours before you load it, and test it on a hidden spot first. All of it comes off clean at move out if you follow the limits on the pack.
Where do you store pots and pans in a tiny kitchen?
Hang daily pans on the rail and file lids upright in a rack by the stove. Nest the rest in the deepest cabinet in the cooking zone. Big roasting pans and the stockpot you use 3 or 4 times a year go above the cabinets in closed boxes.