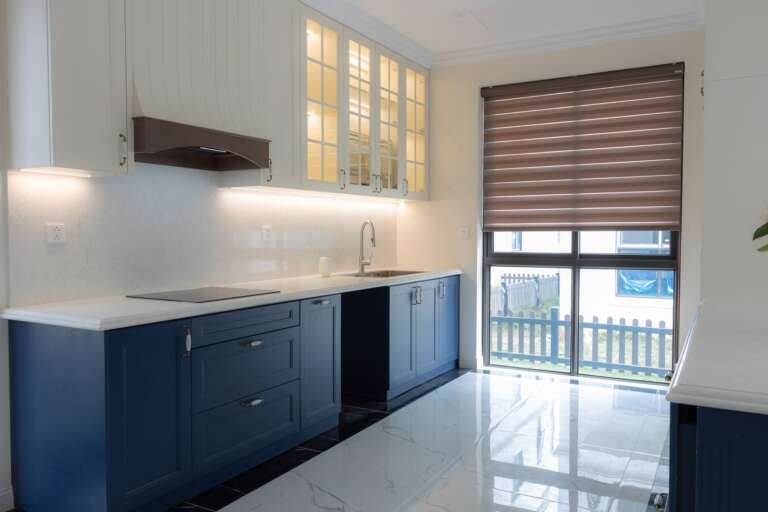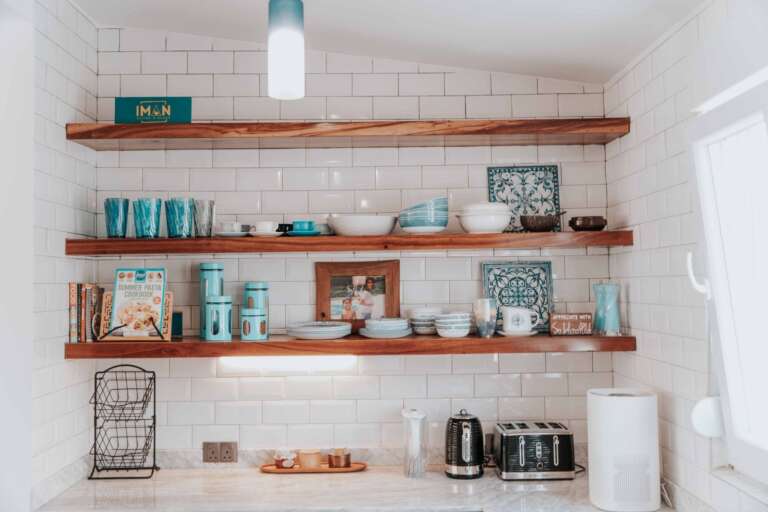
13 Peel and Stick Backsplash Ideas Renters Will Love
A peel and stick backsplash is a thin tile sheet, sticker or panel you press onto the wall with no mortar and no grout. It is safe to try because most kinds peel off glossy paint and old tile when you warm them and go slow. This list is for renters who need the change to come off clean at move out, so every idea below puts removal and heat first, not last. I always test one sheet in a hidden corner for 7 days before I do a whole wall.
The short version, before we start:
Test first for 7 days. One sheet behind the fridge tells you if your paint will lift. If it does, skip sheets and use beadboard on removable strips.
Cover the splash zone first. The wall from the counter to the cabinets is about 18 inches high. That strip gets the splashes, and it is enough for most kitchens.
Keep heat in mind. Behind a stove is not the same as beside a sink. Check the heat limit on the pack and the gap your stove manual asks for.
Buy 10 percent extra. Cuts around sockets waste more than you think, and you want spare sheets from the same batch for repairs later.
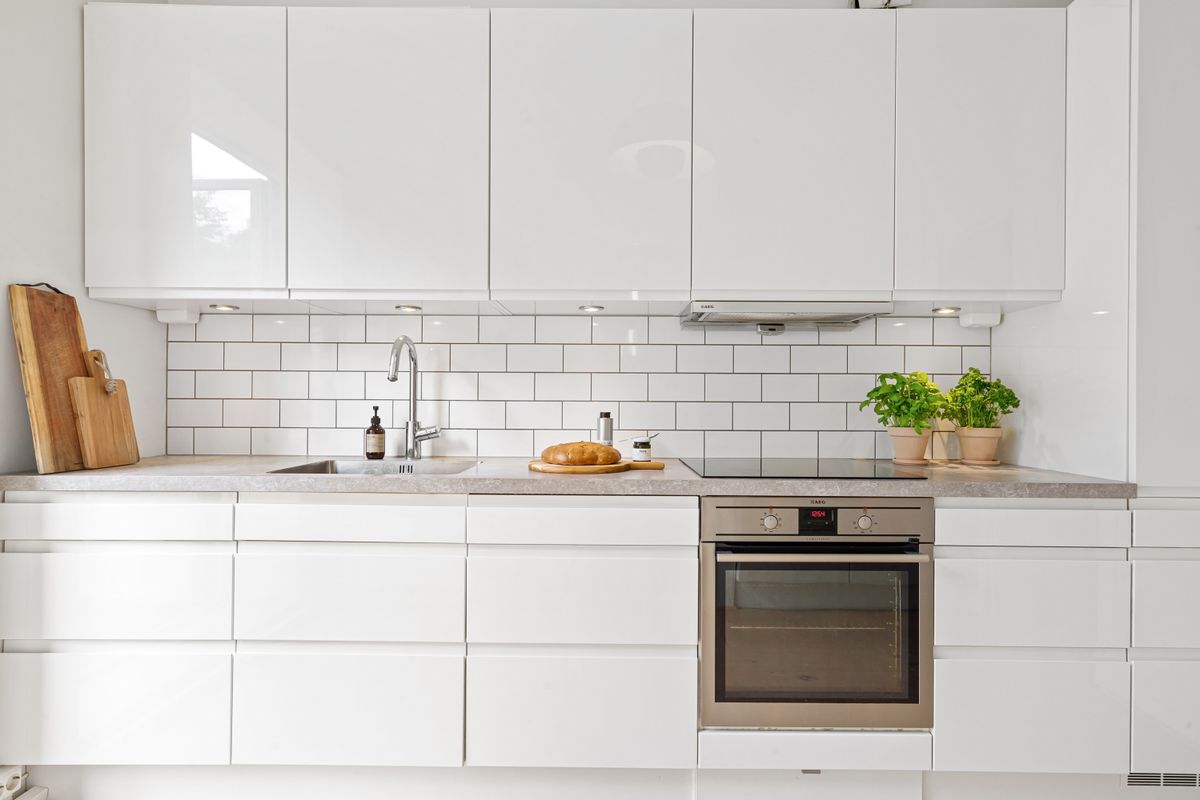
1. Start With White Subway, It Hides Your Mistakes
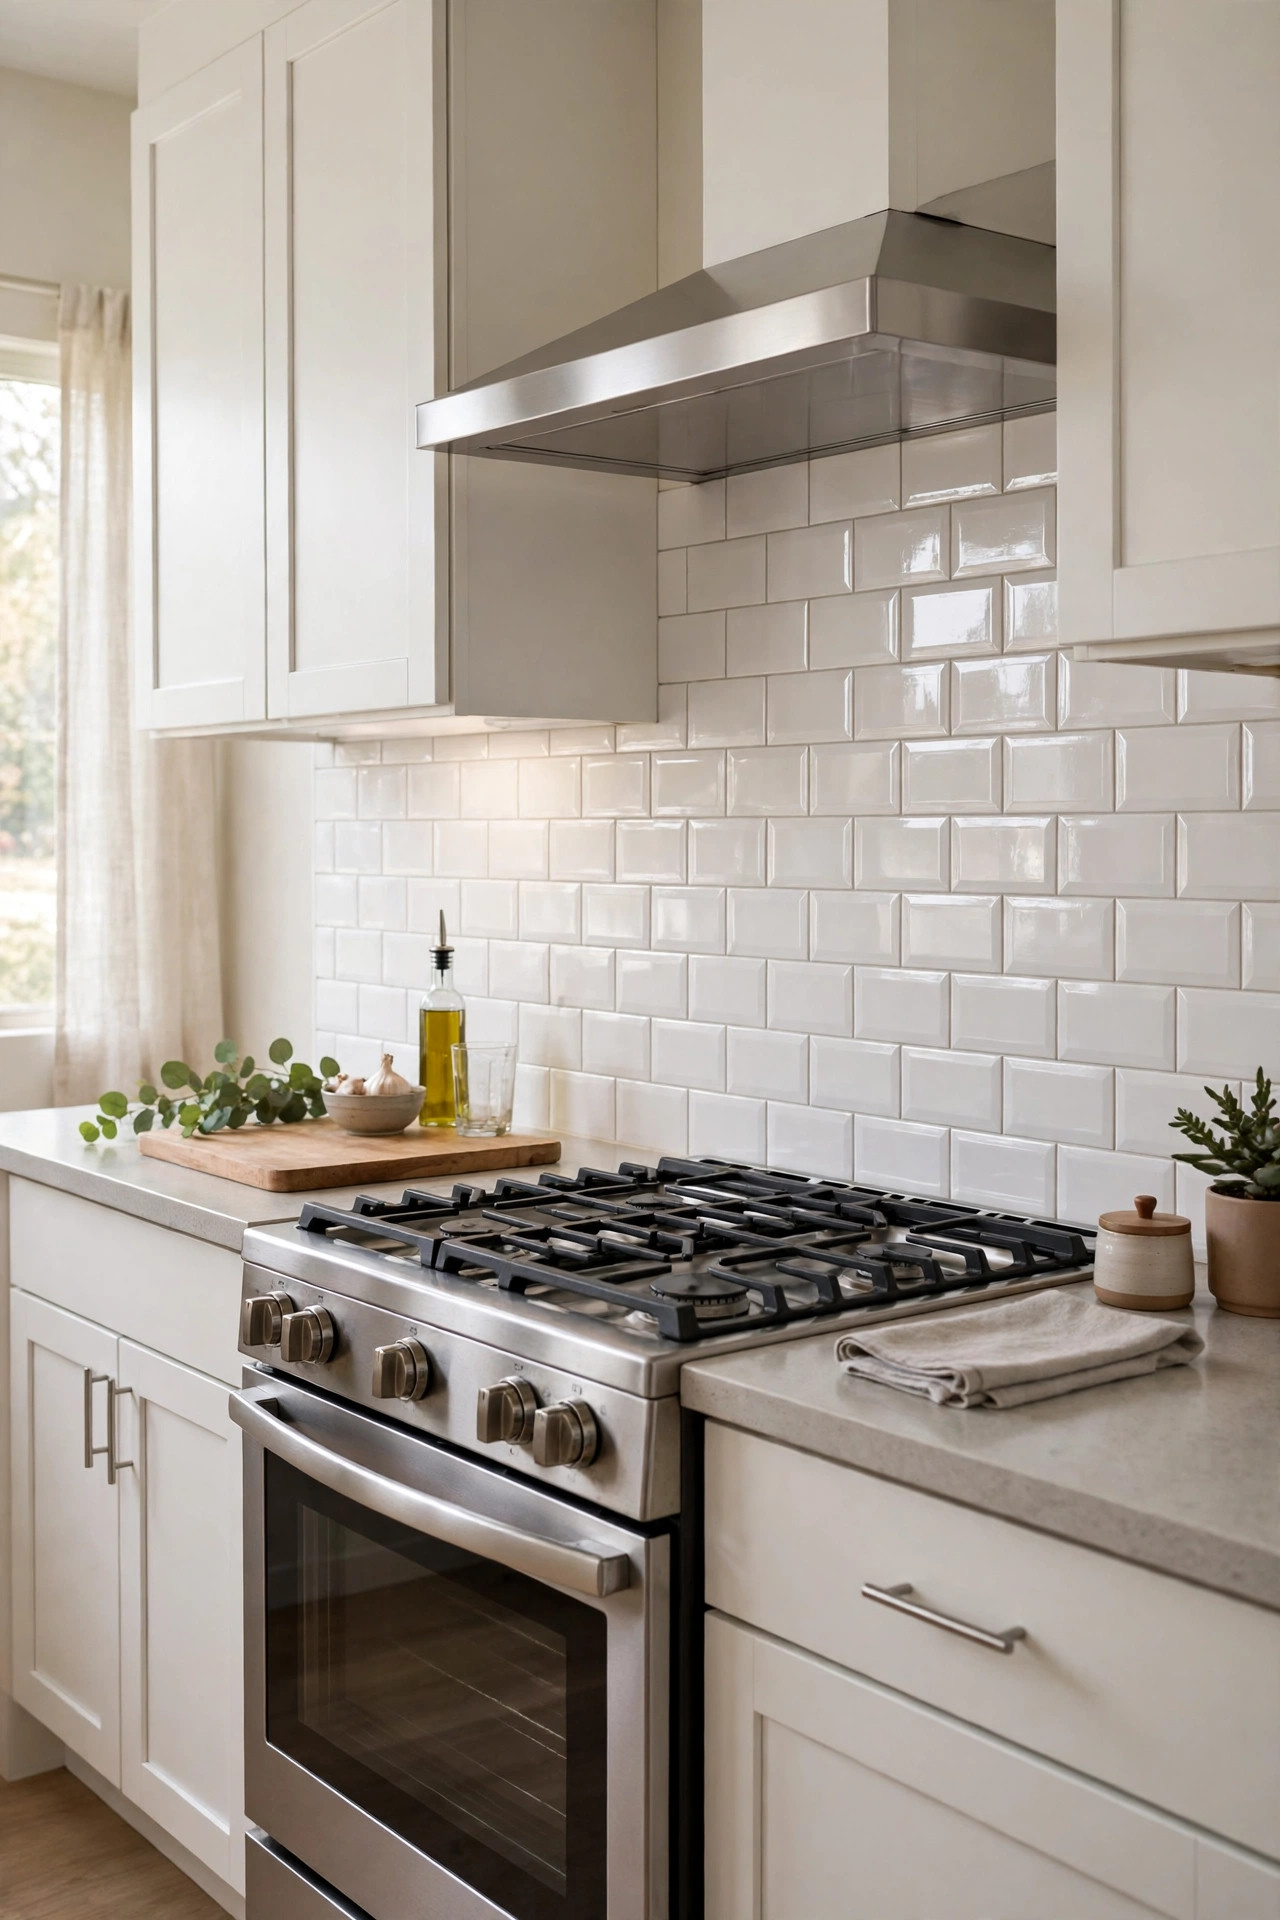
Start here if you have never done this before.
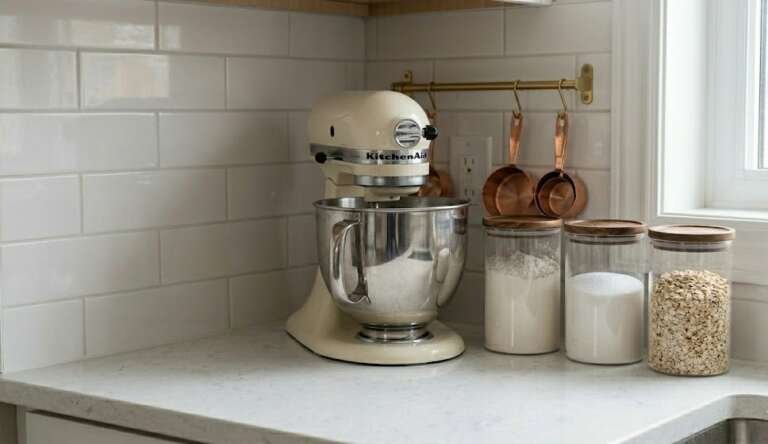
The small tiles and clear grout lines hide a cut that is a bit off. Most sheets are about 12 by 12 inches, so count your wall width, divide by 12, then add 10 percent for cuts. Mark one level line and take the first row slow, because a row that dips by 1/4 inch at the start will dip more by the end. This is one of the safest renter friendly kitchen updates you can do.
Heads up: if your 7 day test lifts matte paint, do not push on. Use idea 6 instead.
2. Go Large If You Want It Calm and Fast
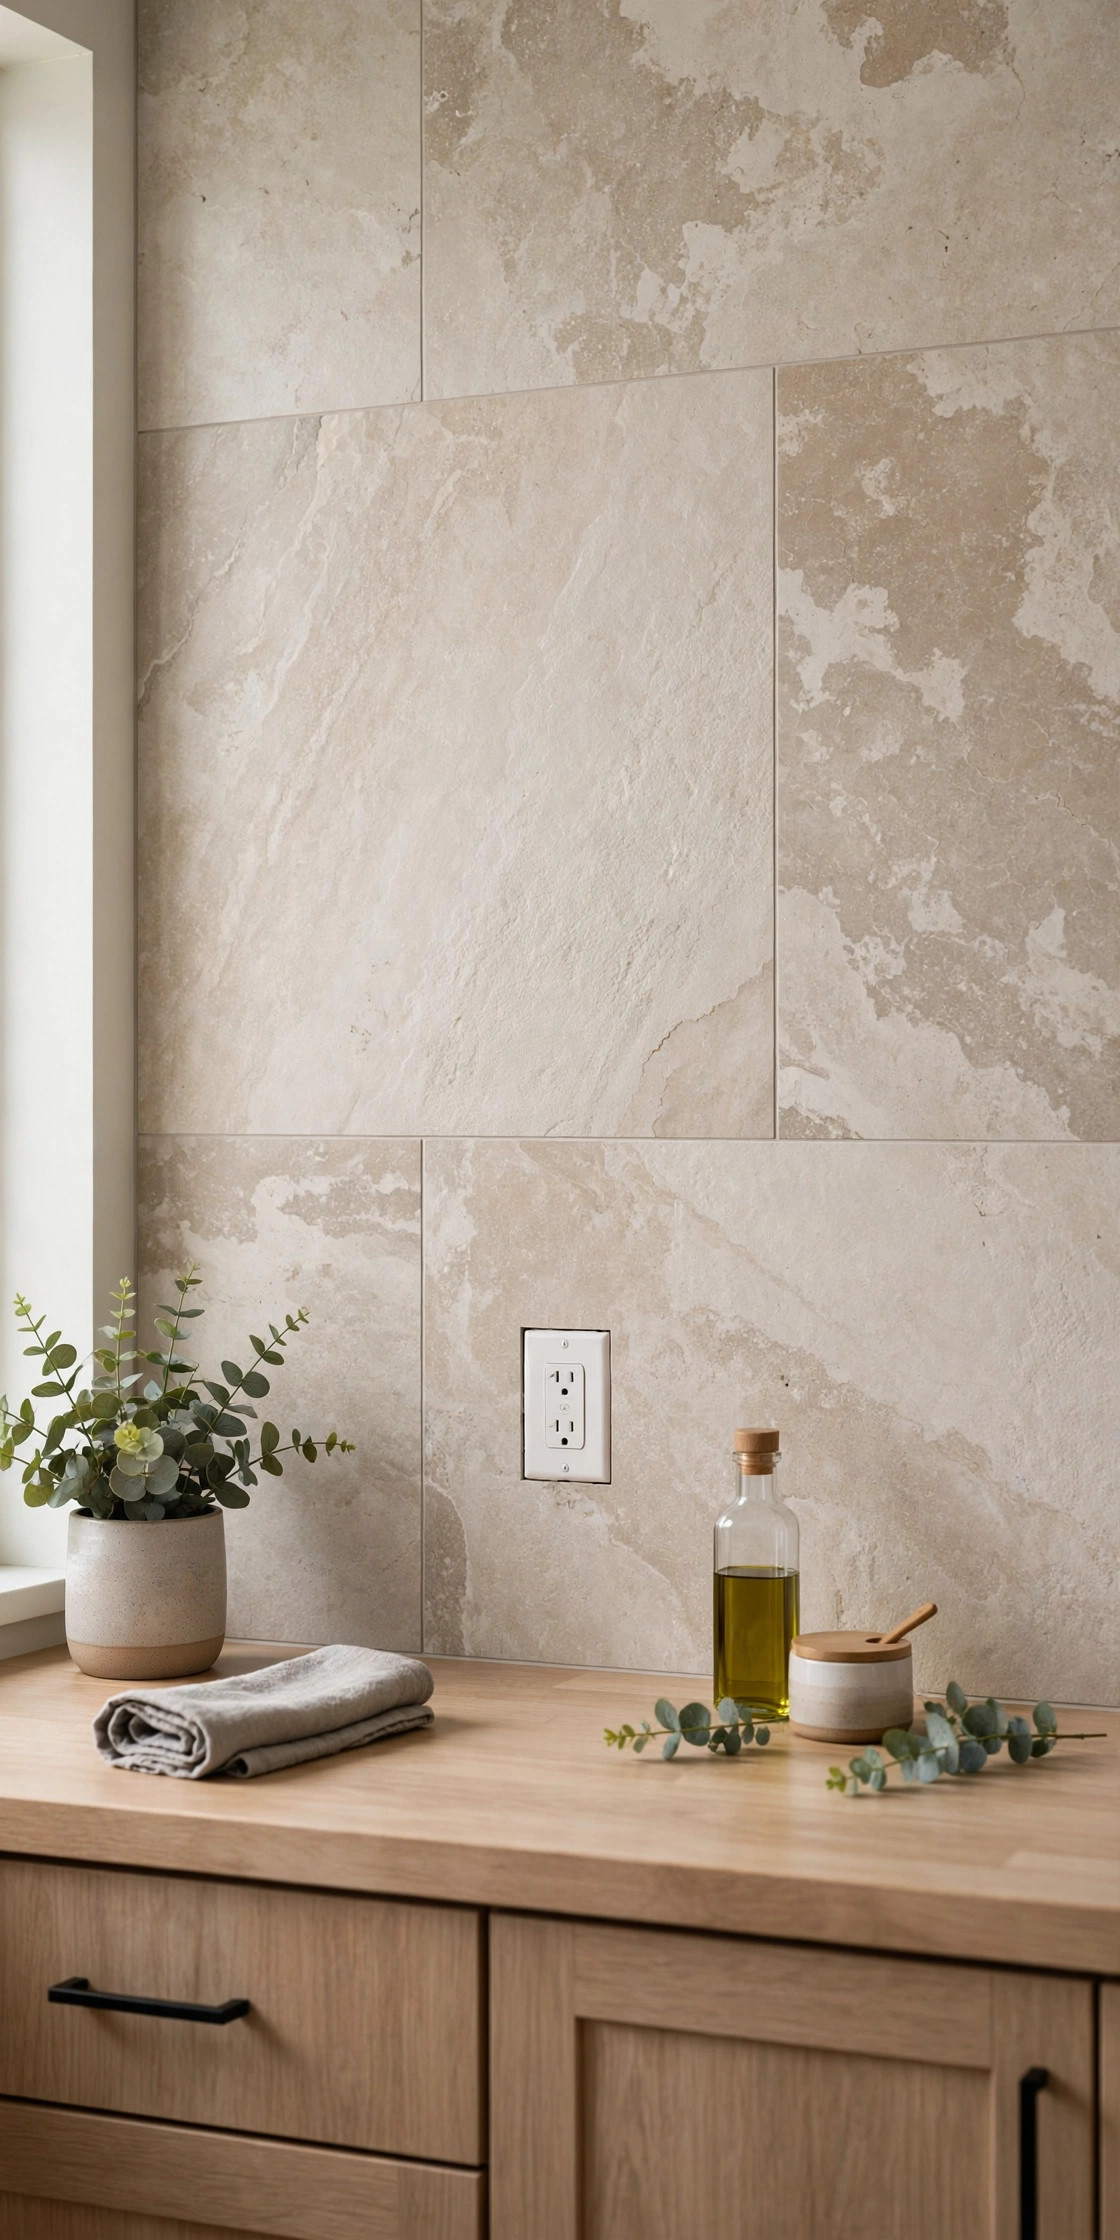
Big stickers are the fast route, plain and simple.
Fewer grout lines mean fewer lines to line up, and a sheet around 12 by 24 inches covers twice the wall of a small sheet. The catch is the edges. Every edge shows, so cuts around sockets need care. Cut 1/8 inch short and the gap shouts. Test the fit dry, then peel.
Keep 2 spare sheets. One bad cut is normal.
3. Pick Marble Look, But Keep Everything Else Quiet
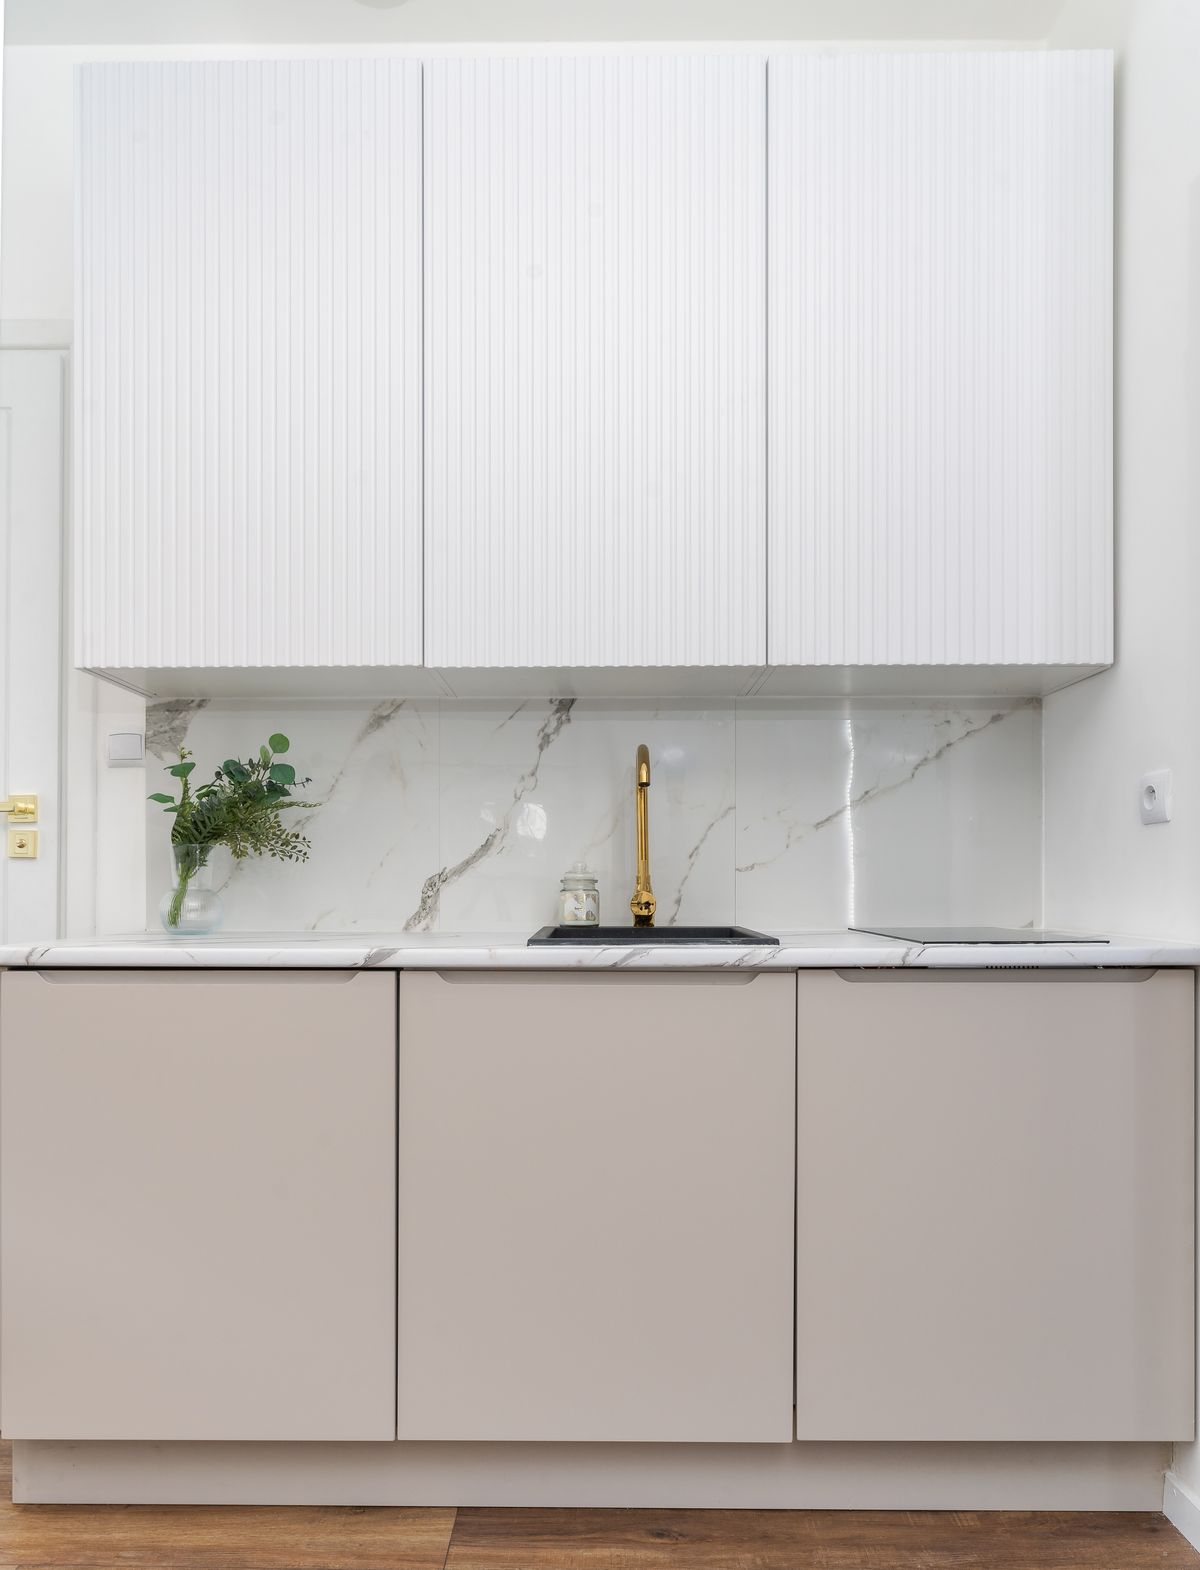
Let the wall do the work and stop there.
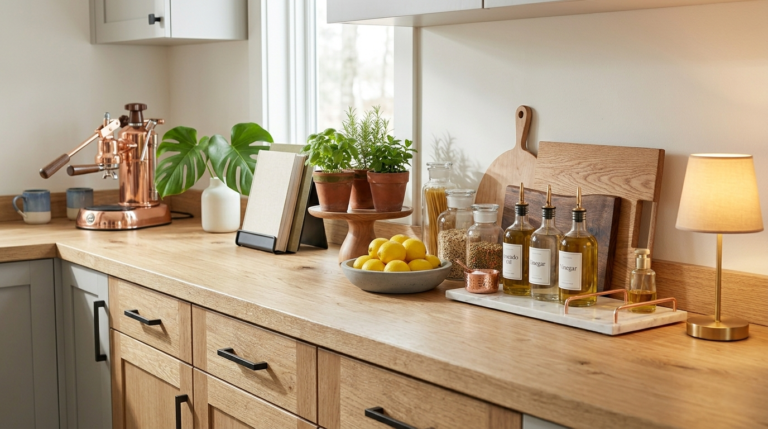
Soft gray veins on white bounce light around a small room, and the random pattern means you do not have to match sheet to sheet in a perfect line. Most packs run about $30 to $55 for a small splash zone, stated as general guidance, not a promise. I keep the counters plain with this one. Plain jars, 1 plant, nothing loud next to it.
If the veins line up in a hard repeat across 3 sheets, turn the next sheet around. A forced match looks fake fast.
4. Center Herringbone on the Stove and Work Out
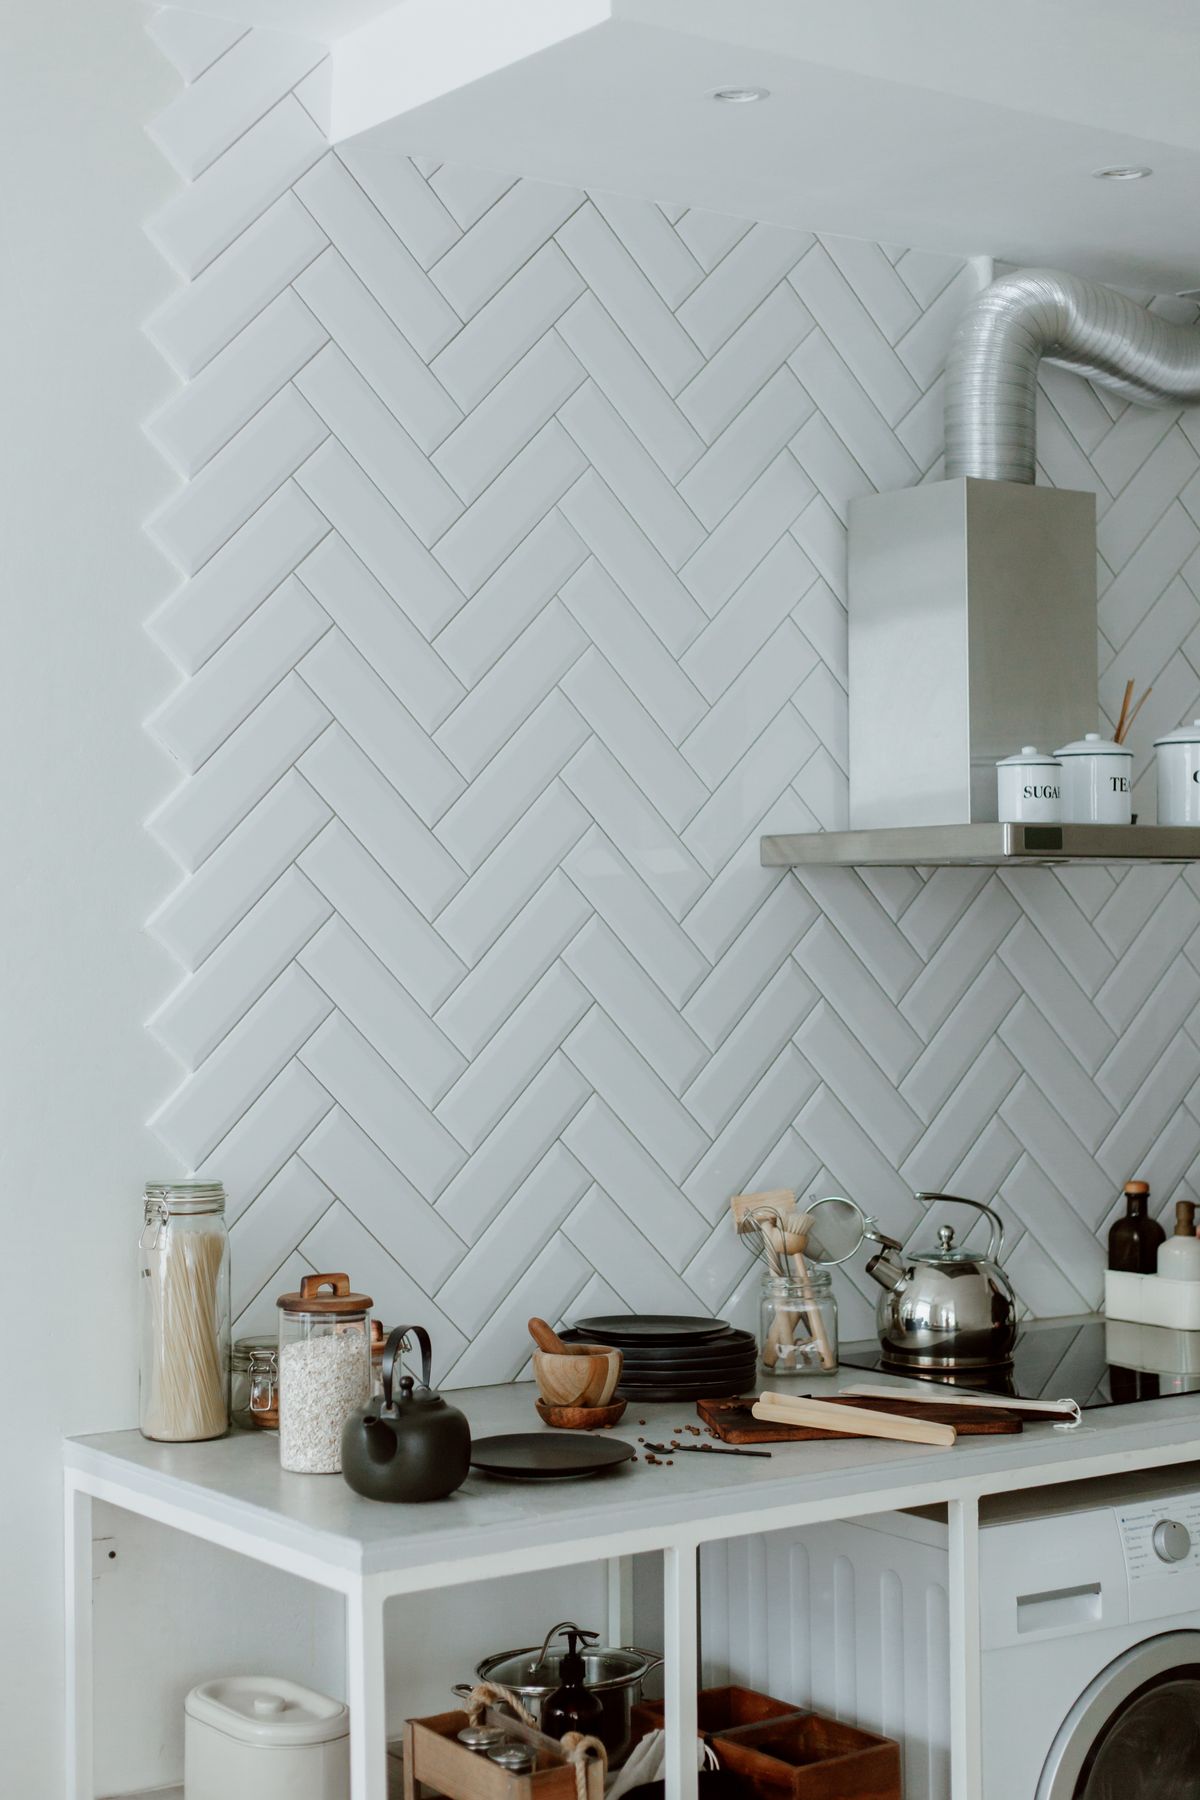
Do not start this one in a corner.
Herringbone looks best when the point sits dead center on the stove or the sink, so find that center, mark it, and work out to both sides. The pattern comes already set on the sheet, so your job is just keeping that line straight. Plan for 2 to 3 hours, and buy about 15 percent extra, because angled cuts waste more. The kitchen counter decor picks in that guide keep the top calm against a busy wall.
Skip this if it is your first try and your wall is full of sockets. Start with idea 1 or 2.
5. Use Zellige Stickers When You Want Color That Hides Splashes
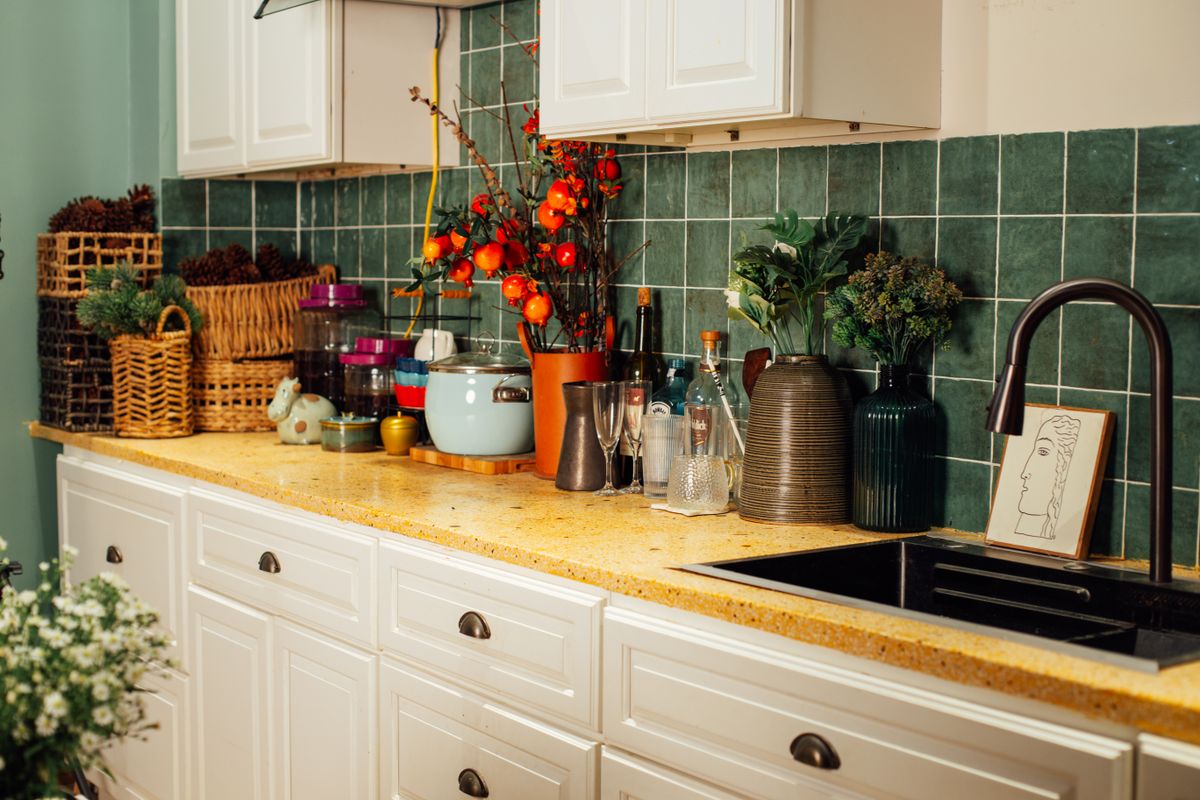
Plain white shows every splash. This one does not.
The uneven tones in each small sticker, often about 4 by 4 inches, break up marks and make the wall feel made by hand. Mix 2 tones in no strict pattern, sage with a soft white, or dusty blue with warm terracotta. I pick sage when a kitchen feels cold and flat. It sits well with wood counters and a plant or 2.
One warning. Too many colors in a small run looks messy. Stop at 2 tones.
6. Cover a Rough Wall With Beadboard Instead
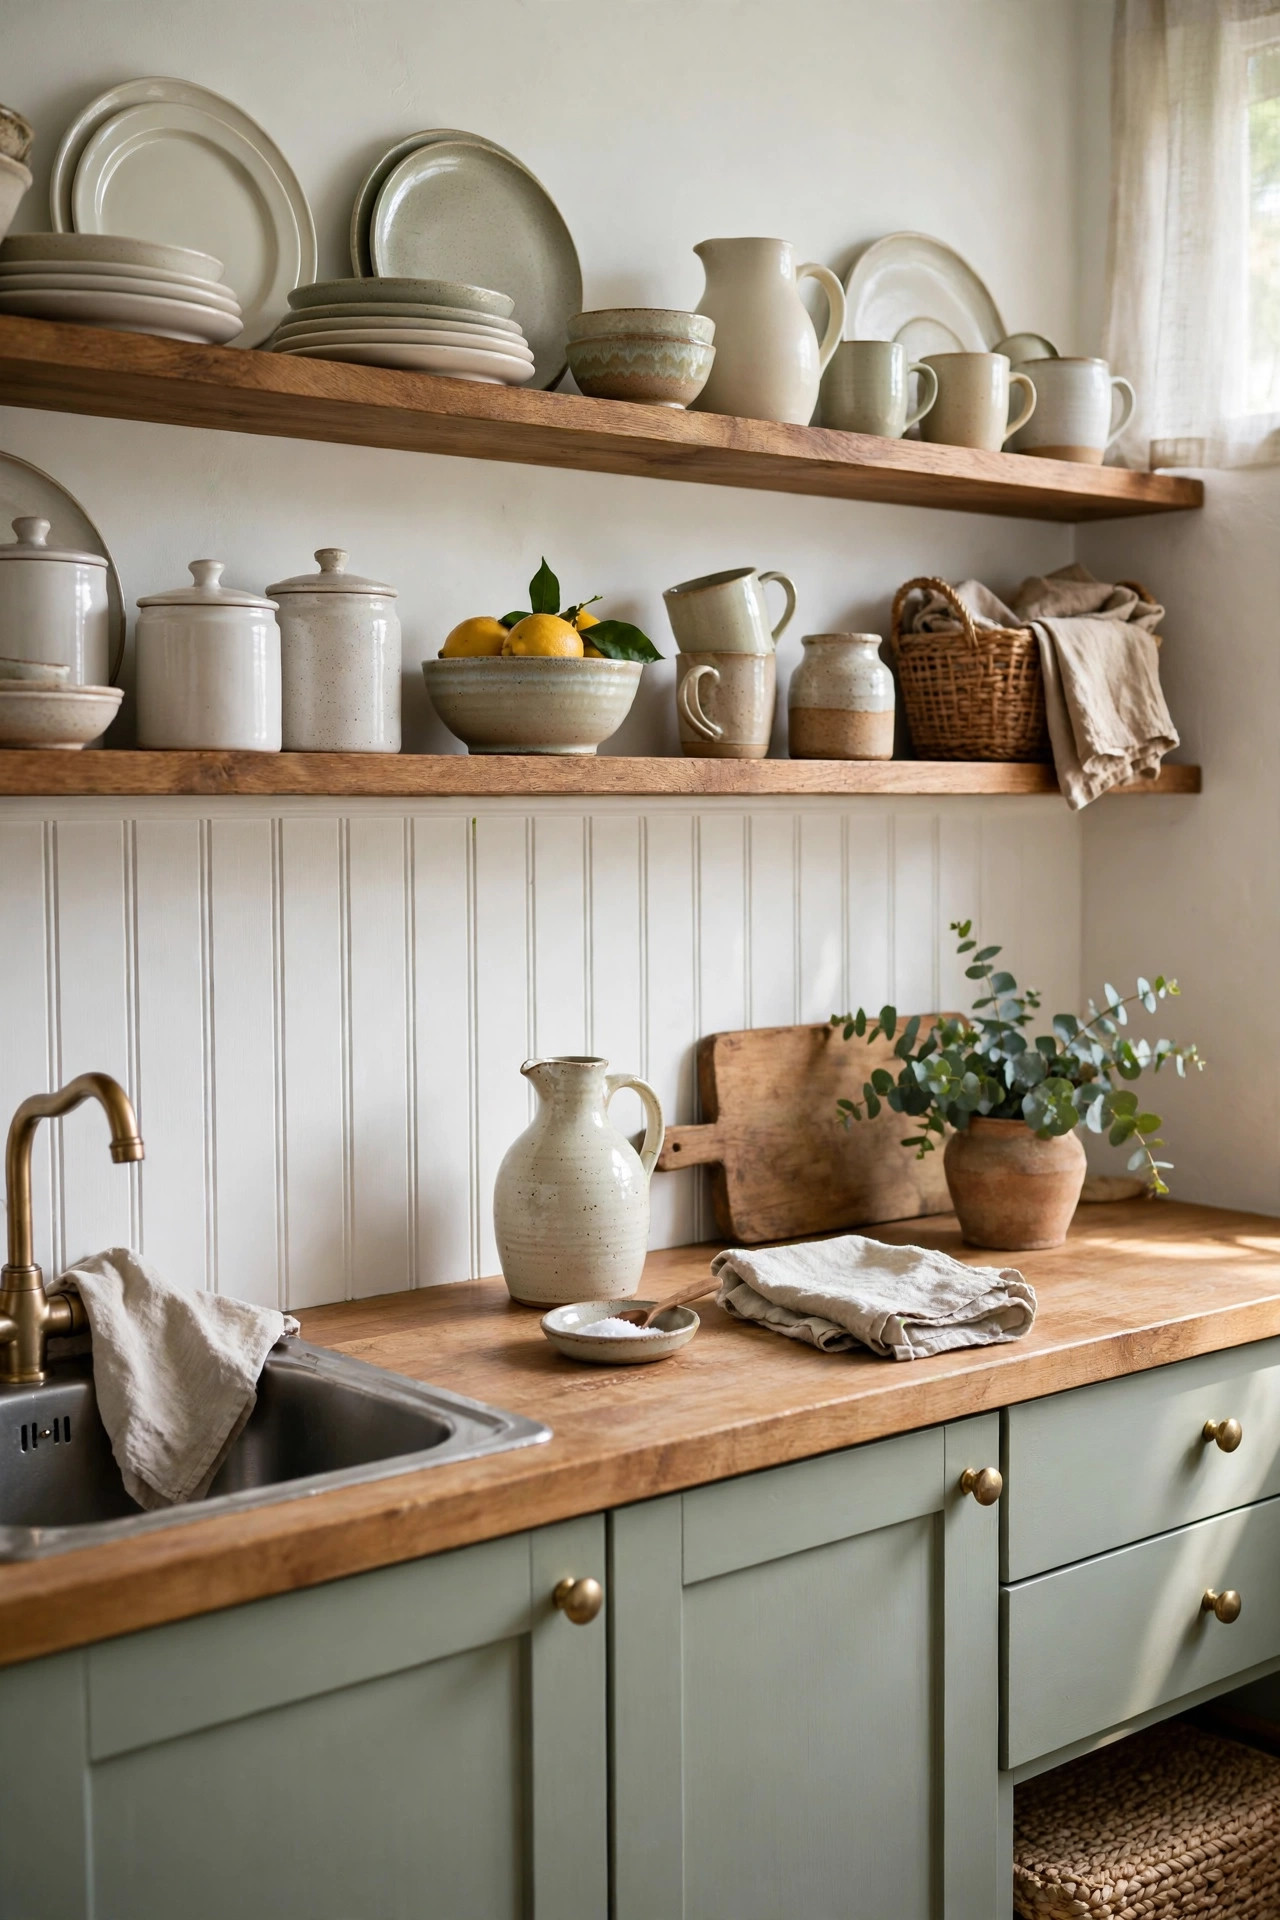
If the wall is rough, do not fight it with a thin sticker.
Beadboard panels are light boards with soft vertical lines, and they cover lumps that a flat sheet would show at once. A standard splash zone is about 18 inches high, so 1 panel cut to length can cover a short run. Fix it with removable strips placed about 12 inches apart, not glue across the whole back. That is what lets it come off in 1 piece later.
Paint it the same color as the cabinets to look built in, or white for fresh.
7. Put Metal Look Behind the Stove, But Check the Heat First
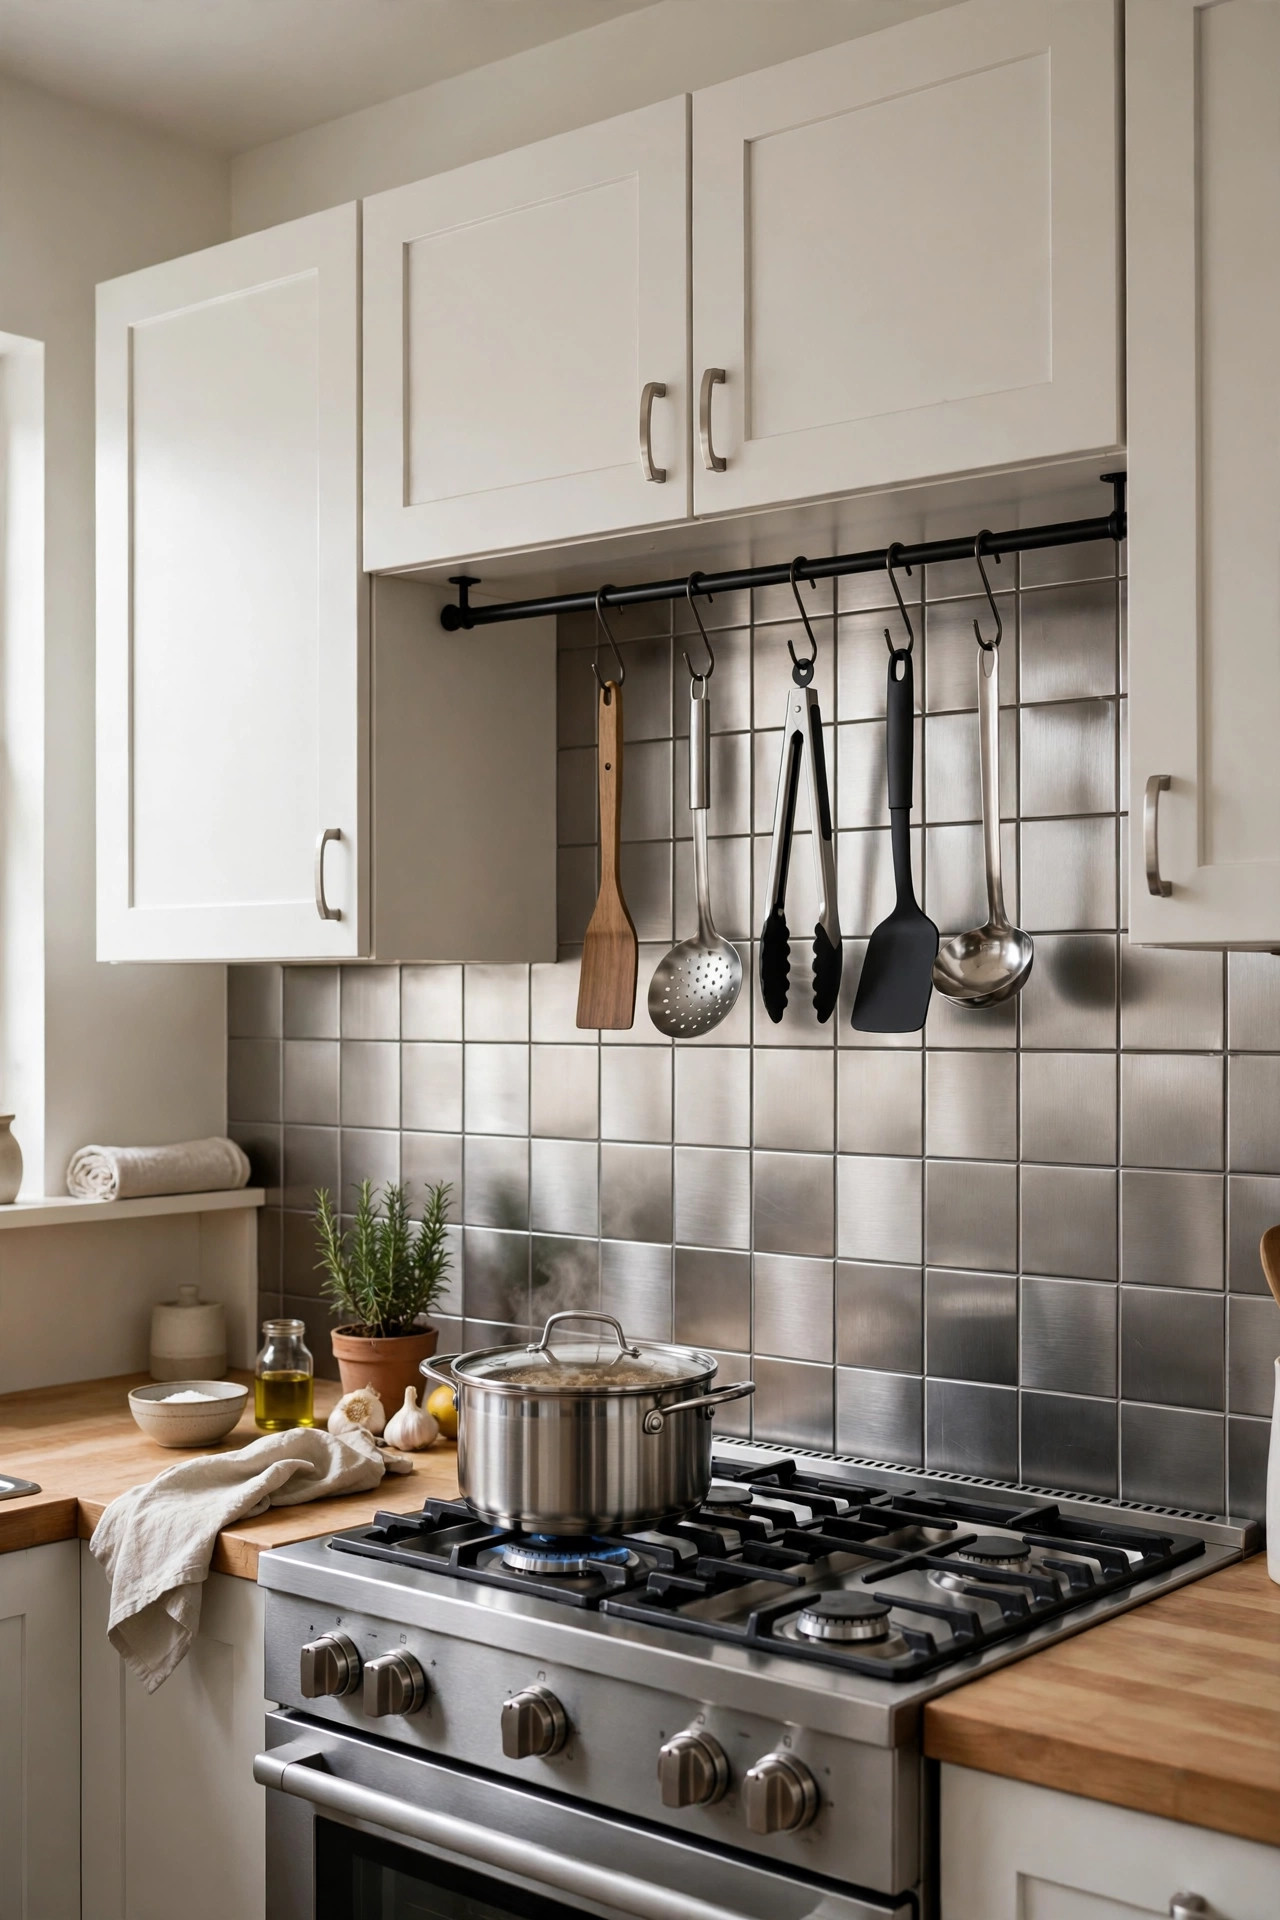
Read the pack before you stick anything near heat.
Metal look sheets wipe clean and tie odd appliances together, because the brushed finish picks up the tones around it. But heat is the real test. Many vinyl sheets soften, bubble or lift if they sit too close to a burner. Check the heat limit on the pack, keep the gap your stove manual asks for, and let sheets set for 24 hours before a big cook.
If the space behind your hob is too tight for that gap, do this instead. Put a plain heat safe panel right behind the hob and use metal look sheets on the side walls only.
8. Use Stacked Stone on One Run Only
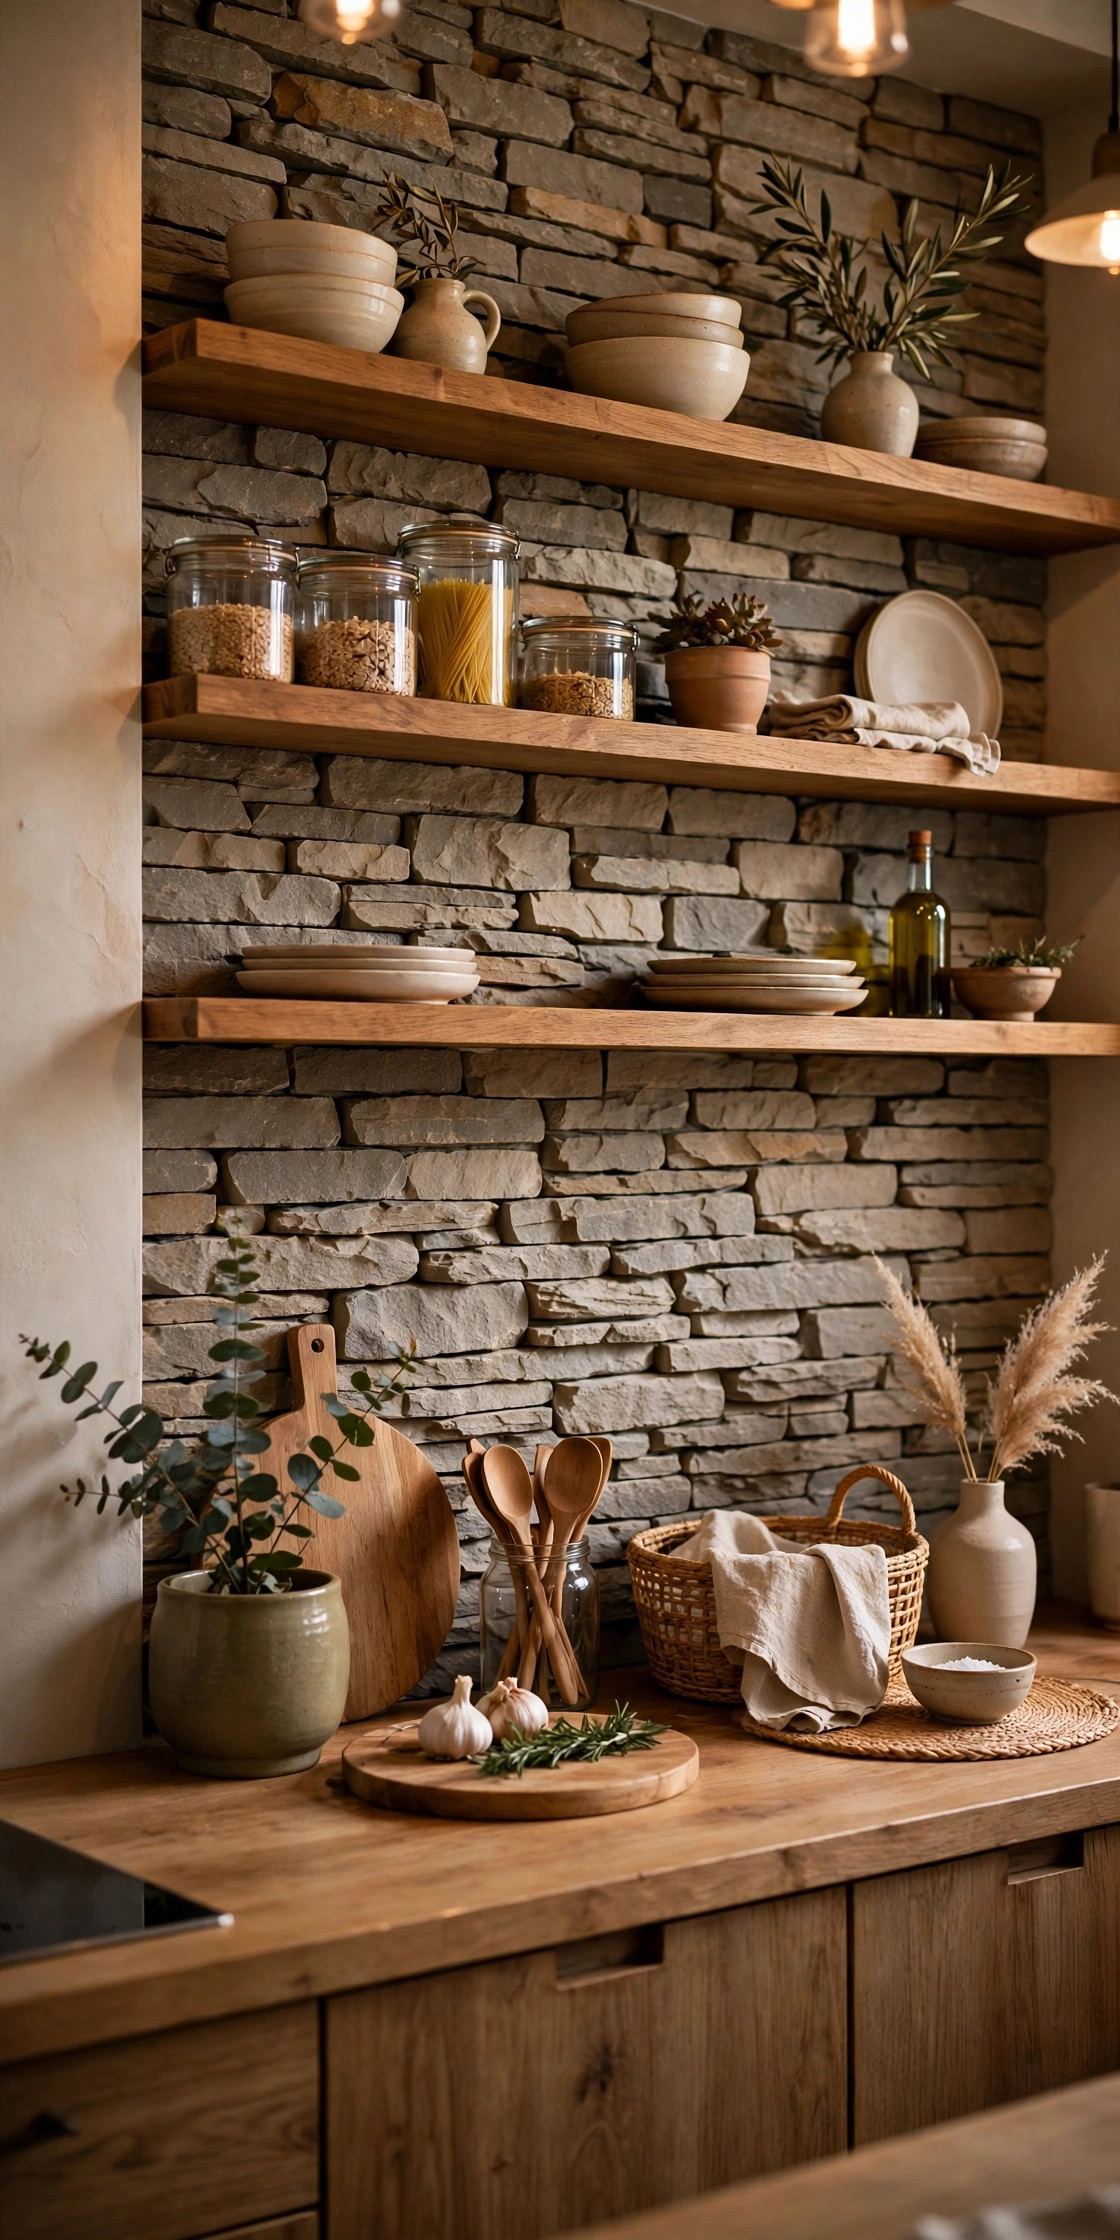
Texture this strong needs a limit.
The raised surface catches light the way real stone does, but in a much lighter panel. Use it on 1 run of wall, about 6 to 8 feet at most, and leave the rest plain. It also hides a wall that is not flat.
Dust it with a dry soft brush once a week. A wet cloth pushes dirt into the low spots, and the depth goes dull.
9. Do Not Cover the Whole Wall, Try Decals on One Section
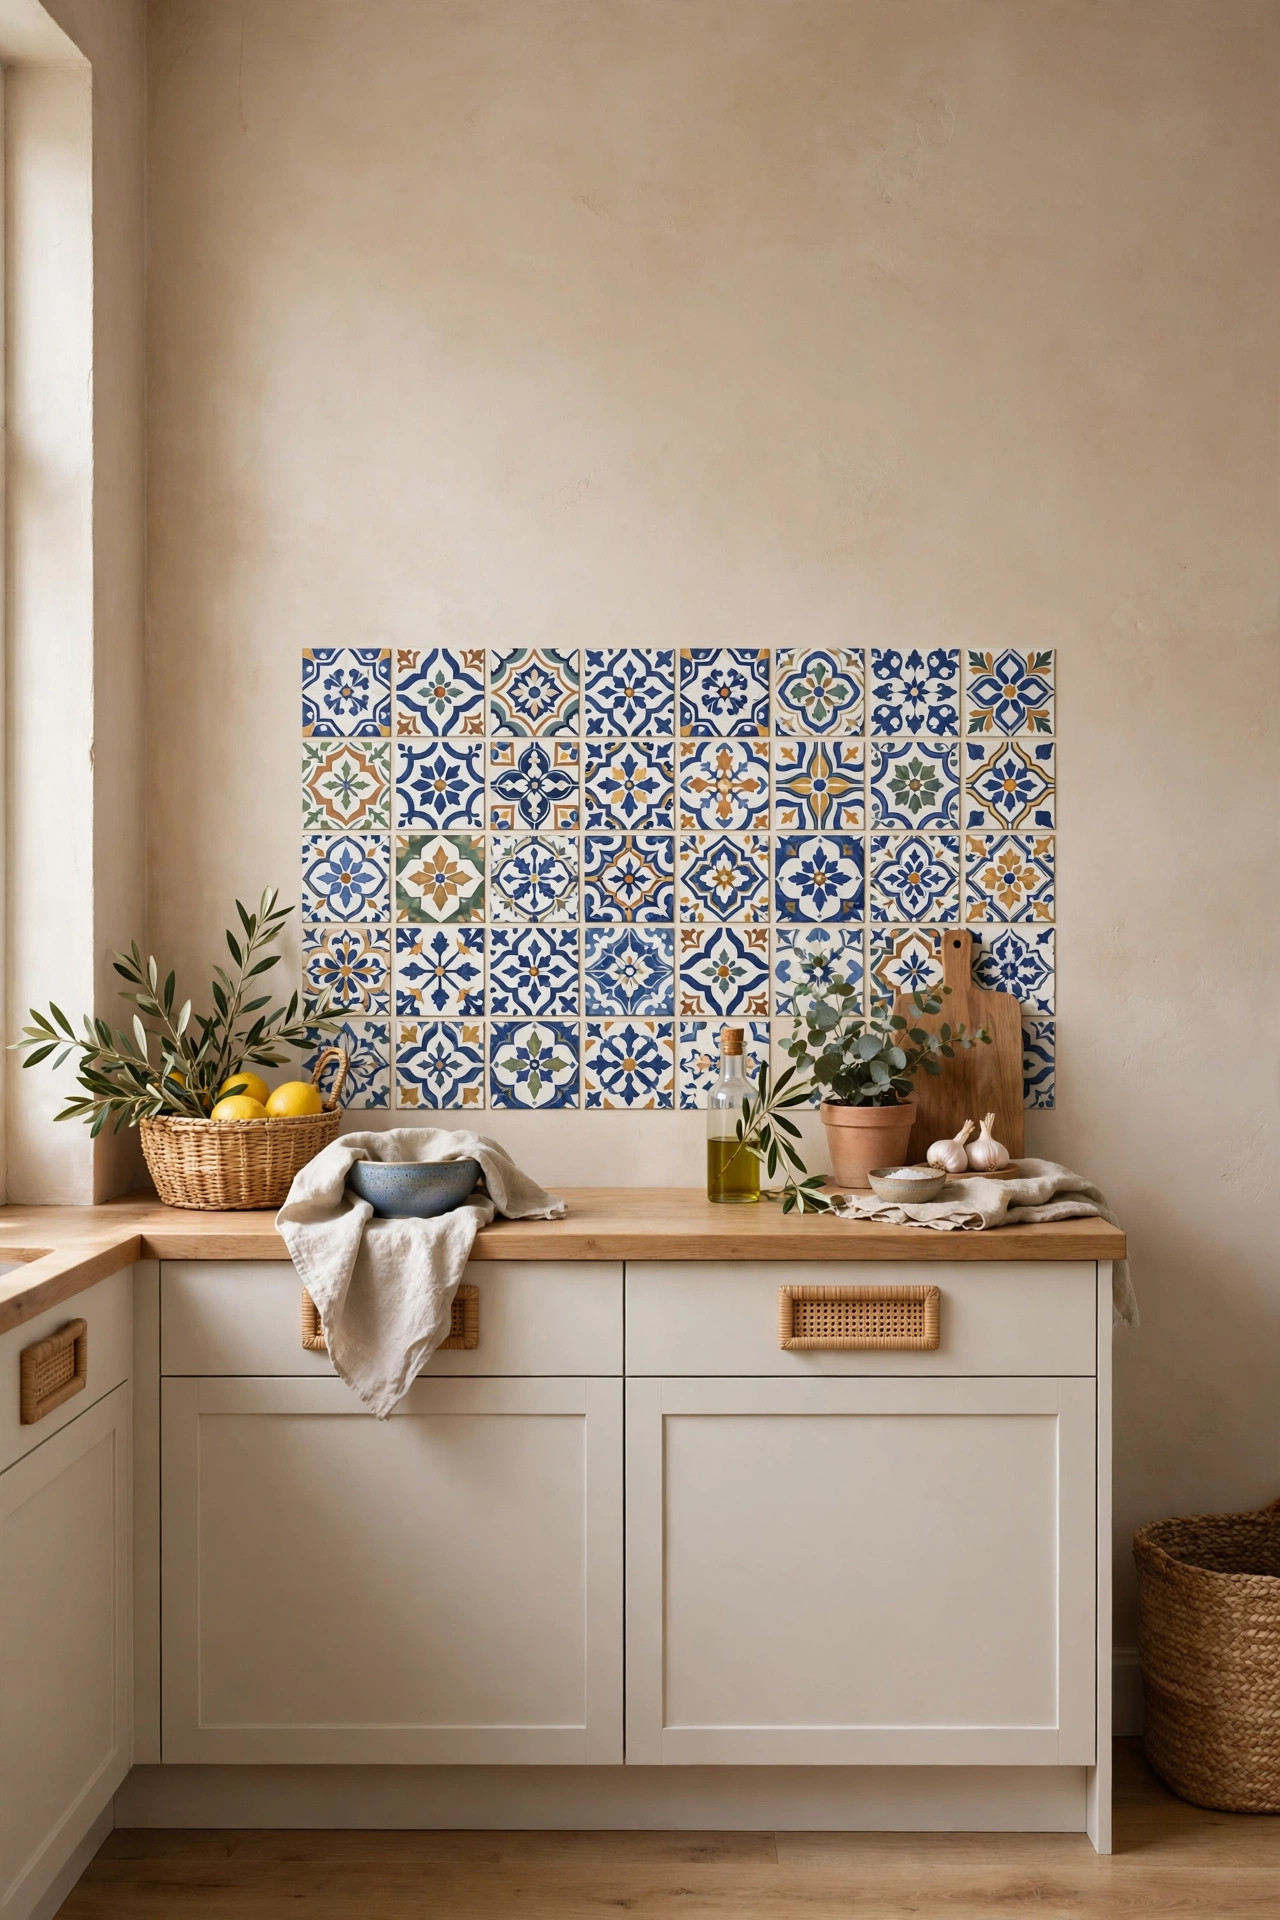
You can test a bold pattern for very little money.
Paint 1 section if your lease lets you, then add patterned decals as a splash zone behind the sink, about 18 inches high to catch real splashes. Try 6 to 8 decals first and live with them for a week. This costs about a third of full sheets, in general.
If you hate it, 1 coat of paint fixes the wall. No peeling, no patching.
10. Go Glossy Black for Contrast, Not for the Whole Room
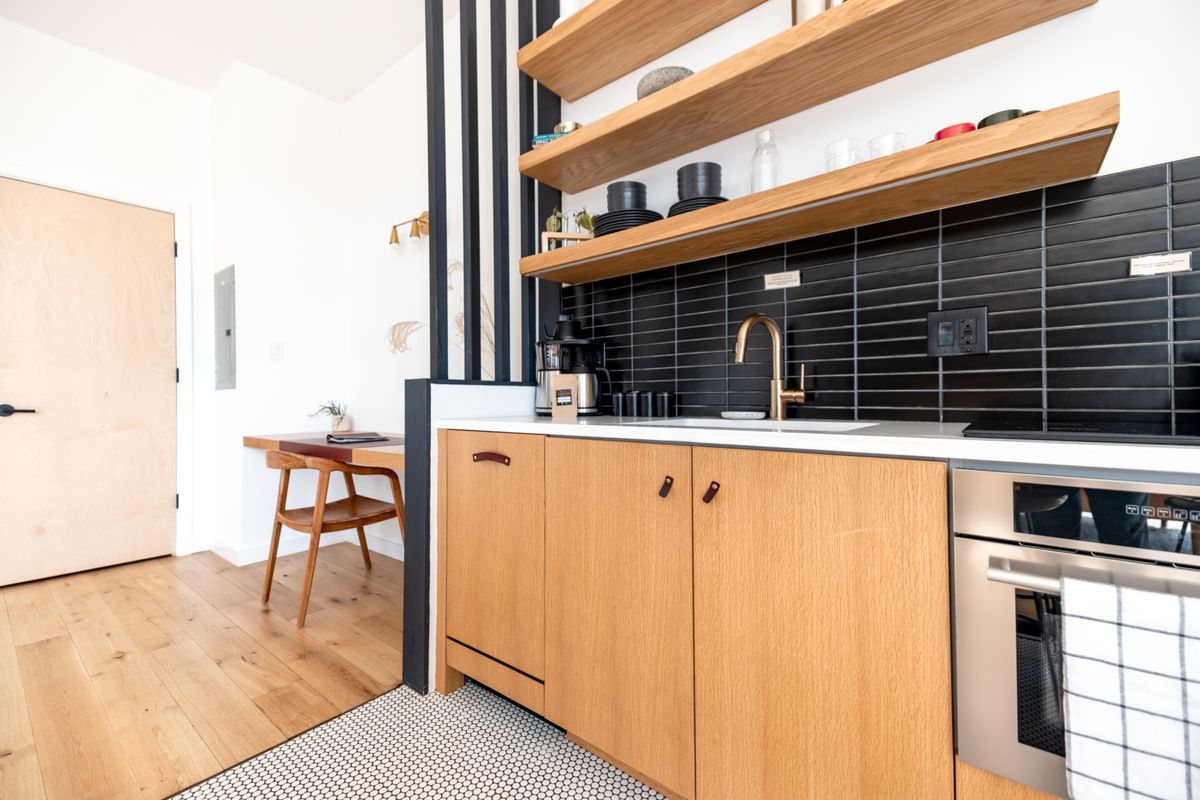
Black works when it has a job to do.
Gloss black tiles, often in a 3 by 6 inch subway size, make white cabinets look sharp and make wood and green plants look richer. They also hide small splash marks near the stove better than white does. I would save black for 1 wall only. In a small kitchen that 1 wall reads as depth. Black on every wall closes the room in.
Balance it with warm light and plain wood boards on the counter. If your landlord lets you paint cabinets, the two tone kitchen cabinet ideas in that guide show pairs that sit well with a dark wall.
11. Pick Brick Look When the Kitchen Feels Cold
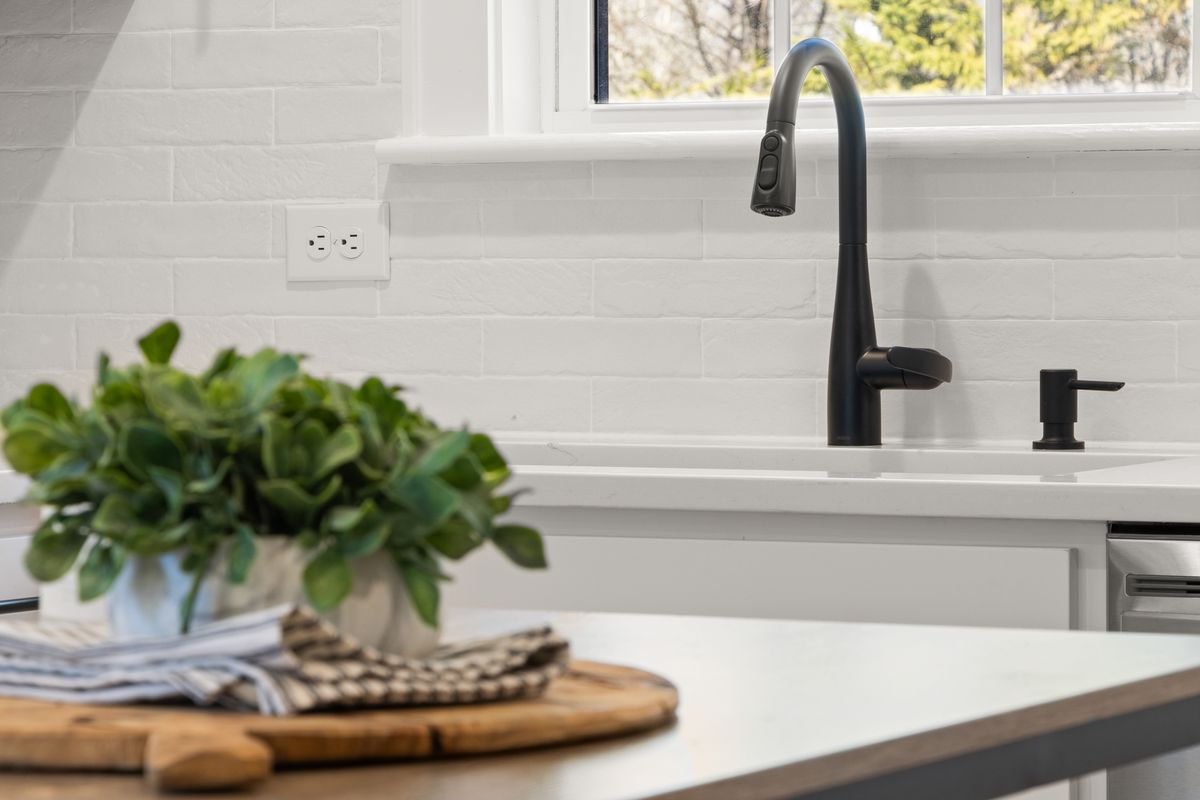
Some rental kitchens feel cold no matter what you put on the counter.
Brick look panels fix that feel because the warm color and rough surface break up flat white and steel. Most panels are about 24 by 48 inches, so a short wall takes just 2 or 3 panels, cut around sockets with a sharp knife. Keep the counters plain. Black or brass bits, 1 or 2 plants, and stop.
Flat print brick looks cheap up close. If a sample has no texture under your hand, skip it.
12. Stop at Half Height, You Only Need the Splash Zone
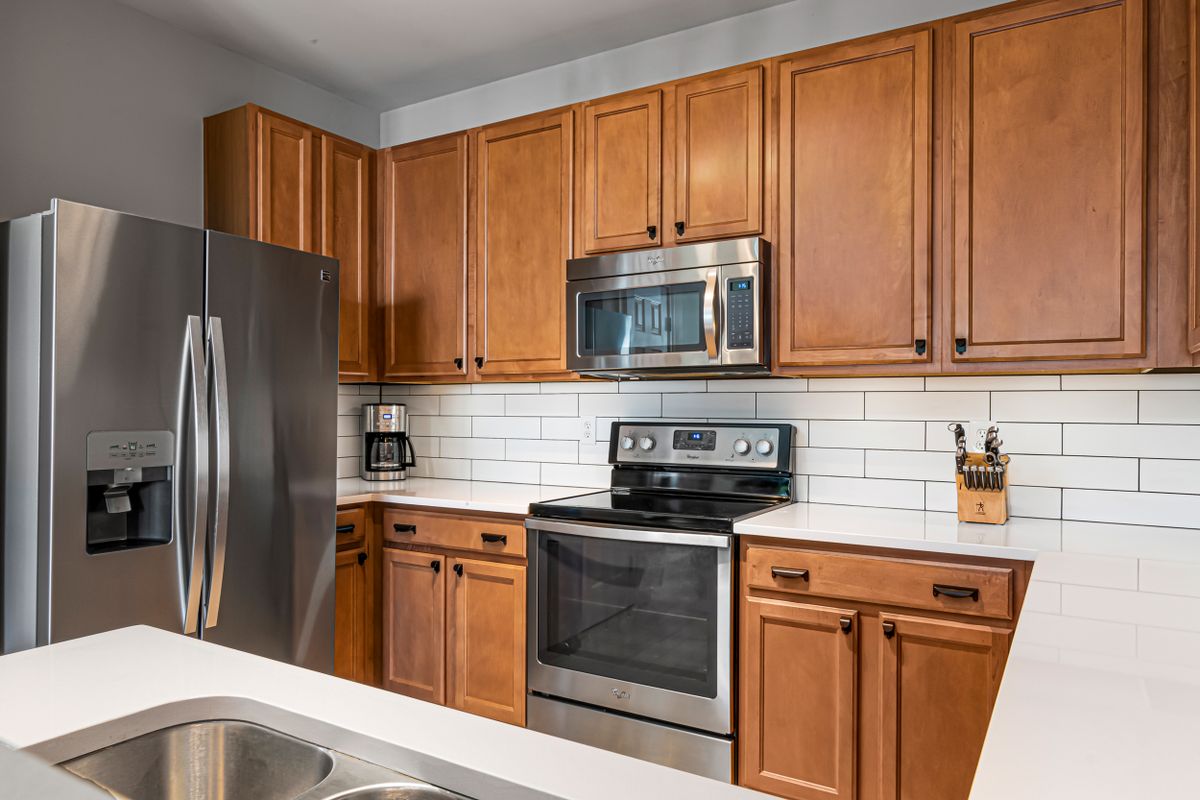
Save your money here. You do not need the full wall.
Half height means from the counter up to the bottom of the wall cabinets, about 18 inches in most kitchens. That uses about half the sheets, takes about half the time, and comes off fast at move out. Add a neat top edge from idea 13 and it looks planned, not cut short. Put it with the wider refresh in the small kitchen organization ideas for apartments guide and a small kitchen can feel new in 1 weekend.
I keep the leftover sheets flat under a bed. A lifted corner in month 6 is a 5 minute fix if you have the same batch to hand.
13. Finish the Edges Like You Mean It
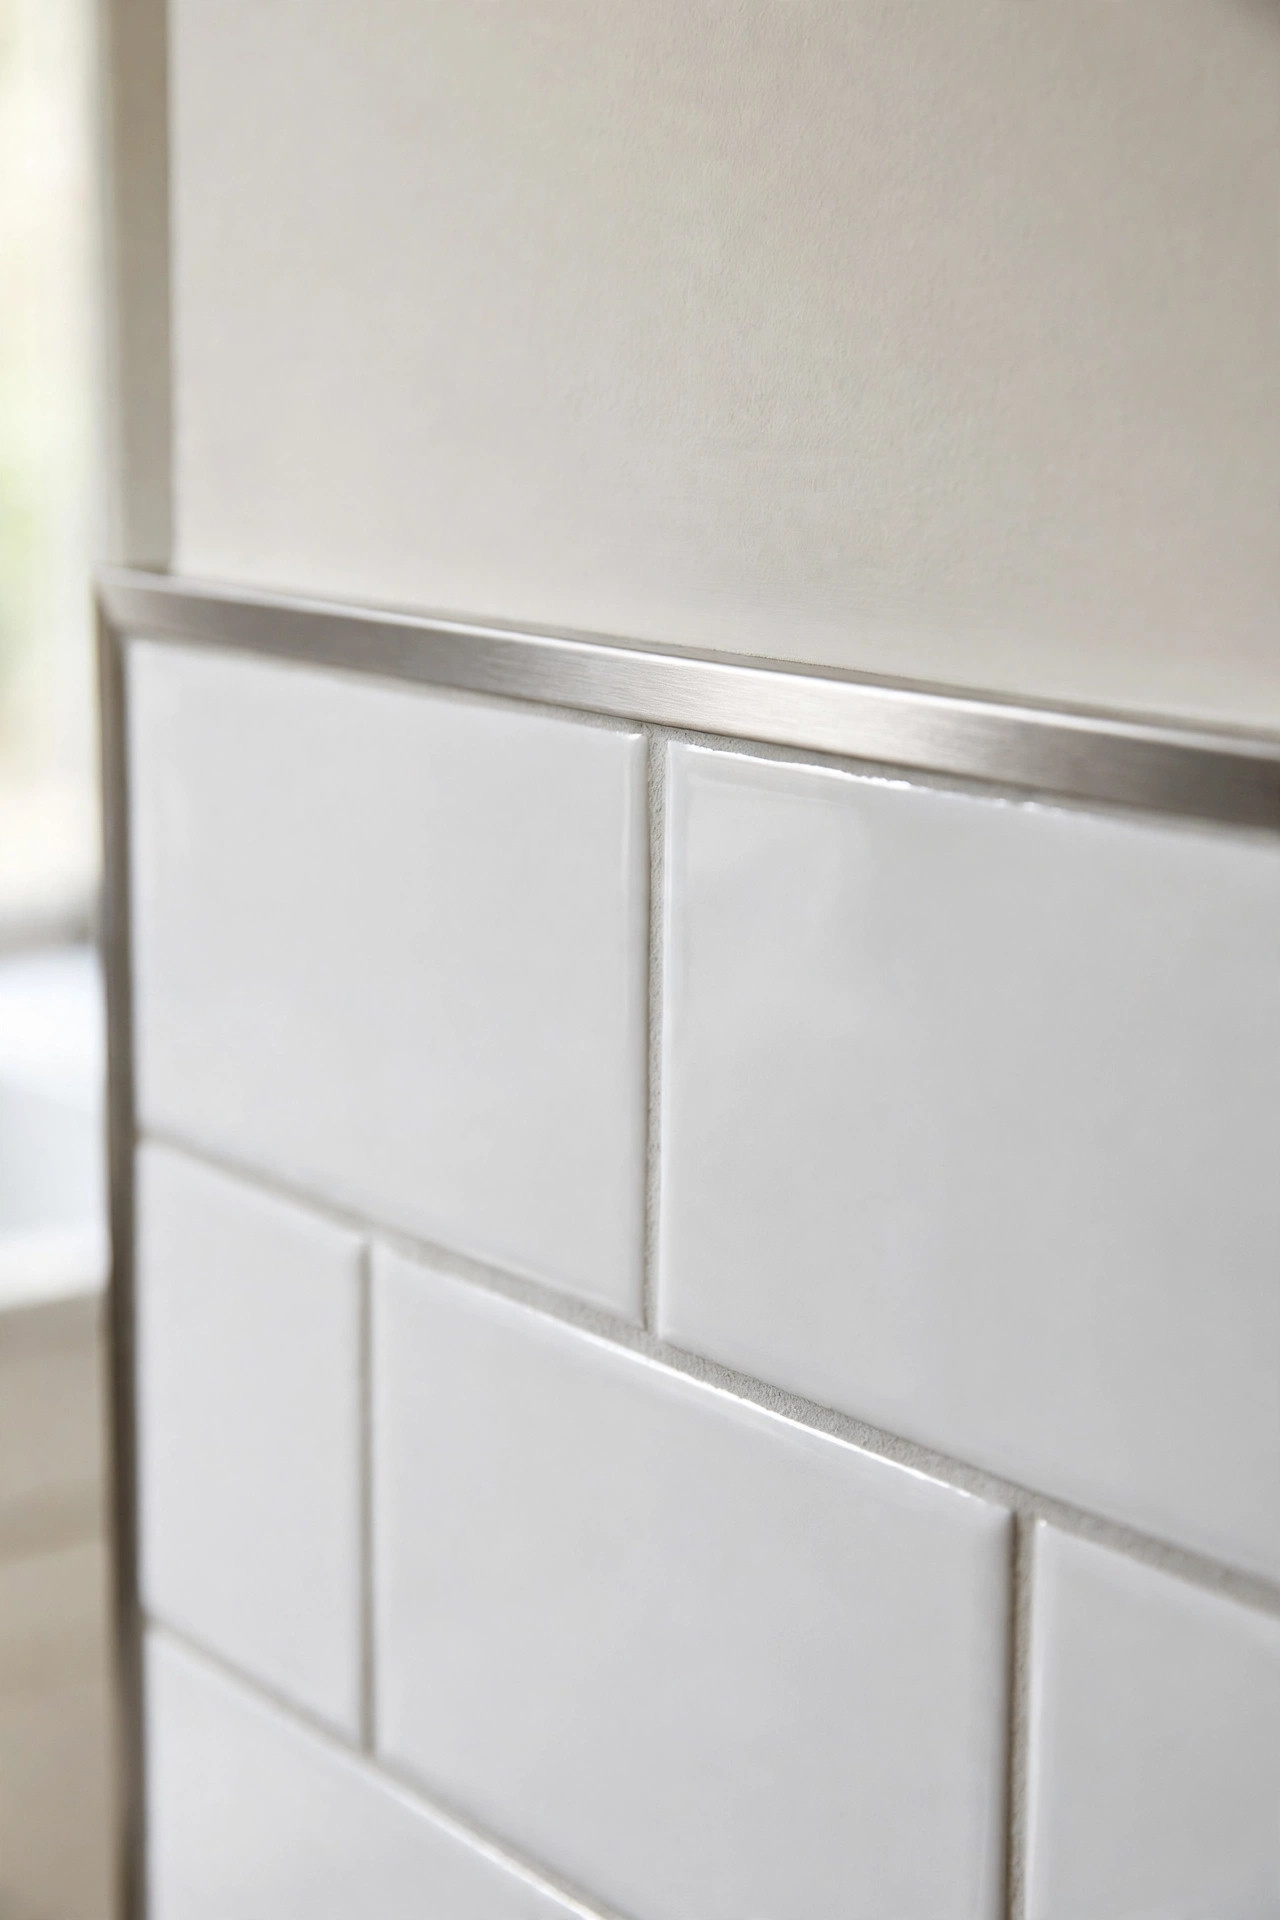
Edges are what give the game away.
A thin trim strip or a neat line of paintable sealant along the top hides the sheet edge and stops steam getting behind it. Plan the sheet order before you start so grout lines run around corners without a jump. Press each edge down hard with a dry cloth for about 30 seconds as you go, then step back to the doorway, about 6 feet away. That is the view that counts.
Steam is the other common fail. If an edge near the kettle lifts, clean the wall, let it dry for 1 hour, press it back and seal it. Those last 10 minutes make it look real.
And for move out day, do not rip a sheet off fast or it can tear paint. Warm it with a hair dryer for 30 to 60 seconds, then peel low and slow.
The Bottom Line
Pick the look by your wall and your stove, not by the photo. Test for 7 days, cover the 18 inch splash zone first, keep heat away from vinyl, and finish the top edge. Subway and large sheets are the safe first buys. Herringbone can wait.
Start with the 7 day test behind the fridge. One sheet, no cost if it fails, and it tells you which of these 13 ideas is safe for your kitchen.
Frequently Asked Questions
Do peel and stick backsplashes damage walls when removed?
Not usually on sound glossy or satin paint and on old tile, if you warm each sheet for 30 to 60 seconds and peel low and slow. Risk goes up on matte paint, fresh paint and cracked plaster. That is why the 7 day test in a hidden corner matters, and why beadboard on removable strips is the safer pick if that test lifts paint.
Can peel and stick tile go behind a stove?
Only if the pack says it can take the heat and you keep the gap your stove manual asks for. Many vinyl sheets are not made for direct high heat, so they can soften or lift near a burner. A safer plan for many renters is a plain heat safe panel right behind the hob and tile sheets on the side walls.
How long does a peel and stick backsplash last?
On a clean, smooth wall it can last for years of normal use, and most renters take it off because they move, not because it failed. Steam, grease and edges that were not pressed down are the usual reasons it peels early. Keep spare sheets from the same batch, because 1 damaged sheet can be swapped in a few minutes.
What is the easiest peel and stick pattern for beginners?
Large sheets and classic white subway are the easiest, because the lines are simple and small slips hide in the grout lines. Herringbone and small patterns need more care to center and more cuts. Dry lay the first row, mark a level line, and work out from the center.