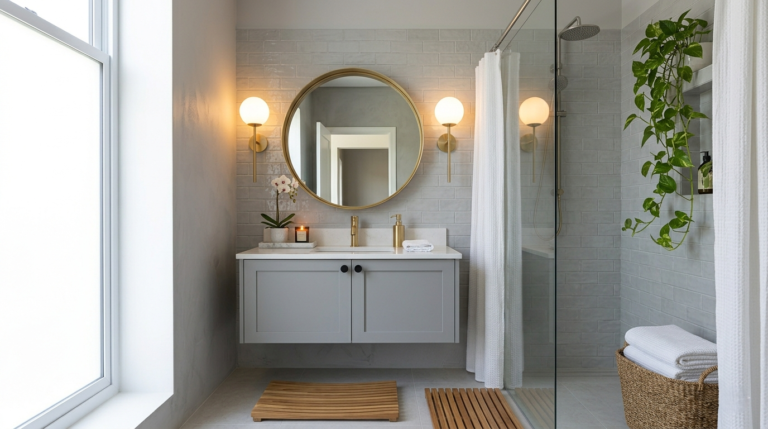
Peel and Stick Bathroom Floor Ideas for Renters
Yes, you can put peel and stick flooring in a rental bathroom, and it is one of the highest impact changes a renter can make.
Peel and stick bathroom floor ideas for renters work because modern vinyl tiles press onto smooth, clean existing floors and peel back up again at move out. Two honest conditions matter. Keep seams and edges out of the direct splash zone around the tub, where standing water can creep underneath. And test removal in a hidden corner before you commit to the whole room. Pass both checks and an ugly floor becomes a single weekend project, most of one afternoon once the cuts are done.
The short version, before we start:
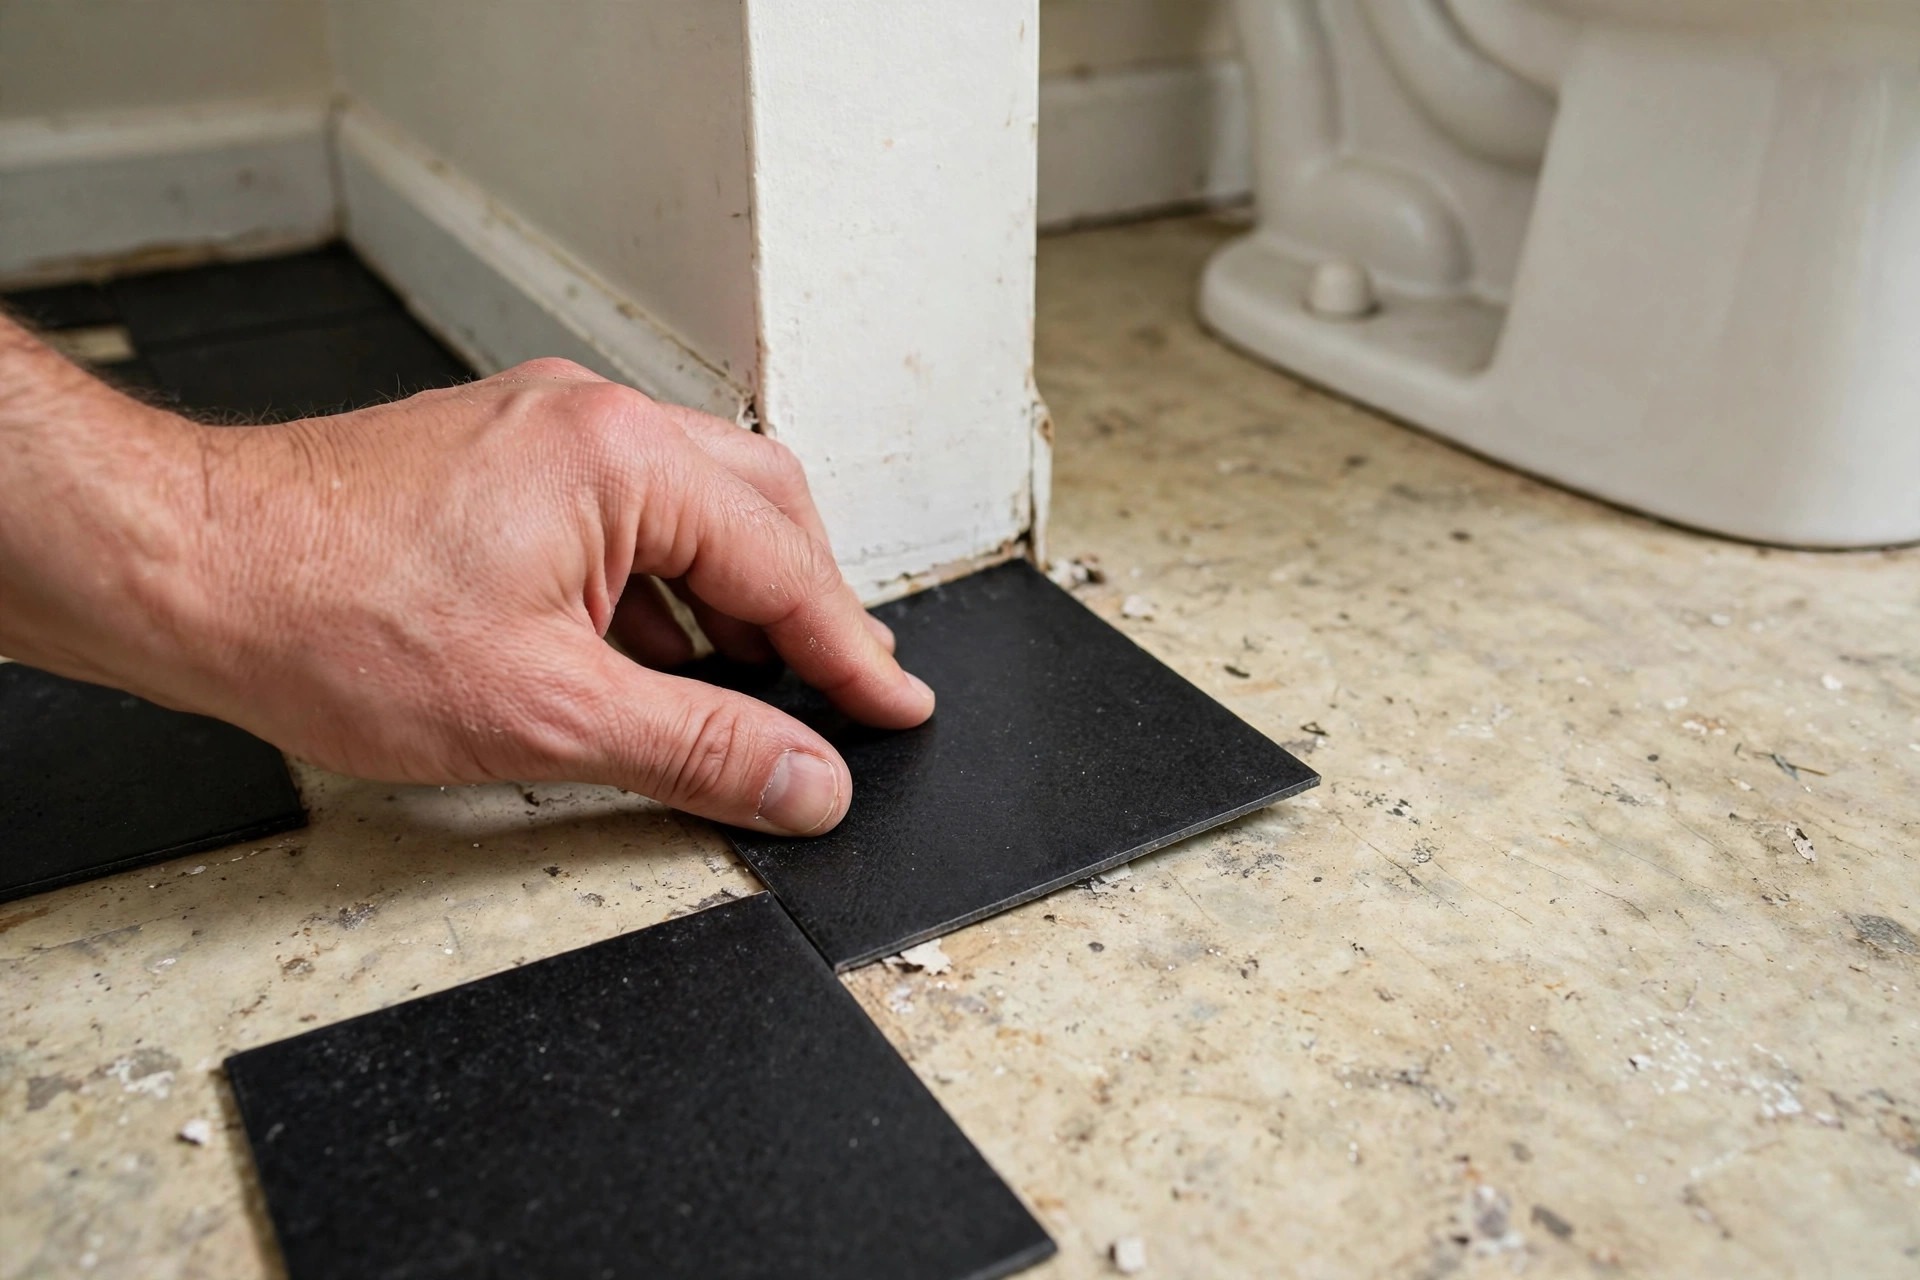
Test one corner first. One tile, hidden behind the toilet, left for several days. If it lifts clean and the finish underneath is untouched, the room is yours.
Order more than the floor. Tiles are often 12 by 12 inches. Buy about ten percent extra, plus a few spares to keep for swap ins during the lease.
Water is the enemy at the seams, not on the surface. The tile face shrugs off splashes. Standing water works into edges over time, so the strip beside the tub gets your best work.
Removal is part of the plan. Warm each tile, lift slowly from one corner at a low angle. Yank upward and you can tear the finish you were protecting.
1. Check the Lease and Test One Corner First
Every good rental floor starts before the first tile comes out of the box.
Read the flooring clause in your lease, and if removable changes need permission, ask in writing and keep the reply. That caution is the same first step any renter friendly decorating guide recommends, and it protects the whole project. Photograph the existing floor closely, including any damage that was there before you.
Then press one tile into the hidden corner behind the toilet or under the vanity and live with it for several days. If it lifts cleanly and the finish underneath looks untouched, you are clear to go. Skip this test and you are gambling your deposit on a guess. I never skip it.
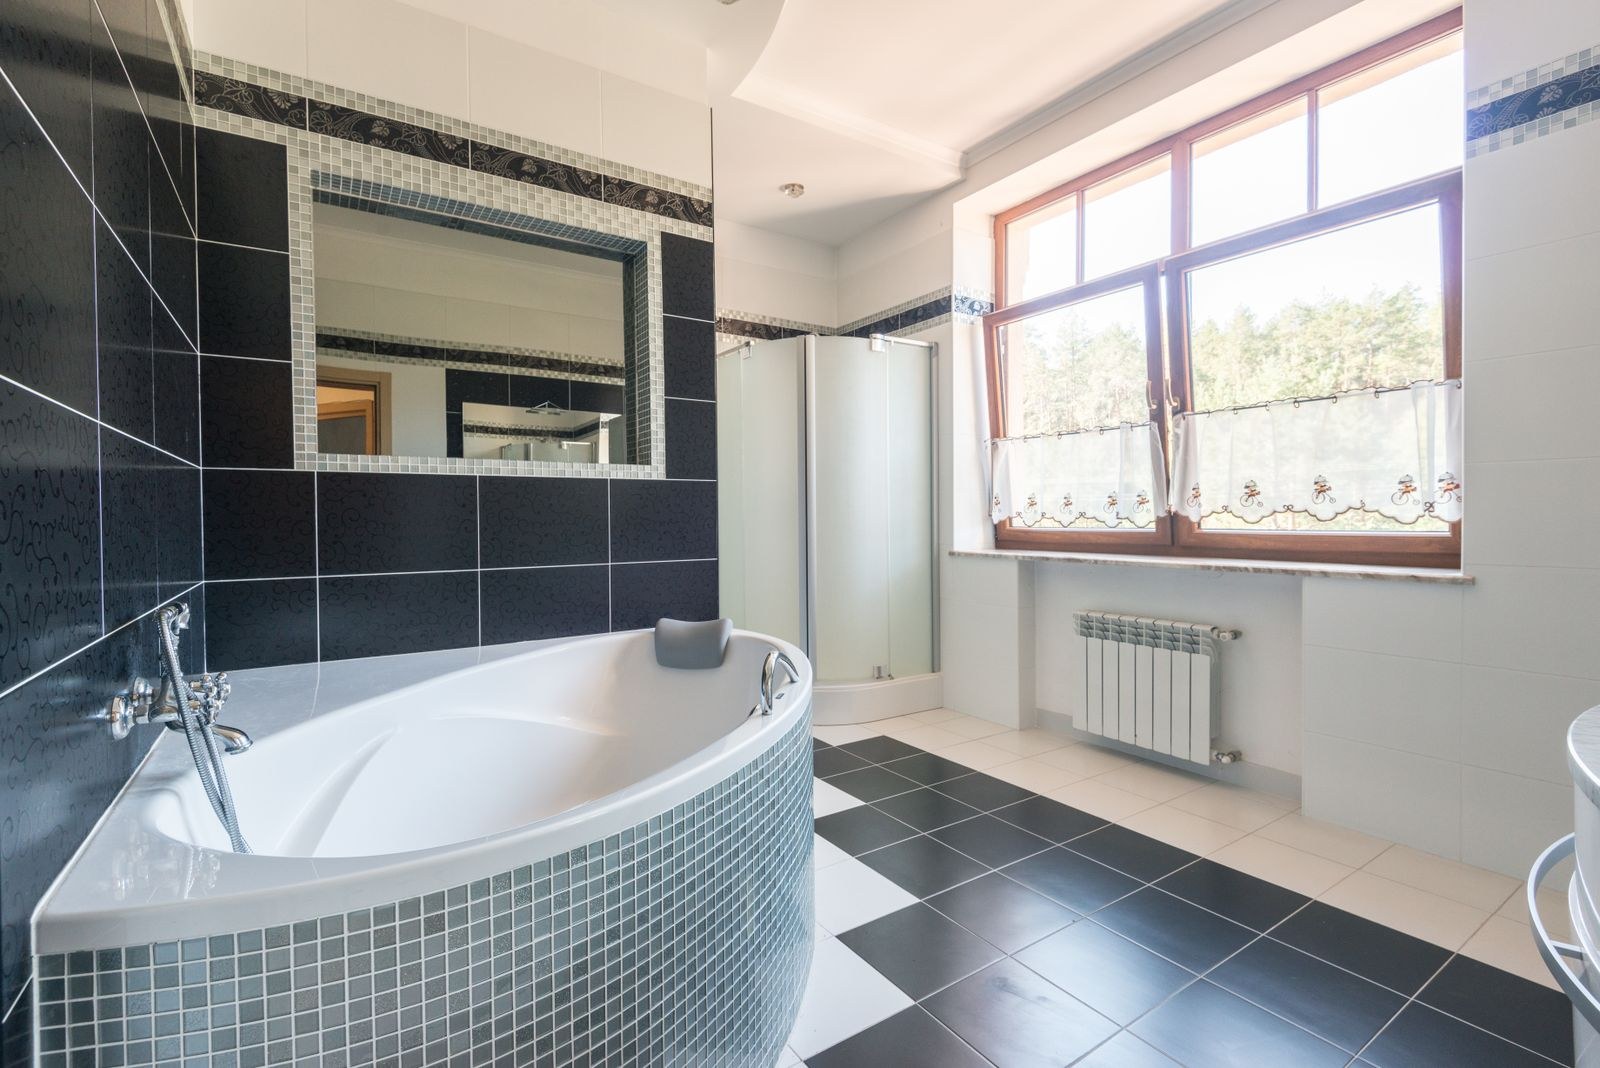
2. Classic Checkerboard for Instant Character
Checkerboard is the hardest working pattern in rental bathrooms. It suits almost every building age and hides everyday scuffs between cleans.
Black and white is the bold classic. Softer cream paired with warm grey or sage feels calmer in a small room. Most peel and stick checks come as 12 inch squares, big enough for the pattern to read clearly even in a tiny bathroom. Start laying from the doorway threshold so the first tiles a visitor sees are whole, and align the grid with the longest wall rather than the tub, which is rarely straight. A checkerboard floor carries so much personality that walls, towels and accessories can stay simple, which keeps the rest of the room cheap and easy.
3. Wood Plank Look Vinyl for Warmth
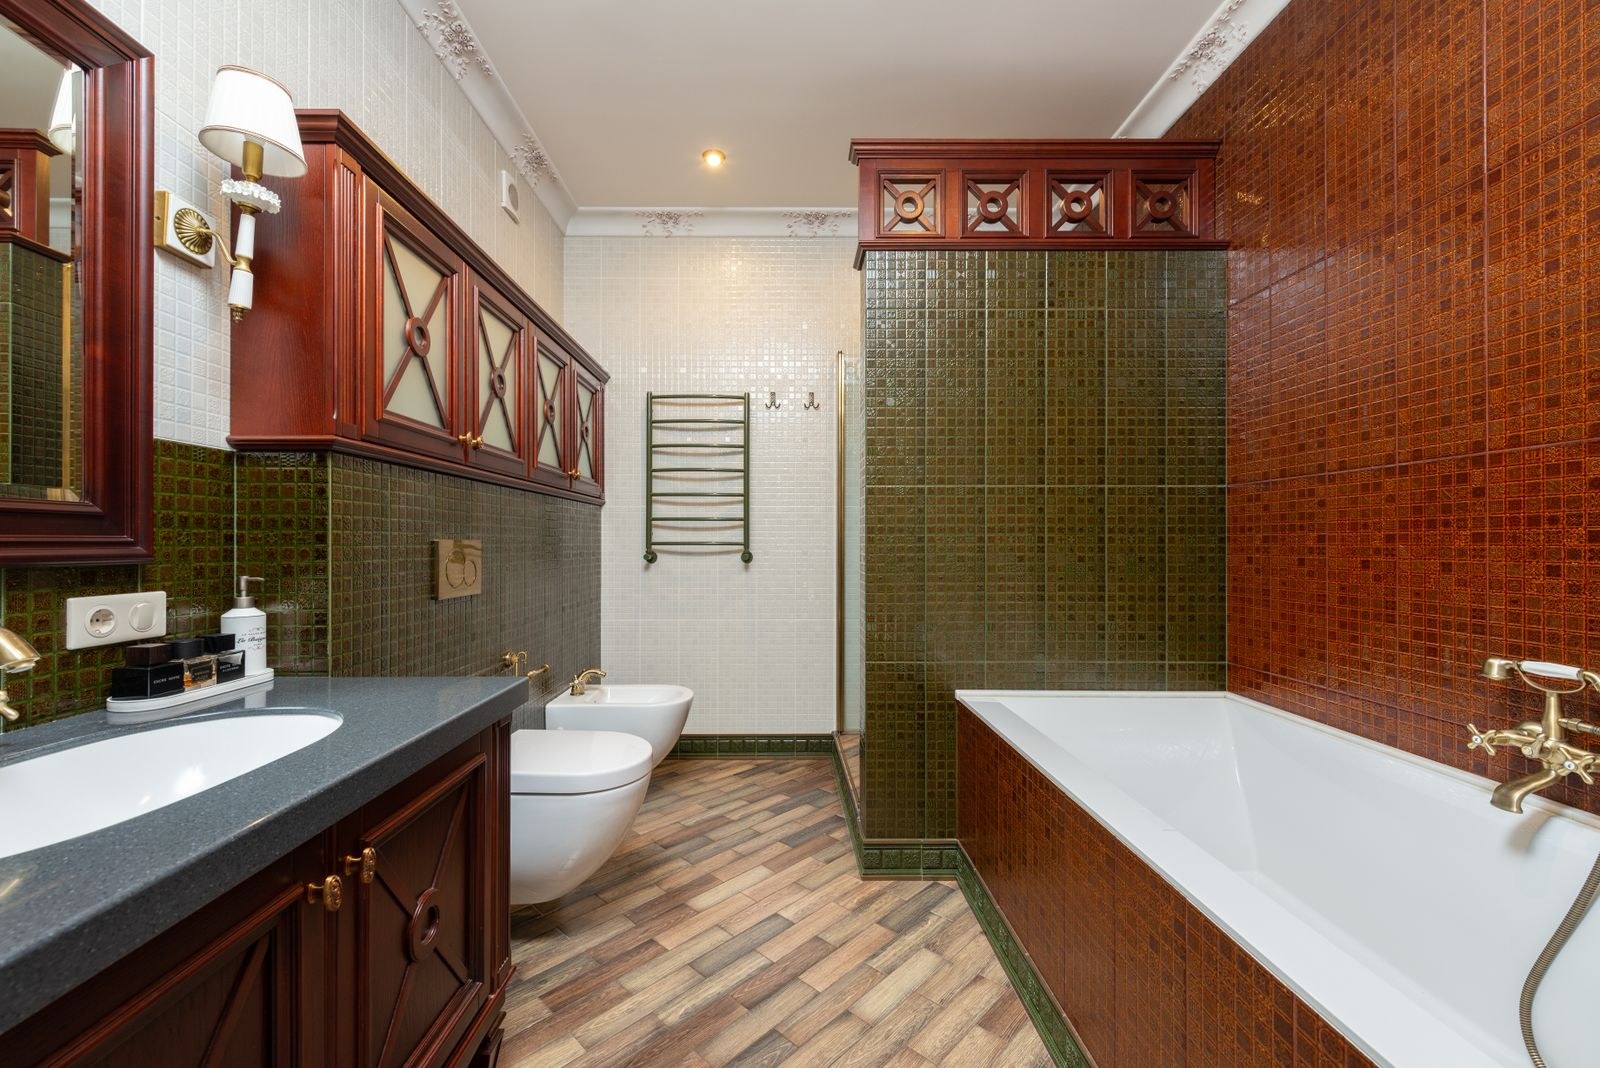
Bathrooms are full of cold, hard surfaces, and a wood plank look floor is the fastest way to warm the room without touching a single fixture.
Choose a matte finish with visible grain variation, because shiny printed planks give themselves away at a glance. Stagger the joints the way a real floor is laid, never in a straight grid, and run the planks along the longest dimension of the room so the space reads bigger. Wood tones sit naturally with white sanitaryware, woven baskets and a plant, and a purely functional rental bathroom starts to feel designed.
One honest test I always run: look at the sample in daylight and under your bathroom bulb. Some printed grains go orange under warm light.
4. Small Hexagon Tiles for a Vintage Feel
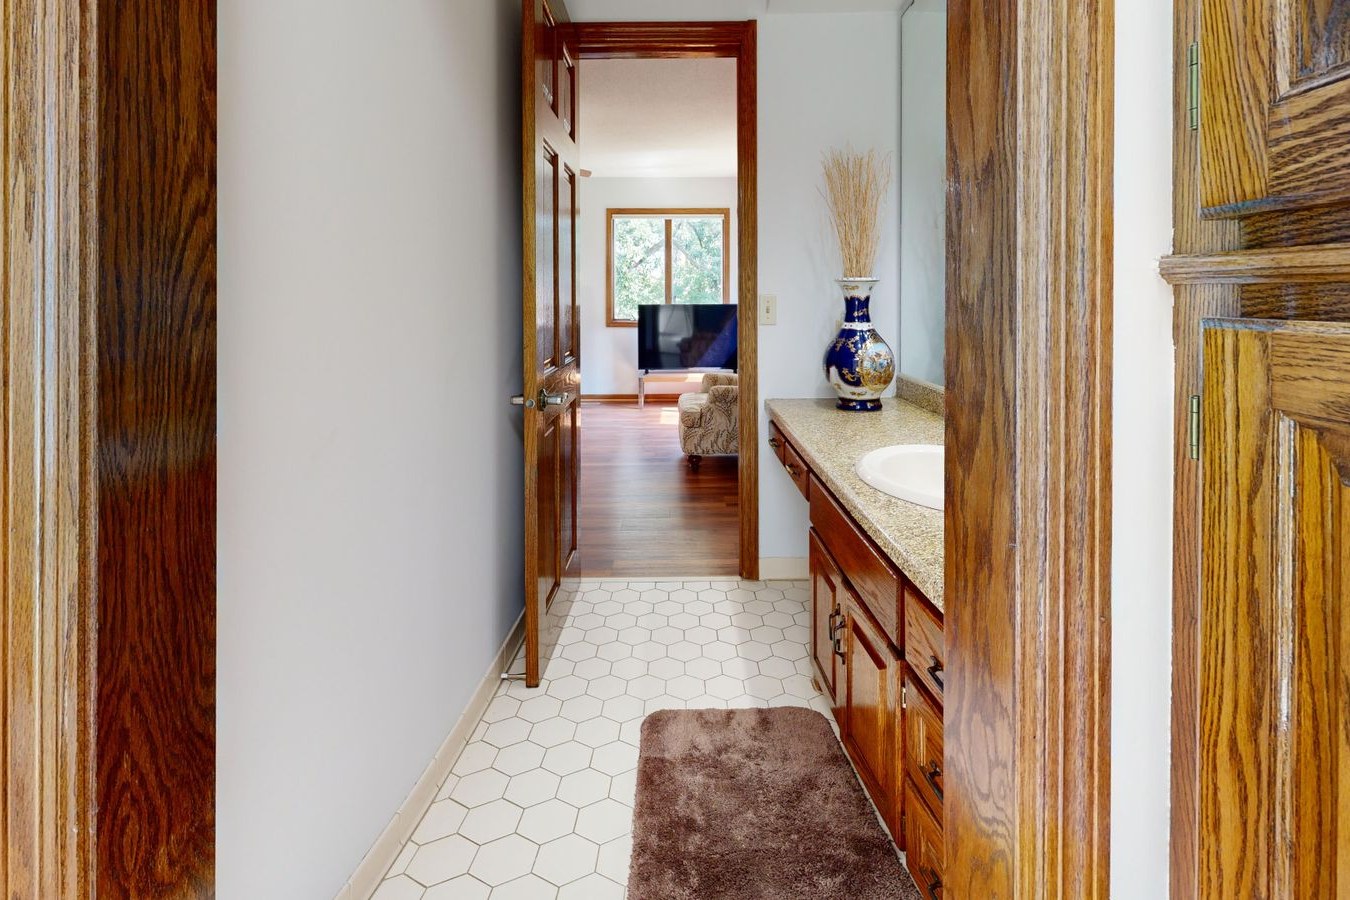
Older rental buildings often hide good bones under tired vinyl, and a small hexagon pattern nods straight back to the era when those bathrooms were built.
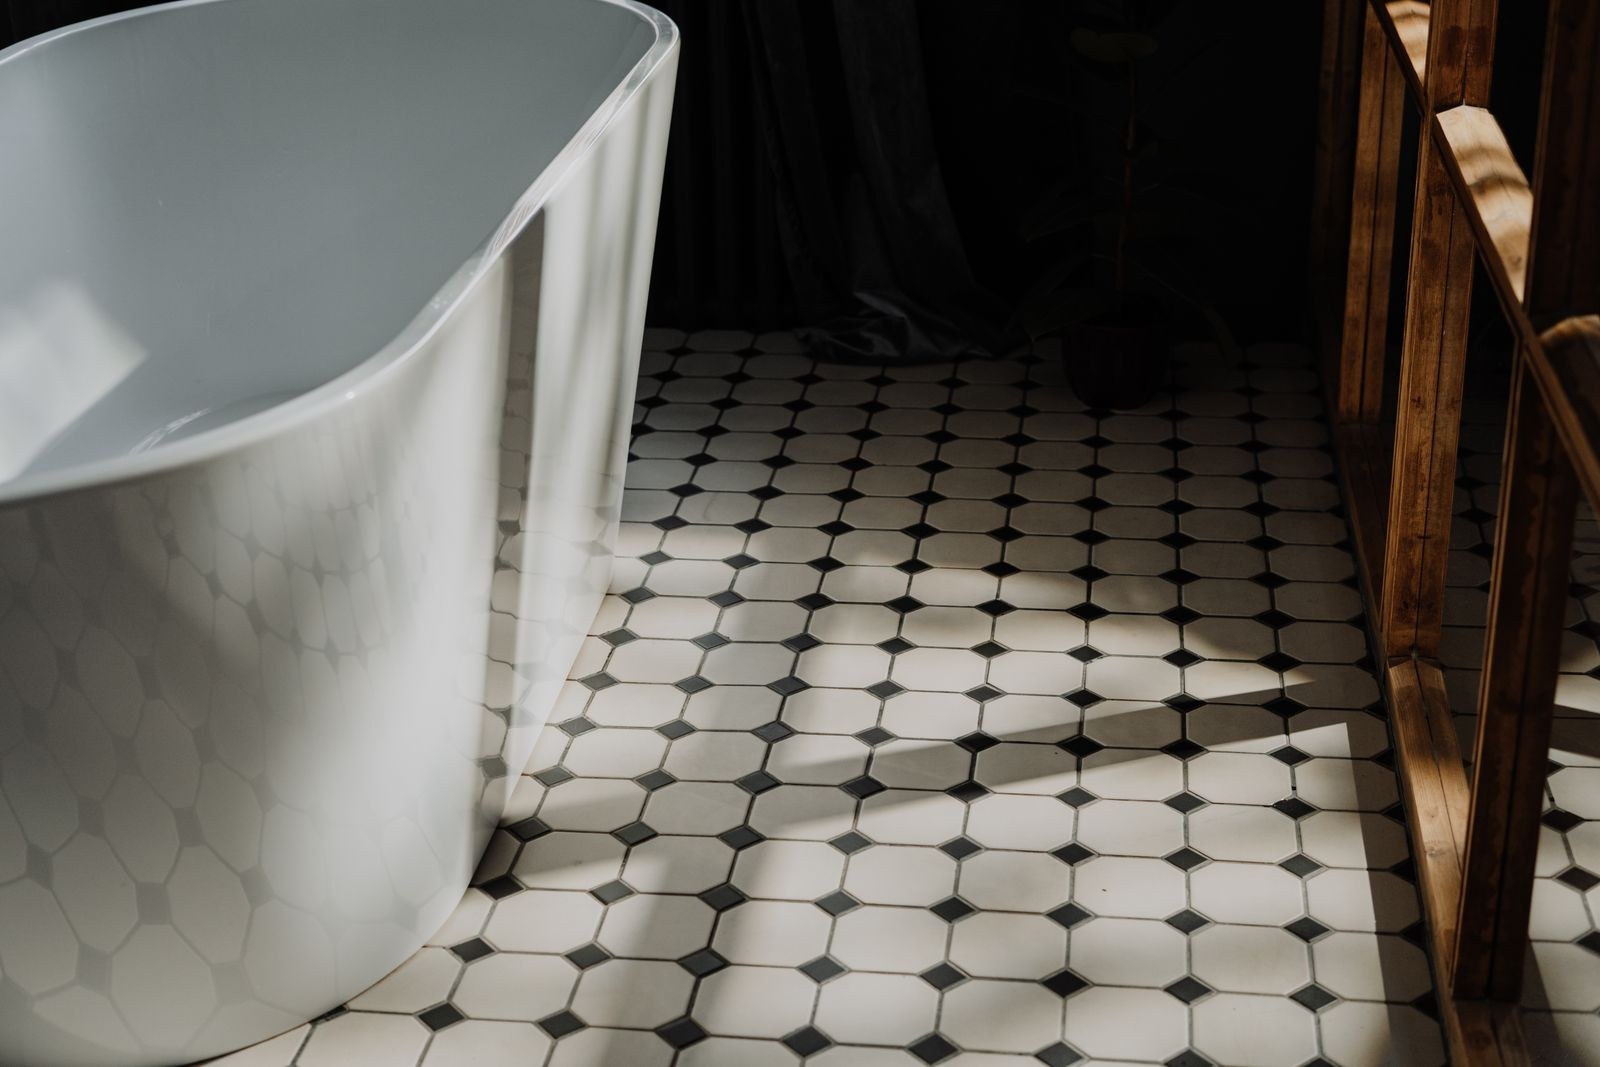
Many peel and stick lines now include hexagon designs, often with hexes one to two inches across, in classic white with dark accents or in soft marble tones, and the small scale suits tiny floors where large tiles would need awkward cuts. Hexagons are forgiving around toilet bases and pipe cutouts too, since the pattern breaks into small pieces at the edges. Keep the grout look lines consistent in tone across the room. Mismatched greys are what make a faux pattern read as fake.
5. Marble Look Tiles for a Calm, Polished Room
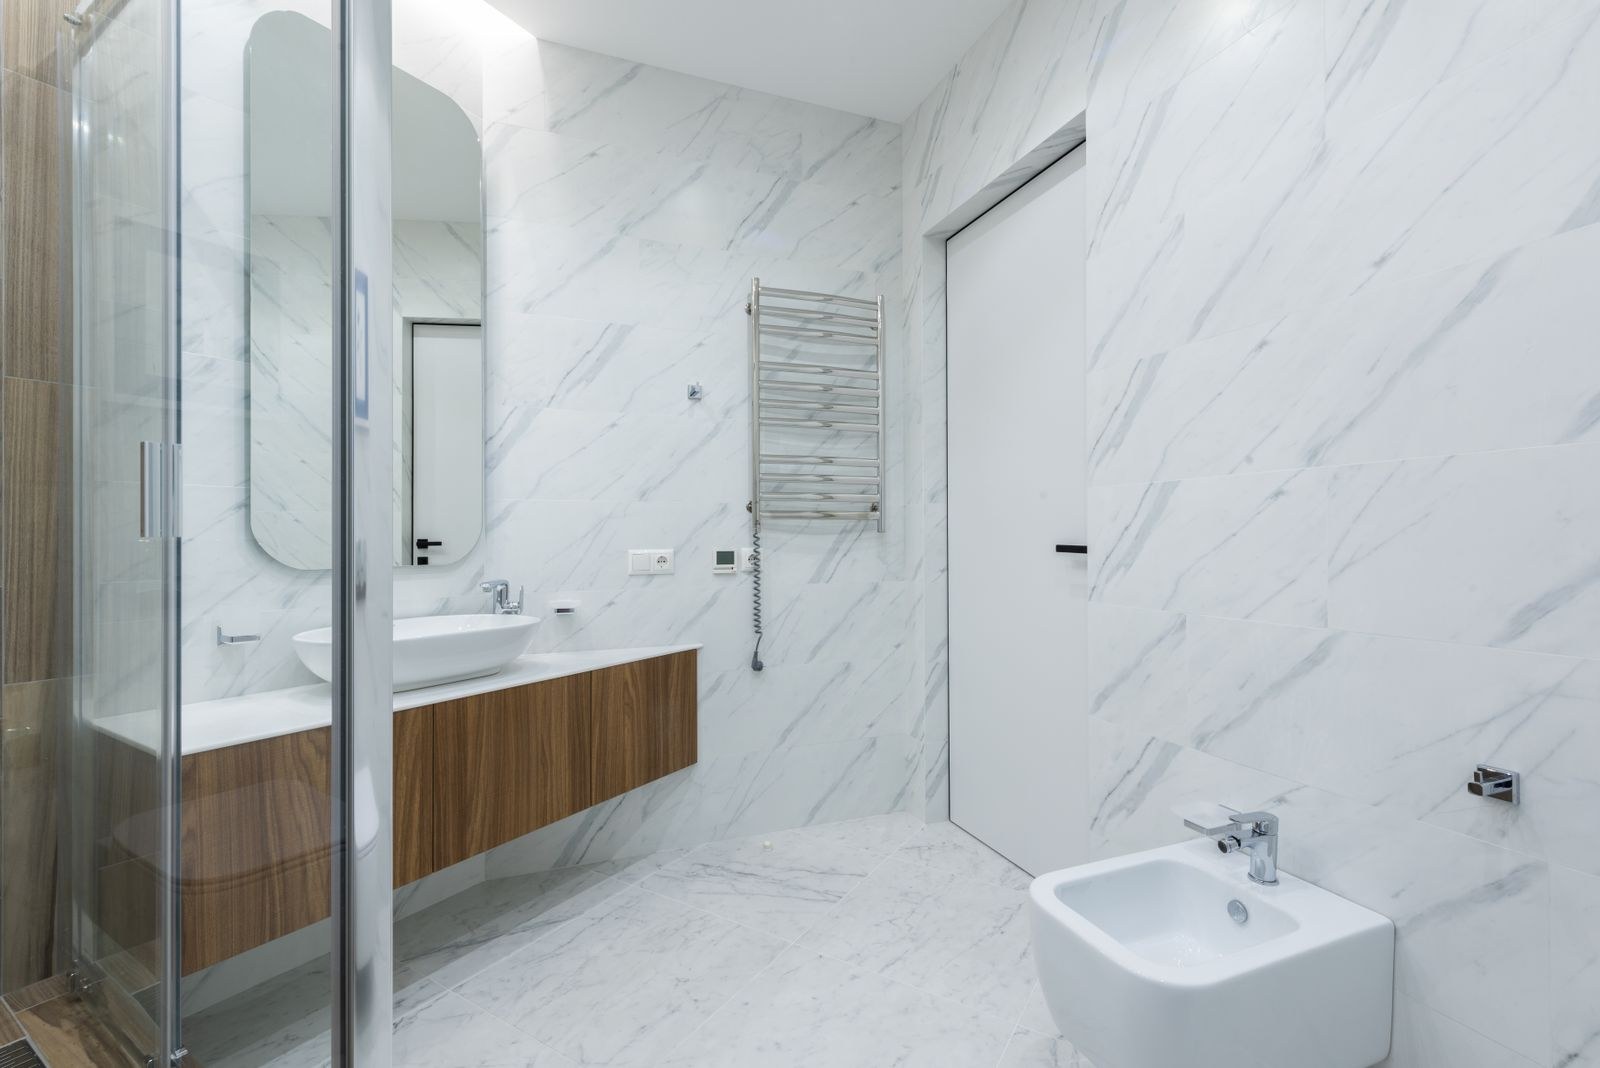
A marble look floor gives a rental bathroom the calm, expensive feeling of a boutique hotel without a single real stone. The veining reflects light softly, which helps windowless bathrooms feel less closed in.
Plan the layout on the floor before peeling anything. The vein direction and the pattern repeat decide whether the result looks natural or stamped, and stamped is the failure mode with marble look tiles. The same vein marching in the same direction on every tile is the giveaway. Alternate tile direction where the design allows it, and keep everything else quiet: plain towels, simple wood or black accents, one plant. When the floor pretends to be marble, the rest of the room should whisper rather than compete.
6. Cement Look and Patterned Tiles for Personality
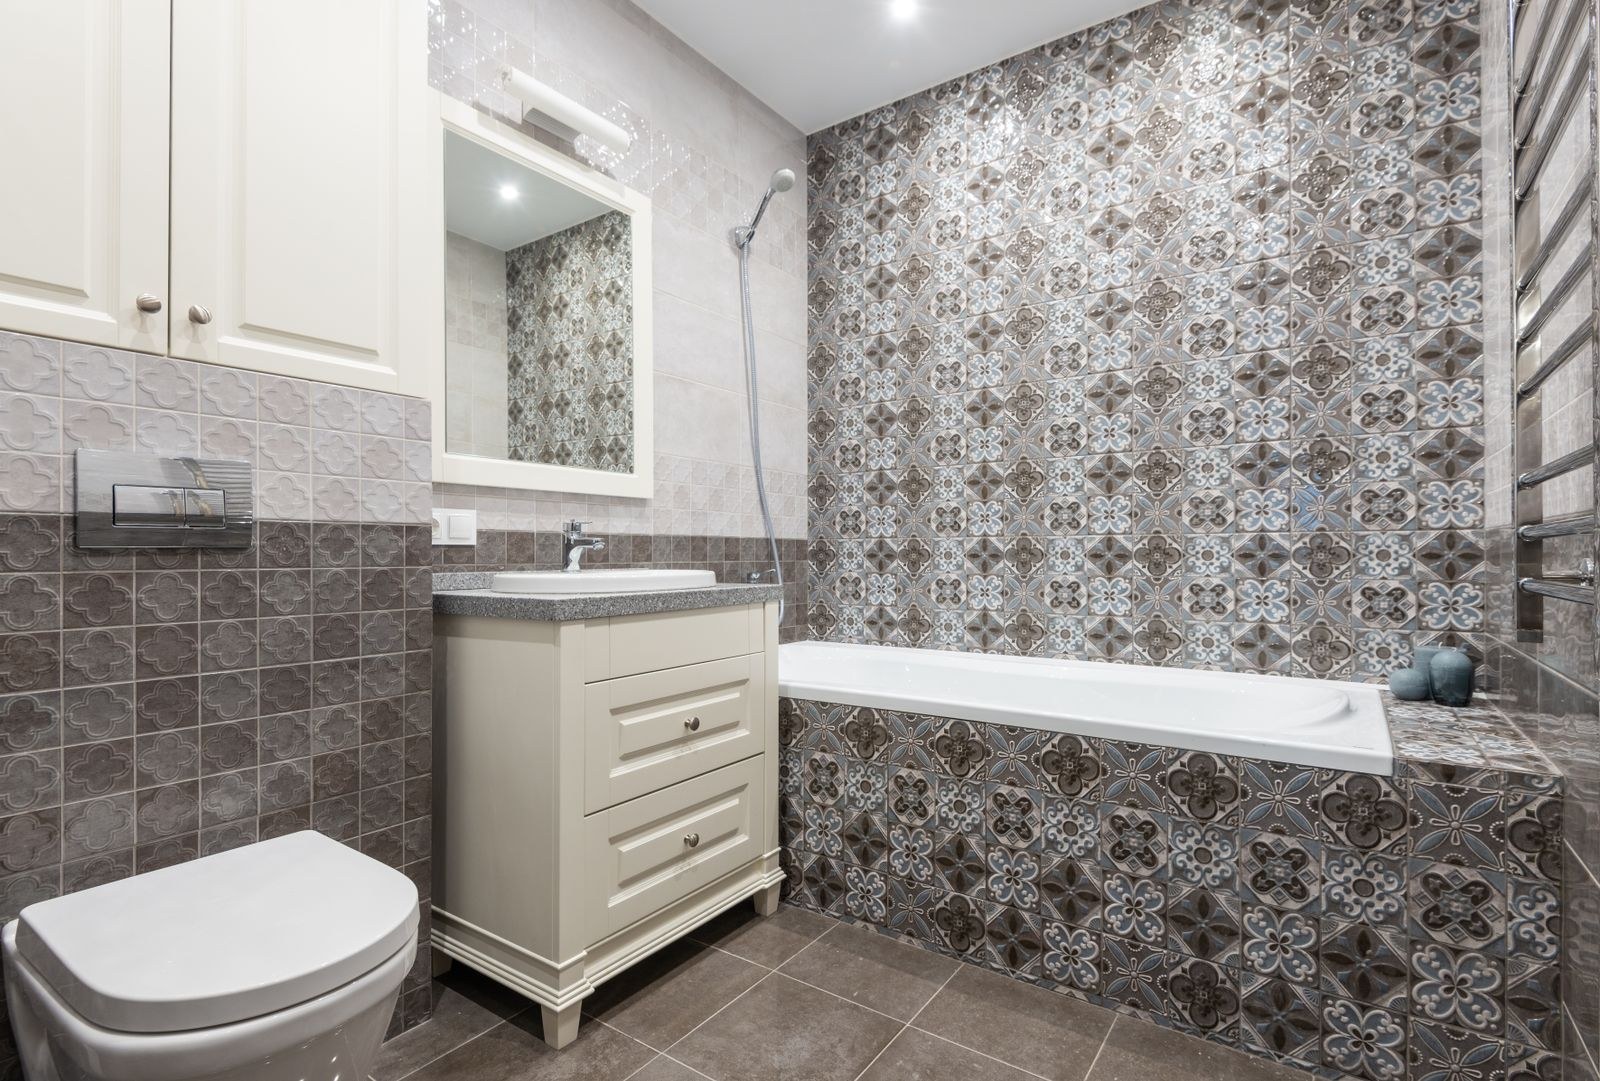
Patterned cement look tiles are the choice when the bathroom needs joy more than calm. Star, floral and geometric designs in indigo, terracotta or charcoal turn the floor into the room’s artwork.
There is a practical bonus renters rarely expect: a busy pattern hides hair and dust between cleans better than any plain floor I have lived with. Pull exactly one accent color out of the pattern and repeat it in towels or a bath mat, then keep walls and accessories plain so the pattern stays charming instead of loud. And if you tire of it, the tiles lift and the experiment ends cleanly. That is the renter’s whole advantage. Use it.
7. Large Format Stone Look Tiles in a Small Bathroom
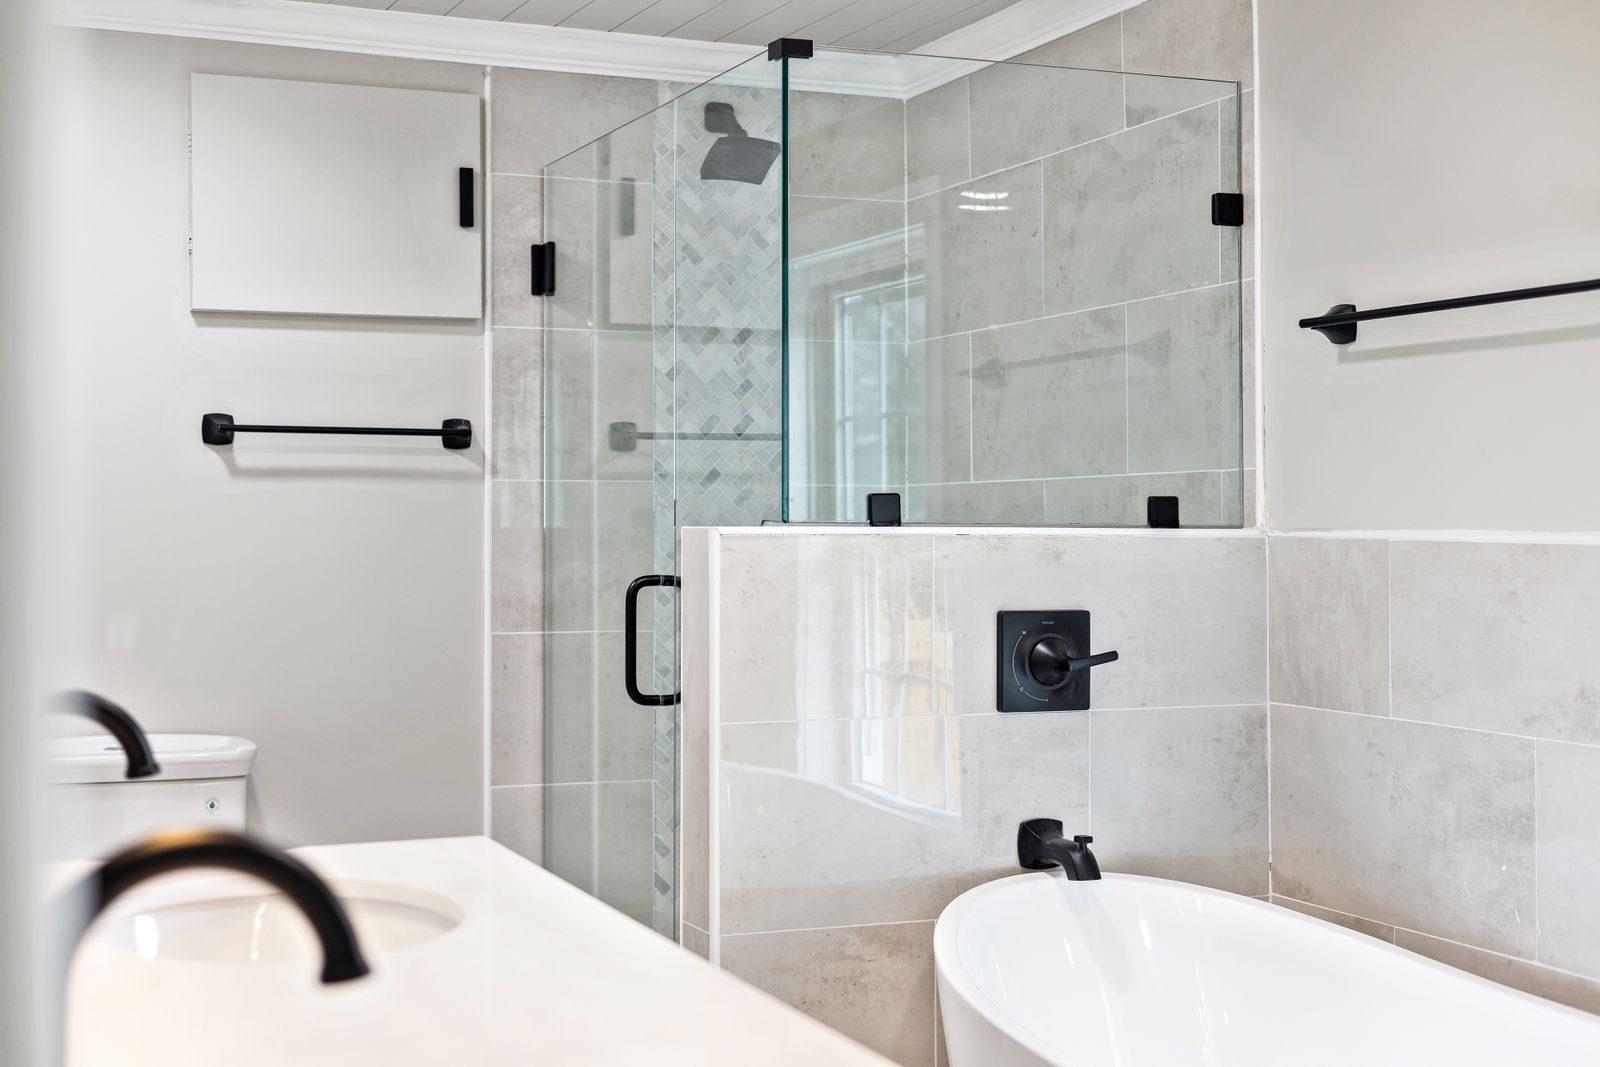
It feels backwards, but large tiles often suit the smallest bathrooms best.
Fewer, bigger tiles mean fewer seams, and fewer seams mean a calmer visual field and fewer edges where water can find a way in. A soft stone look in pale grey or warm beige stretches a tiny floor visually, especially laid straight rather than diagonal. This is the same trick behind most small bathroom decor tips: cut the number of visual interruptions and the room grows.
Order a couple of spare tiles while you are at it. Large formats show a damaged corner more than small patterns do, and the spare in the cupboard is a two minute fix later.
8. Keep Seams Away From the Splash Zone
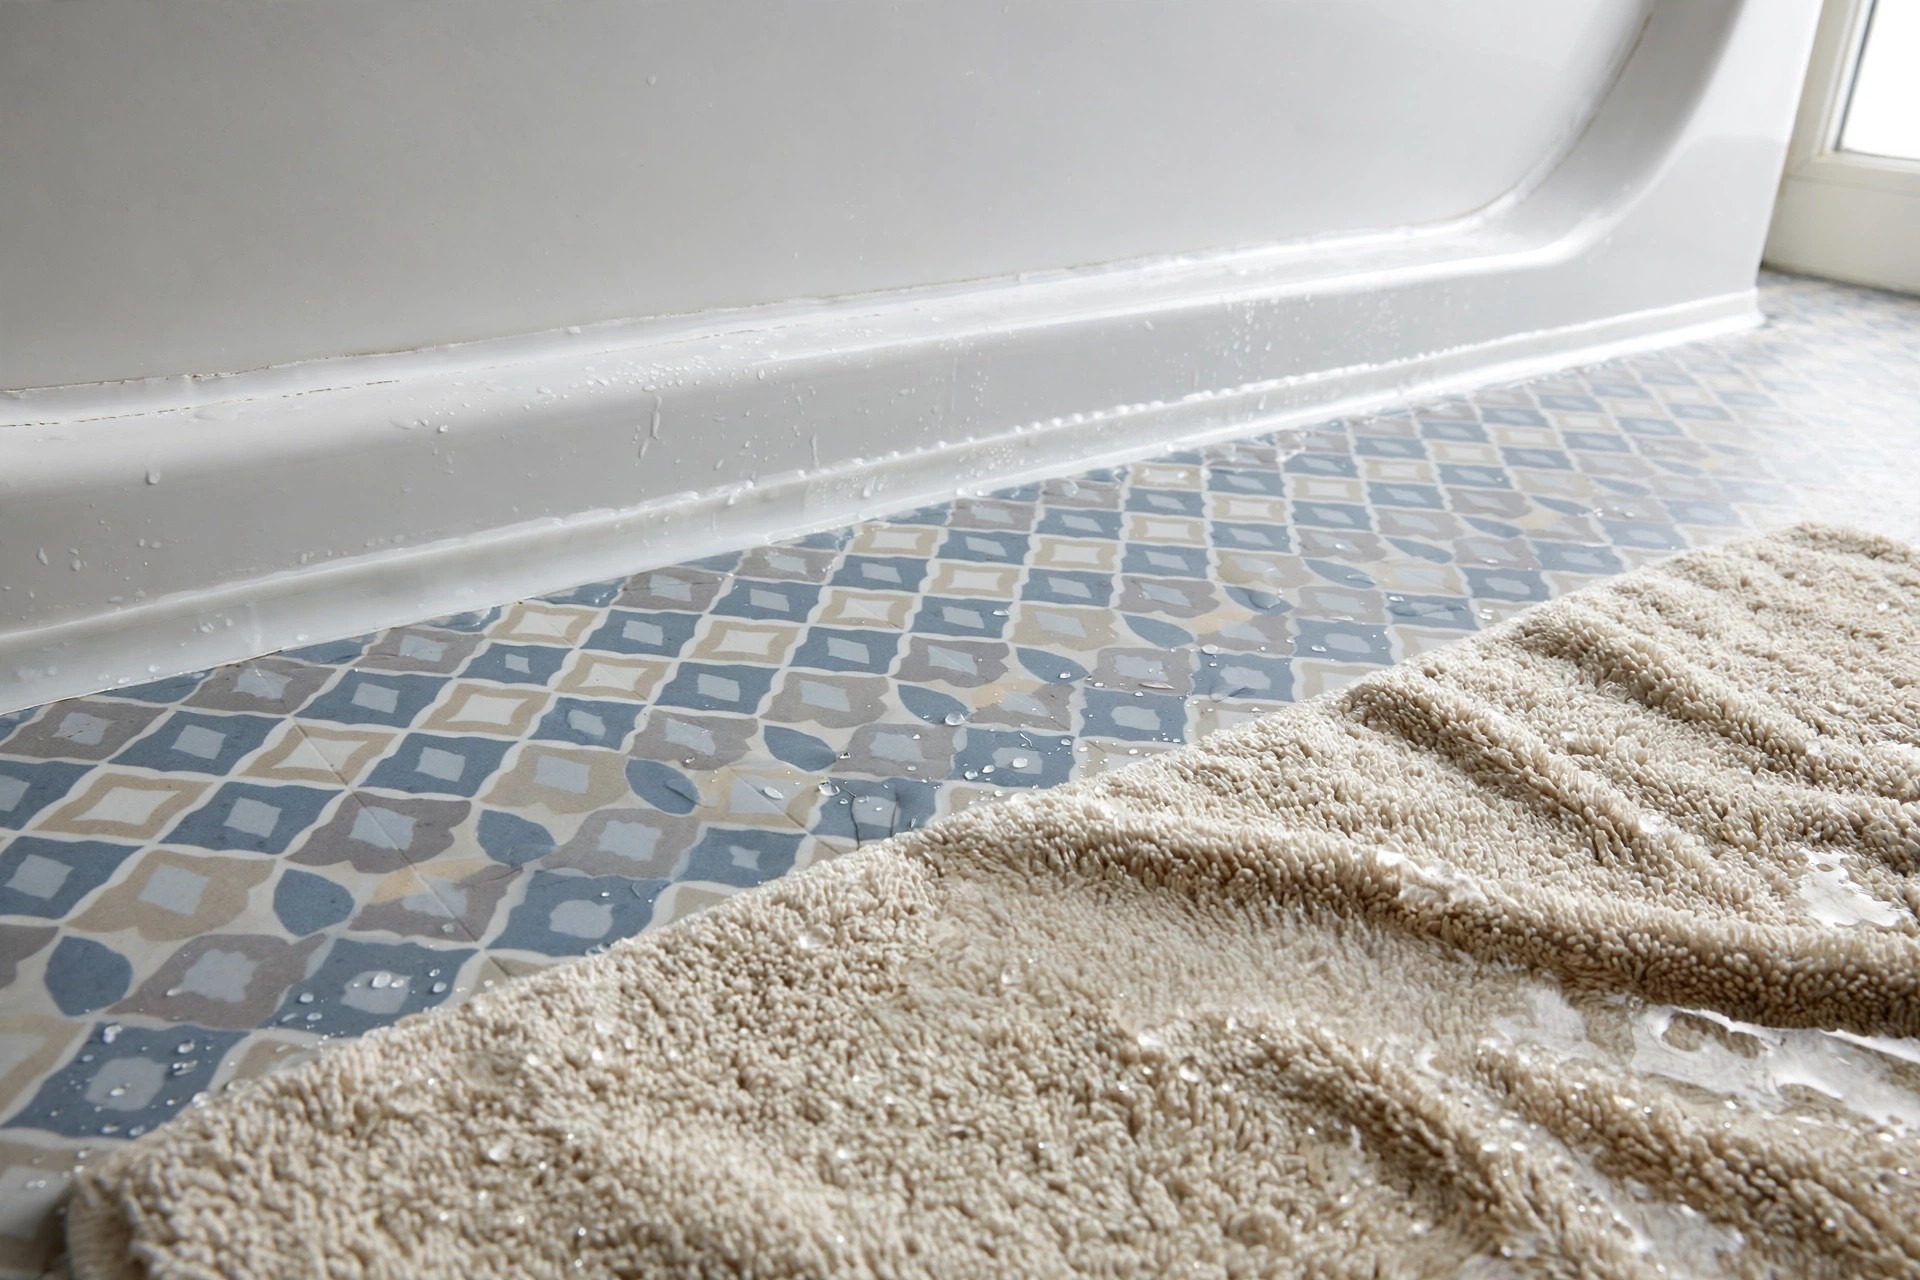
Honesty matters most on this idea, because it decides whether the floor lasts.
Peel and stick tiles are water resistant on their surface, but they are not waterproofing, and standing water works into seams over time. Press every seam tight, roll the finished floor firmly so the edges bond, and think hardest about the strip beside the tub and around the toilet base, where splashes land daily. A bath mat outside the tub, puddles wiped up, and decent ventilation protect the install more than any product claim.
And the straight skip: if your shower regularly floods the floor, fix the curtain or the habit first. No tile survives a daily pond, and laying one anyway is money into water.
9. Pair the New Floor With One Storage Upgrade
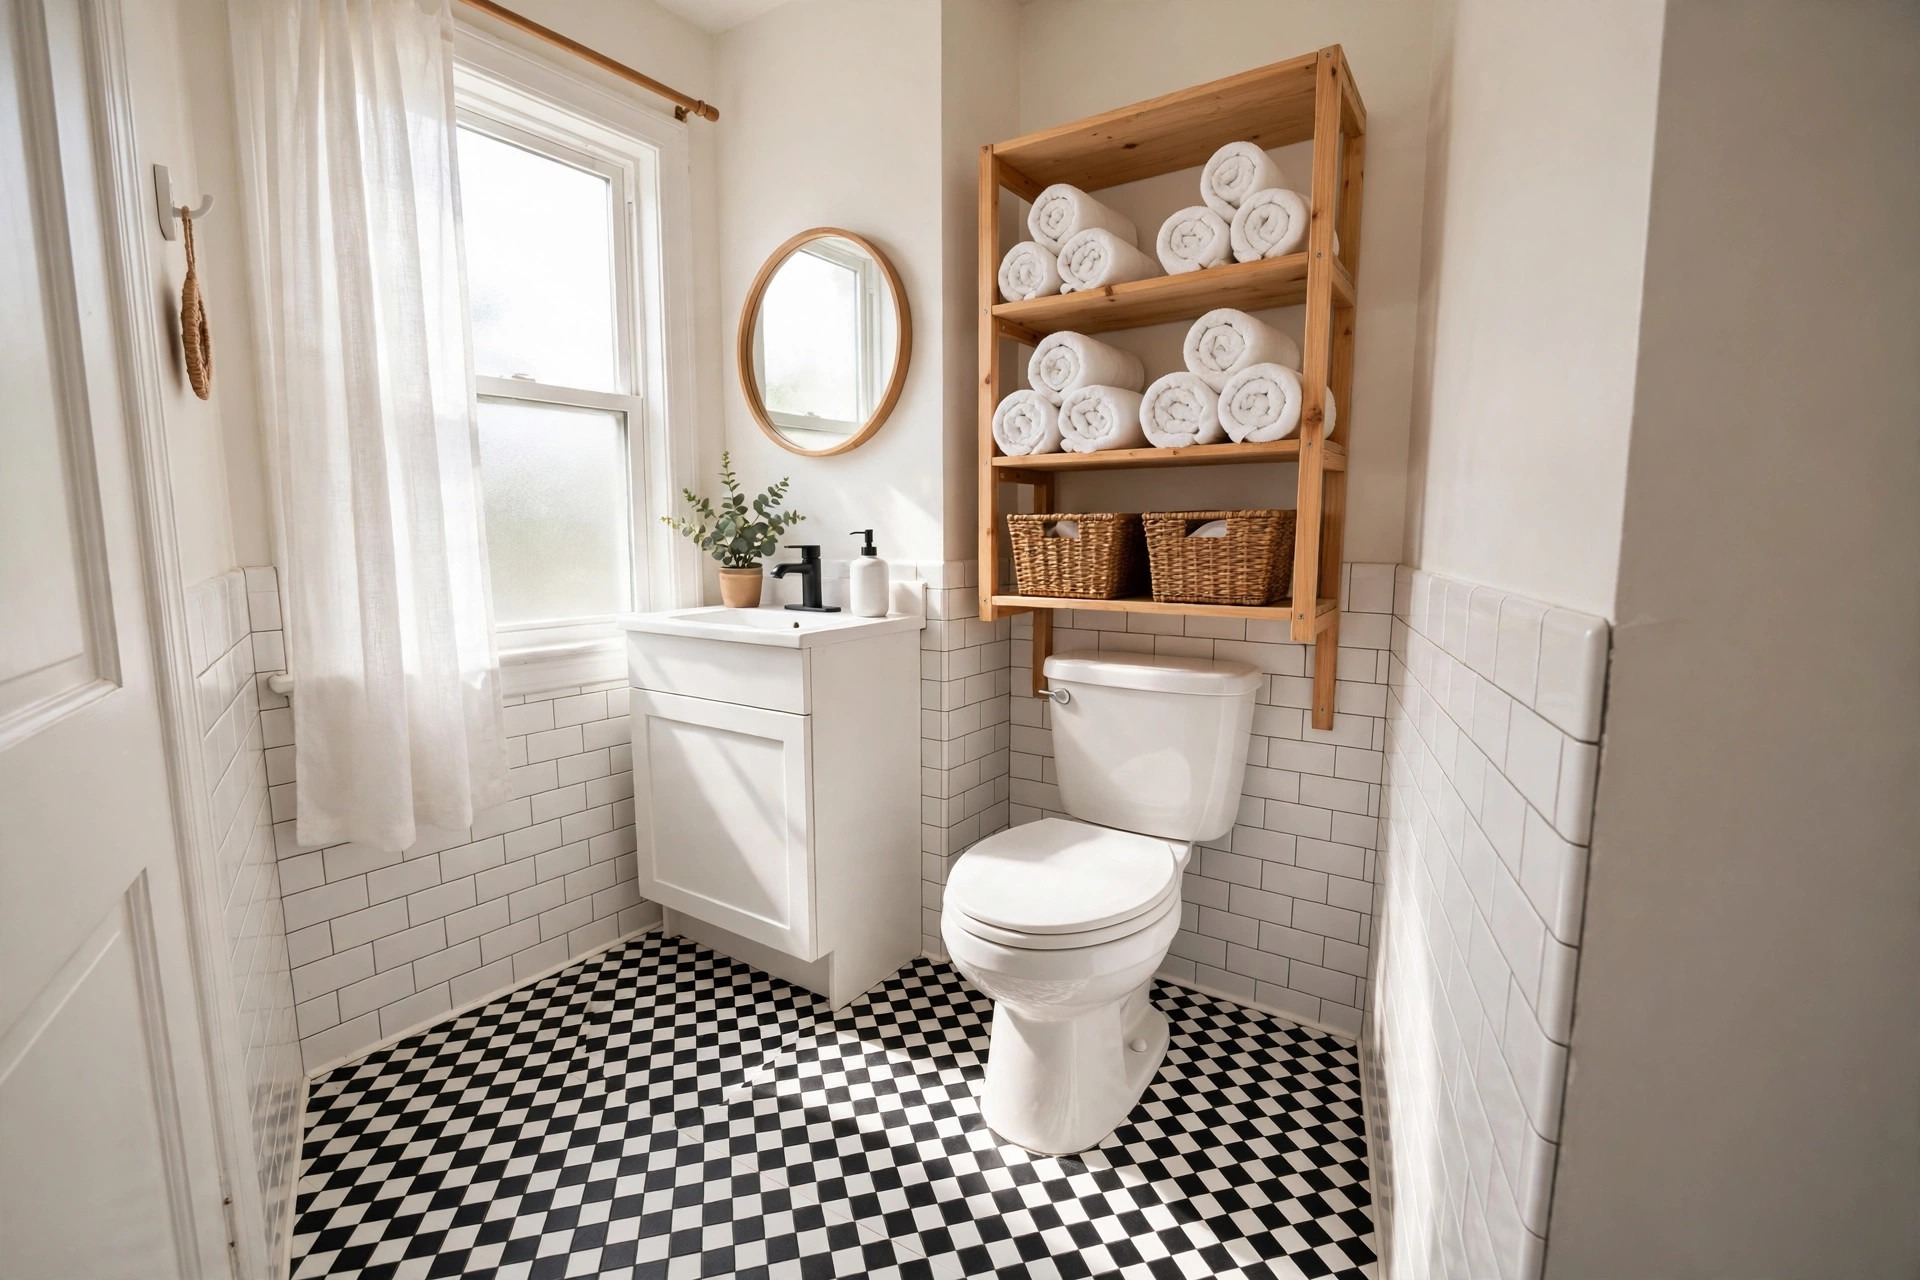
A new floor under the same old clutter only solves half the room.
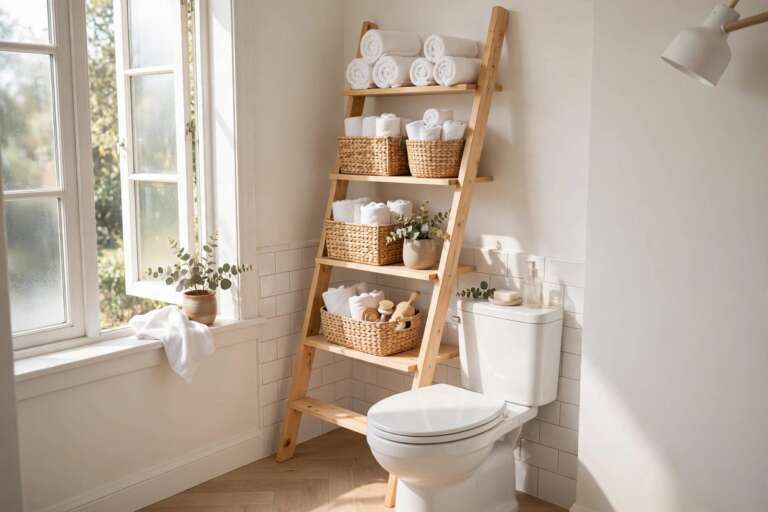
Once the tiles are down, add one storage piece so the bathroom reads as a single planned makeover: an over toilet shelf, a narrow rolling cart beside the vanity, or a wall mounted cabinet where your lease allows. The strongest renter friendly bathroom storage ideas use the same no drill thinking as the floor itself, so the whole room can return to its original state in an afternoon. I always choose the piece that removes the most visible bottles from the floor and counter, because clean edges are what let a patterned floor shine.
One piece. Not three. A floor this loud about being new does not need competition.
10. Match the Floor to Peel and Stick Walls
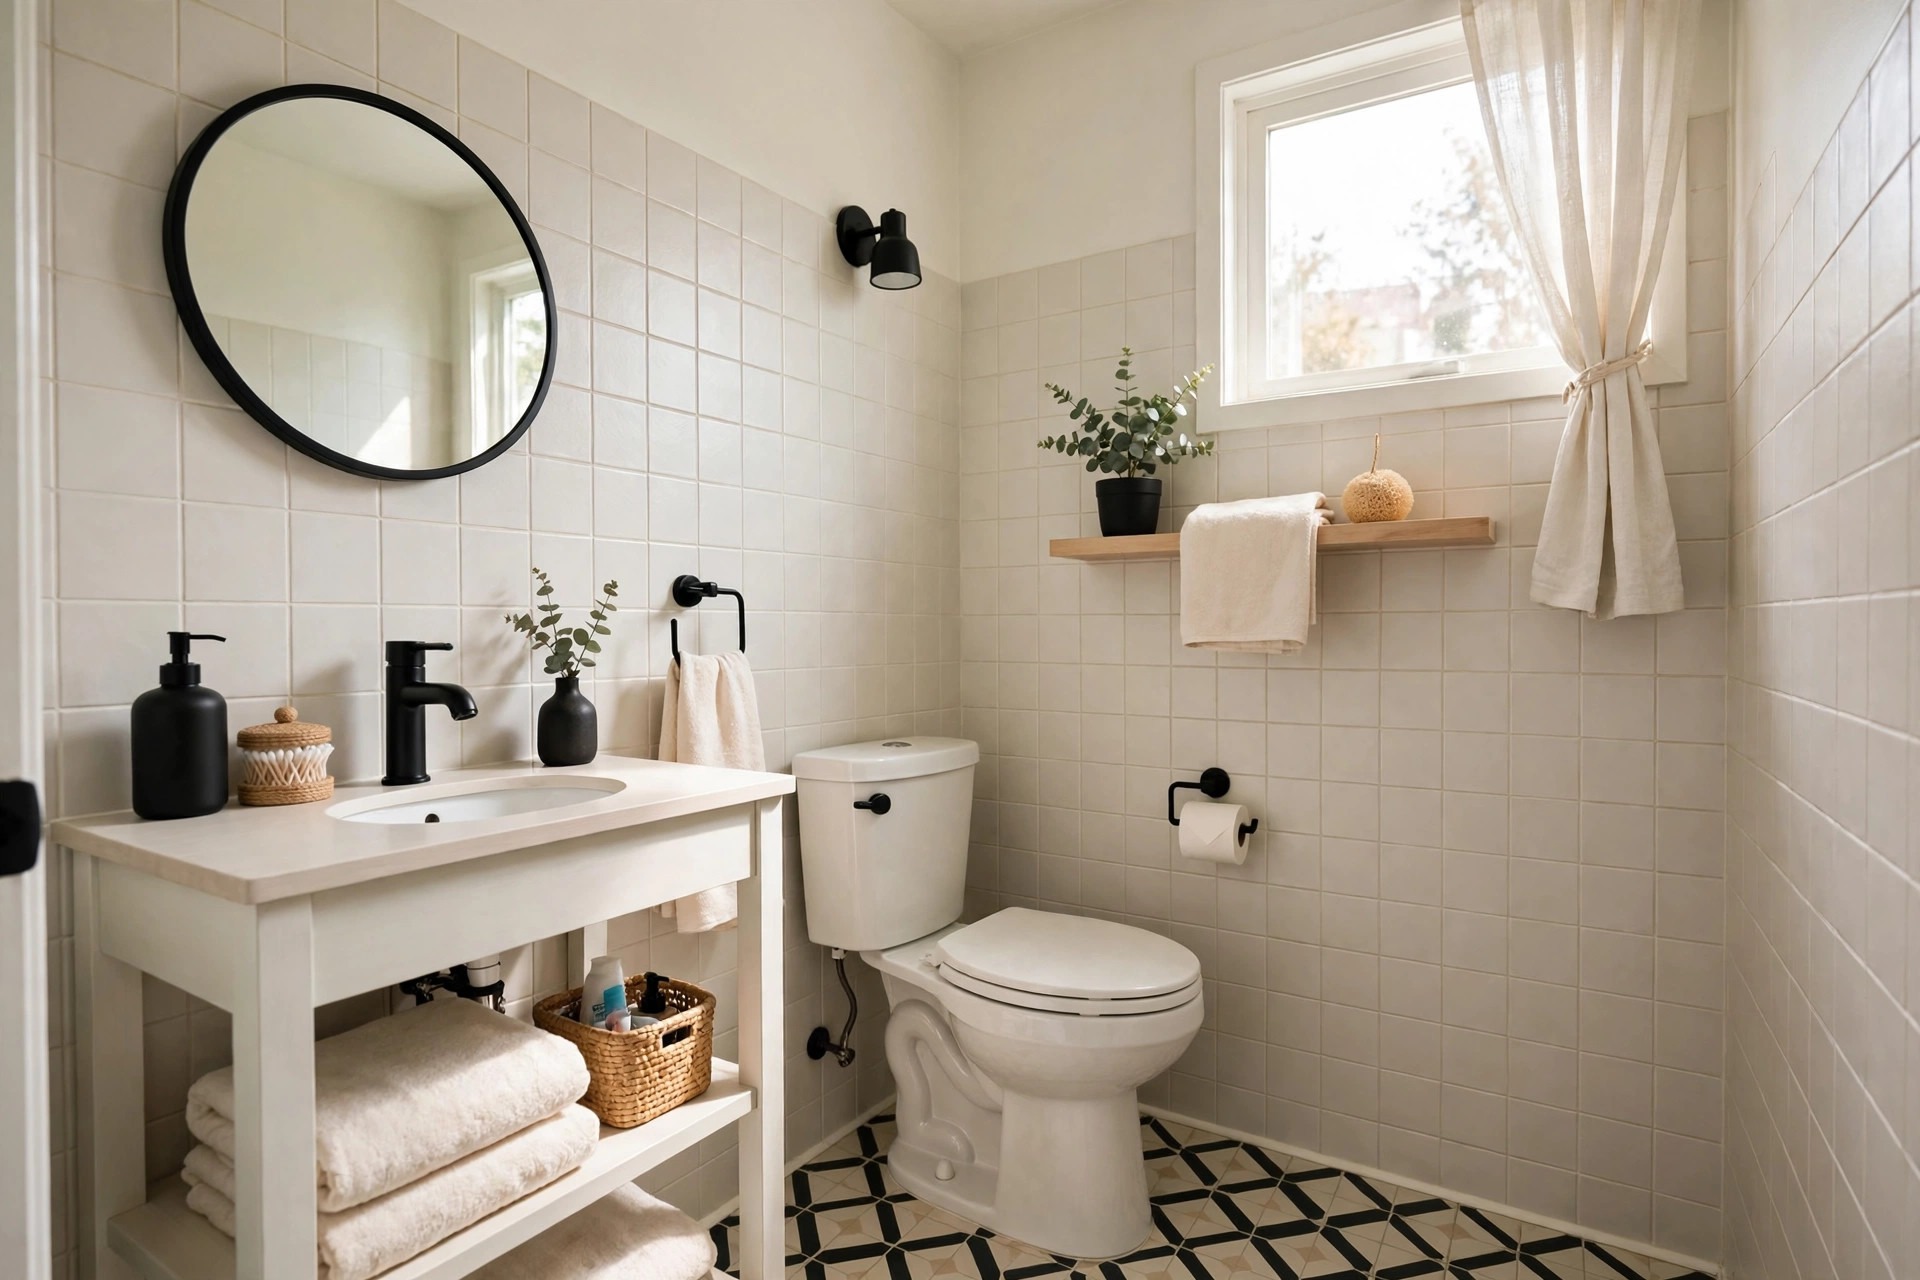
Floors rarely change alone. Peel and stick works on bathroom walls and splashbacks too, which lets a renter pull the whole room together.
The rule that keeps it tasteful is one pattern per room. If the floor carries the pattern, keep wall tiles plain or softly textured. If you fell for peel and stick backsplash ideas with a bold design, choose a quiet stone or wood look for the floor. Repeat one metal finish across taps, hooks and frames so the two peel and stick layers feel like one decision. Buy both products before starting, and test their colors together in daylight. Two products that each looked right alone can argue badly side by side.
11. Removal Day: Peel Up Cleanly and Protect Your Deposit
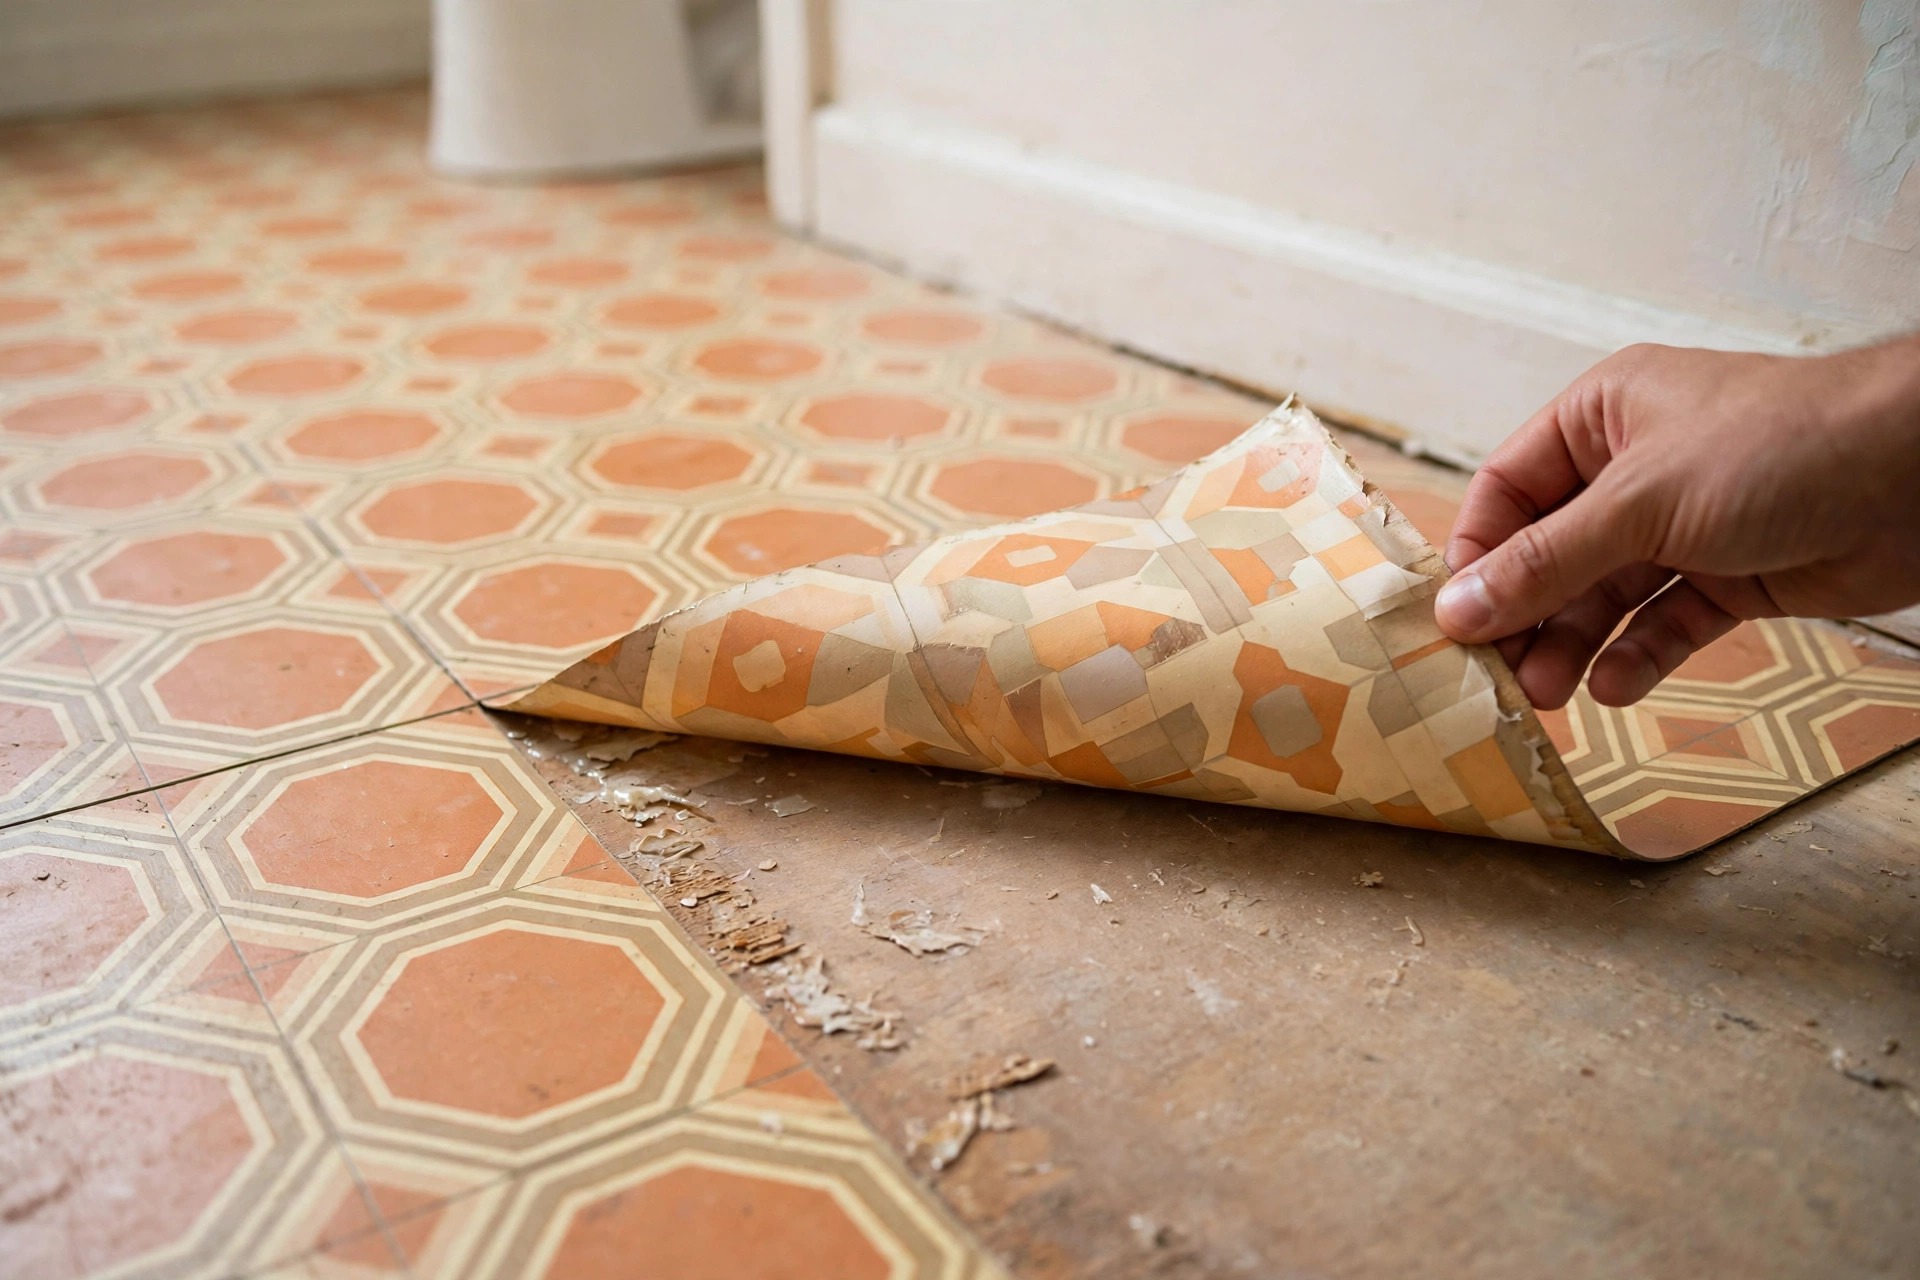
The exit is part of the design.
Keep a few spare tiles from installation day to swap in for any that get damaged mid tenancy, so the floor you remove is the floor in your photos. At move out, warm each tile gently, a minute or two with a hair dryer on low, and lift slowly from one corner, working at a low angle rather than yanking upward. Yanking is what tears finishes. Leftover adhesive usually softens with warm soapy water or an adhesive remover, always tested first in a hidden spot and always matched to the floor material underneath.
Photograph the restored floor next to your move in photos, and the deposit conversation stays simple.
The Bottom Line
A rental bathroom floor is not a life sentence. With a lease check, a hidden test patch and honest care around the wet zones, peel and stick tiles can carry checkerboard charm, wood warmth or marble calm into the plainest bathroom, and leave again without a trace. Choose the pattern that suits the building, plan the layout before you peel, and keep spares for the journey. The deposit stays safe, the mornings feel better, and the ugliest floor in the apartment becomes the room people compliment.
Start with one tile in the hidden corner behind the toilet. Several days of patience there protects everything that comes after.
Frequently Asked Questions
Do peel and stick floor tiles hold up in a bathroom?
Yes, on a smooth and sound floor, as long as seams are pressed tight and standing water is wiped up rather than left to sit. They handle daily splashes and mopping well. Their weakness is water that repeatedly reaches the edges, which is why placement around the tub matters most.
Will peel and stick tiles damage the floor underneath?
On smooth vinyl, laminate or sealed tile in good condition, removal is usually clean after a proper test patch. Risk rises on damaged, unsealed or freshly finished floors, where adhesive can pull at the surface, which is exactly why the hidden corner test comes first.
Can peel and stick flooring go over existing tile?
It can go over smooth, well bonded tile, but grout lines may show through as faint ridges and reduce adhesion on each tile’s edges. Deep or crumbling grout is a poor base; in that case a loose lay sheet or a different room should win, rather than forcing the tiles.
How do you remove peel and stick floor tiles when you move out?
Warm each tile gently, a minute or two with a hair dryer on low, lift slowly from a corner at a low angle, and keep steady pressure rather than pulling fast. Soften leftover adhesive with warm soapy water or a tested adhesive remover, then clean and photograph the floor to compare with your move in pictures.