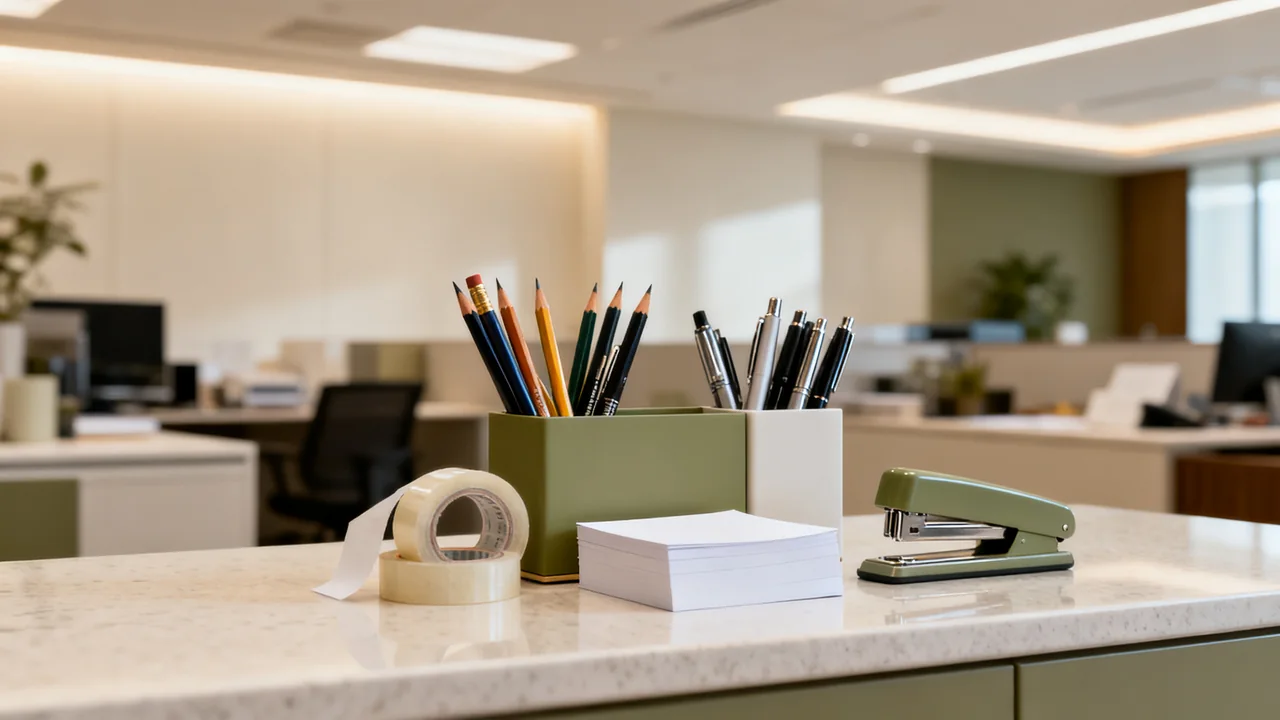
A shared stationery station centralizes low-value, high-turnover everyday writing and craft supplies so team members can grab what they need without sorting through personal desk drawers or filing requests for trivial items. Unlike a general supply cupboard or printer supply shelf, this station focuses exclusively on small, hand-held items used for quick tasks: writing tools, sticky notes, fasteners, craft supplies for presentations, and small desk accessories. The goal is to cut down on time spent tracking down common items while avoiding overbuying duplicate supplies that accumulate in unused desk storage.
First: Map Usage Patterns to Select Station Inclusion
Before selecting storage or restocking items, survey the team across representative work patterns to track which small supplies are actually requested or used across different roles. Admin staff may use staplers, tape dispensers, and rubber bands daily, while creative teams may reach for colored markers, glue sticks, and precision cutting tools. Hybrid teams may only need a slim selection of supplies for in-office work sessions, while in-person attendance is one factor in demand, alongside the actual tasks.
Keep any supplies that your workplace restricts in the appropriate controlled location. Do not put specialist cutting tools in an open shared station without the required handling arrangements. Also exclude any items covered by other shared storage systems, such as cables, document trays, or printer paper, to avoid duplicating stock that already has a dedicated replenishment process.
Choose a Location and Base Structure for Accessibility
Place the station in a high-traffic, central area that is visible from most workstations but does not block walkways or disrupt quiet work zones. Common locations include the edge of a shared break counter, a side shelf near the printer, or a rolling cart that can be moved to meeting spaces as needed. Ensure the surface is level, dry, and far from food or drink stations to avoid spills damaging paper supplies.
The base structure can be as simple as a tiered wooden shelf, a divided drawer unit, or a prefabricated desktop organizer. Prioritize structures with open, divided compartments rather than closed, opaque drawers, so users can see stock levels at a glance without rummaging through contents. If you use a cart, select one with locking wheels to prevent it from shifting when users grab items from the top shelf. For hybrid teams, consider a compact, wall-mounted unit that takes up minimal floor space for low-volume usage.
Illustrative Example: Station Layout for a 12-Person Creative Agency
This hypothetical scenario uses assumed numbers for planning demonstration only, not universal requirements. A 12-person agency with 8 in-person staff and 4 hybrid staff who visit multiple times per week uses a 3-tiered rolling cart for their station:
- Top tier: Frequently used, grab-and-go items: ballpoint pens (black, blue, red), #2 pencils, erasers, standard sticky notes, and small scissors. All compartments are open, no lids, so users can grab items quickly with minimal delay.
- Middle tier: Less frequent, task-specific items: colored markers, highlighters, glue sticks, staples, paper clips, binder clips, and tape refills. Compartments have clear lids to keep small items from spilling when the cart is moved.
- Bottom tier: Overstock of all items, stored in labeled resealable bags, plus shared bulk tools: a full-size stapler, tape dispenser, hole punch, and pair of heavy-duty scissors. These tools stay at the station unless a team member checks them out for use at their desk.
The cart is positioned within easy walking distance of the main printer and meeting room entrance, so staff can grab supplies before heading into meetings or while collecting printouts. A small whiteboard mounted on the side of the cart lets users mark when items are running low, rather than sending separate messages to the office manager.
Organize Compartments to Reduce Clutter and Misplacement
Group like items together in logical, intuitive categories that match how your team searches for supplies, rather than sorting by brand or package size. For example, group all writing tools in one section, all fasteners in another, and all craft supplies in a third. Avoid overcrowding compartments: leave empty space in each section so users can return extra items they grabbed by mistake without jamming contents into bins.
Label each compartment with the exact item name and, if applicable, the intended use case to avoid misplacement. For example, label a compartment “Permanent Markers (For Signage Only)” to distinguish them from dry-erase markers stored in meeting rooms. For small items like paper clips or push pins, use shallow divided trays so users can see the full contents at a glance, rather than digging through deep bins where items get stuck at the bottom.
Decision Table: Station Type by Team Context
Use this table to select the right station structure based on your team’s size, work model, and typical stationery usage:
| Team Context | Recommended Station Type | Key Benefit | Tradeoff to Consider |
|---|---|---|---|
| Regular demand for a varied selection | Fixed shelf unit sized to the supplies and users | Holds high volume of varied items, no repositioning needed | Takes up permanent floor space, cannot be moved to meetings |
| Hybrid team with regular in-person staff weekly | Wall-mounted divided shelf | Saves floor space, keeps supplies off shared work surfaces | Limited storage capacity, requires secure mounting to wall |
| Team that hosts frequent client presentations or workshops | Locking wheeled cart | Can be moved directly to meeting or event spaces | Small items may shift during movement if not secured |
| Small team with shared desk space | Desktop divided organizer | Compact, low cost, fits on a shared work surface | Very limited storage, no room for overstock |
Set Clear Usage and Restocking Guidelines
Post simple, visible guidelines near the station to set expectations for use, so you avoid running out of high-demand items unexpectedly. Guidelines may include:
- Take only what you need for immediate use; do not stockpile supplies in personal desk drawers.
- Return shared tools (staplers, hole punches, heavy scissors) to the station promptly after use.
- Mark low stock on the adjacent whiteboard or designated shared document, rather than submitting formal purchase requests for stationery items.
- Dispose of broken or empty items (dried-out pens, empty glue sticks) in the nearby trash bin, rather than putting them back in compartments.
Assign a single team member to check the station on a regular cadence aligned with your office supply ordering schedule, cross-reference the low-stock list, and add needed items to the regular office supply order. This avoids duplicate orders from multiple team members noticing the same low stock. For high-demand items that run out quickly, keep a small backup supply in the main supply cupboard, so you can restock the station without waiting for a new order to arrive.
Implement a Low-Waste Refresh Routine
On a regular schedule that aligns with your team’s usage volume, do a full refresh of the station to remove damaged, expired, or unused items that are taking up space. Separate unusable items for appropriate disposal or recycling. Move serviceable but rarely used items out of the working station and assess whether to retain, reassign, or donate them with the owner’s approval. Lack of recent use alone is not a reason to discard a useful item.
During the refresh, ask your team if there are items they would like added to the station, or items that are taking up space and can be removed. For example, if your team has stopped using physical sticky notes in favor of digital collaboration tools, you can reduce the number of sticky note compartments to make room for more craft supplies for client presentations. Adjust the layout as needed to match changing usage patterns, rather than keeping the same structure indefinitely.
Actionable Setup Checklist
Use this checklist to walk through the setup process in order, so you do not miss key steps:
- Review representative team usage to identify which stationery items are actually used, and exclude any items that are already stored in other dedicated locations.
- Select a central, dry, high-traffic location that does not block walkways or disrupt quiet work.
- Choose a station structure that matches your team size, work model, and usage volume, referencing the decision table above.
- Group items into logical, intuitive categories, and label each compartment clearly to reduce misplacement.
- Post simple usage guidelines near the station, and assign one team member to handle regular restocks aligned with your office’s ordering schedule.
- Schedule regular refresh sessions to remove unused items and adjust the station layout to match changing team needs.
Key Tradeoffs to Adjust for Your Workplace
There is no universal layout that works for every team, so adjust your setup based on your specific priorities. If your team values speed and accessibility above all else, prioritize fully open compartments with no lids, even if that means items are more likely to get dusty or spilled. If you have limited floor space, opt for a wall-mounted or desktop unit, even if that means you can only stock a small selection of high-demand items. If your team frequently uses supplies in meeting rooms, prioritize a wheeled cart, even if that means you have to secure small items with lids to prevent shifting during movement.
If you have team members with accessibility needs, adjust the station height and compartment layout to ensure all items are reachable for people with limited mobility. For example, place high-demand items on the middle tier of a shelf unit, after checking that the actual users can reach the items comfortably. Avoid heavy, hard-to-open lids for compartments used by team members with limited hand strength.
Have a question or a correction?
Contact the editorial team