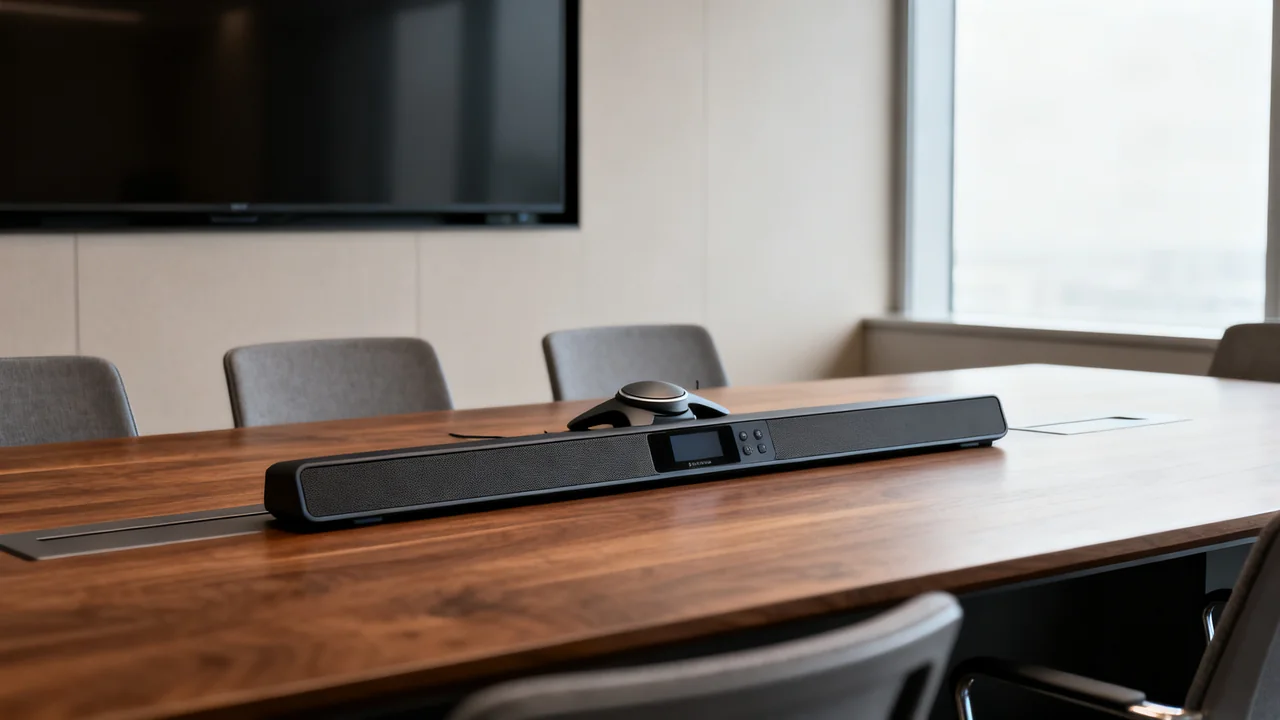
A room can show a picture on its display while the meeting app still uses a laptop microphone. A useful pre-call check follows the same path as the planned call: the approved computer, meeting service, selected camera, microphone, speakers and shared content. It gives the host a clear readiness result before attendees arrive.
This is an operating check for equipment already installed and commissioned. It is not an electrical inspection, an acceptance trial or permission to change managed settings. Use the room’s quick-start instructions and limit troubleshooting to actions the workplace has authorized.
Start with the meeting requirements
Check the first booking and identify the connection method the host will use. A room computer, a guest laptop connected by cable and a wireless presentation system may have different capabilities. Successful wireless display sharing does not establish that the remote meeting will receive the room camera or microphone.
Have an approved test account or test-call method, a nonconfidential sample document and the room’s support contact ready. Do not enter a client’s meeting early simply to test the room. Arrange any test with another person in advance, and use permitted devices and accounts.
Record the features required today. A document camera matters when the host plans to show physical objects; testing every unused accessory can distract from the actual call path. If the room has different supported connection modes, state which mode the check covers rather than marking all of them ready.
Look before operating equipment
From accessible positions, check for spilled liquid, damaged visible cables, obstructed ventilation, loose equipment and items blocking the camera. Do not reach behind mounted displays, move heavy equipment or climb to inspect a ceiling microphone. Report those concerns to the responsible team.
Stop using suspect equipment if there is visible electrical damage, an unusual smell or evidence of liquid entry. Follow the workplace isolation and escalation procedure; do not test an outlet with another appliance or repeatedly power-cycle a device to see whether a fault disappears.
If the area is suitable for use, start the room through its documented controls. Interpret status lights using the actual equipment instructions. A lit indicator alone does not prove that the device is connected to the intended meeting app.
Check the selected devices and two-way sound
Connect the approved test computer in the same way as the host, or use the installed room system. Open the intended meeting app and check the selected microphone, speaker and camera by name. A dock can add several audio options, and an operating-system selection may differ from the app’s choice.
Use the service’s supported audio test where available. For example, Microsoft’s Teams device guidance describes selecting audio devices and making a test call. Available controls vary with the client and account, so the room instructions should identify the method staff can actually use.
For a test with a colleague, place that person in a separate room and avoid a second active audio connection in the meeting room. Speak at a normal level from the seats intended for the call. Ask the remote tester whether speech is intelligible and whether they hear interruptions or echo. Listen to their reply from the room seats as well.
Verify the mute control staff will use, including how its status appears in the meeting app. A microphone level meter shows activity, but it does not by itself verify what a remote attendee hears. Use neutral test speech, and do not record it unless recording is permitted and needed.
Verify camera framing and shared content
Check the camera preview with the room arranged for the meeting. Open any privacy shutter through its normal control, confirm the selected camera, and adjust only approved framing controls. Check that expected participants can appear in the picture without including confidential boards or neighboring work areas.
Share the sample document through the meeting app and ask the remote tester to confirm receipt. Seeing a document on the room display is a different result from sending it to remote attendees. Check the presentation mode the host plans to use, including shared sound if that is a requirement.
Use ordinary text and a simple diagram in the sample so clipping and unreadable detail are visible. A whiteboard camera should be tested with marks on its intended board; a document camera should be checked in its approved working position. Do not assume those accessories function like interchangeable scanners.
Record a specific readiness result
| Check | Evidence to record | If it fails |
|---|---|---|
| Room connection | Approved computer and connection mode recognized | Follow the labeled connection instructions; report any unresolved failure |
| Audio | Selected devices and two-way speech verified | Check permitted selection and mute controls; escalate persistent trouble |
| Camera | Intended framing reaches the test call | Check shutter and selected camera; report remaining fault |
| Content | Remote tester receives the sample presentation | Check approved sharing steps and record the failing mode |
| Room condition | Usable seating, accessible controls and clear routes | Resolve ordinary clutter or escalate physical hazards |
As a hypothetical example, the wired connection passes the audio and camera checks, but shared slides never reach the remote tester. The result is not simply “room ready.” Record “wired call audio and camera checked; presentation sharing unresolved,” tell the host and arrange a verified alternative if the meeting requires slides.
A fallback is useful only if it is approved and checked. Do not switch to a personal account, unknown adapter or different network just to obtain a green status. Give support the room name, time, connection mode, selected devices and exact symptom without exposing meeting credentials.
Leave the room in a usable starting state
- End the test call and stop sharing or recording.
- Close test documents and remove any temporary sign-in according to room policy.
- Restore the documented starting state, including privacy controls.
- Return remotes and approved cables to their labeled positions.
- Tell the host about limitations and confirm who owns unresolved issues.
- Record who checked the room and which connection mode passed.
The result describes the configuration tested at that time. A later laptop change or equipment update can change the call path, so the host should still confirm the selected devices when joining.
Have a question or a correction?
Contact the editorial team