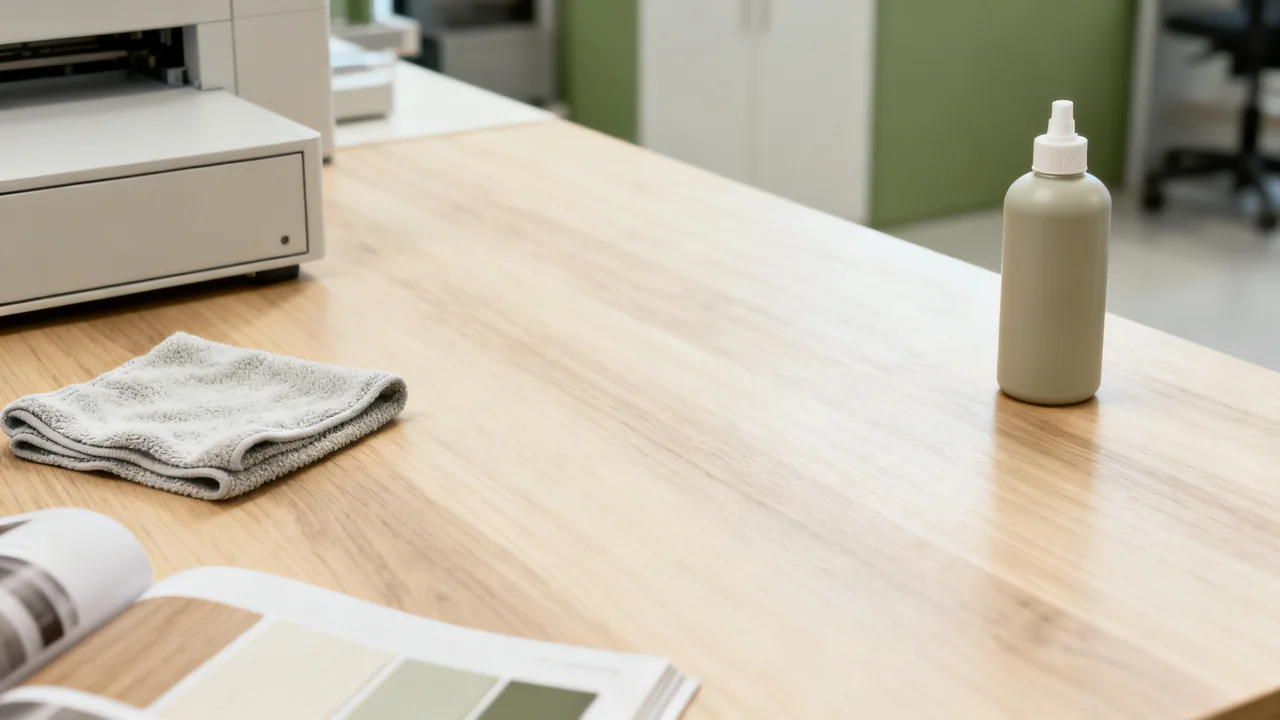
Office desks face consistent wear: coffee spills, sticky notes, hot mugs, and the occasional craft supply accident can all degrade their finish over time if not addressed properly. The goal of this guide is to help you preserve desk surfaces without accidentally stripping, discoloring, or scratching the protective top layer that keeps desks looking presentable and resistant to damage. We focus on three common desk surface types: solid wood, wood veneer, and high-pressure laminate. All cleaning and care steps should first be cross-referenced with the specific desk manufacturer’s manual to confirm compatibility with your particular model.
Identify the Material and Finish
Find the desk model, finish code and care instructions in the order record or manufacturer’s documentation. Solid wood, veneer and laminate describe broad constructions; they do not tell you every cleaner the finished surface can tolerate. A solid-wood desk may have different finishes, and a veneer’s care requirements cannot be inferred from its thickness alone.
Ask the supplier if the surface is uncertain. A hidden-area test is useful only where the maker recommends it and after compatibility has been established; it is not permission to try arbitrary chemicals. Record the product name and method approved for each finish in a mixed office.
For example, Herman Miller provides separate wood and veneer guidance and finish-specific instructions, including exceptions. Use documentation for the actual product, not a generic recipe copied from a similar-looking desk.
Daily Low-Impact Care to Prevent Finish Damage
Review everyday contact with the desk surface alongside its care instructions. These planning steps can help staff avoid unsuitable products and attachments:
- Use coasters for all mugs, water bottles, and glasses, and hot pads for takeout containers or other heat-emitting items; follow the finish maker’s heat-protection guidance rather than assuming a universal safe temperature. Never place space heaters directly on desk surfaces, as this poses a fire risk even with a hot pad.
- If a desk mat is useful under equipment or a writing area, confirm that the specific mat and its backing are compatible with the desk’s actual finish. Do not assume that rubber, felt or another backing is universally non-staining.
- Use adhesive attachments only where the finish maker approves them and under the stated conditions; there is no universal safe adhesion time. A separate note holder can keep sticky notes off the desk surface.
- Use the dusting cloth and method specified for the actual finish, keeping the cloth free of grit and unrelated cleaning residues. Arrange dusting according to the care guide and observed condition rather than a universal weekly rule.
Respond to Spills Without Escalating the Cleaner
For an ordinary drink or food spill, use the manufacturer-approved method promptly and avoid spreading liquid into seams, cable openings or nearby electronics. If electrical equipment is affected, follow the separate spill response procedure before any surface cleaning. Unknown chemicals need the workplace’s appropriate response, not an ordinary desk wipe.
Where the finish instructions permit water or a specified detergent, use the stated dilution and application method. Apply only the permitted amount, prevent pooling and remove residue or dry the surface as directed. Do not invent a one-drop recipe that will suit every detergent and finish.
Do not soak adhesive or scrape it with a credit card as a general rule. Ask for the approved adhesive-removal method. Avoid stronger cleaners, abrasives or polish simply because a stain remains after a gentle attempt. Stop and photograph the mark if the finish changes, becomes sticky or begins lifting.
Abrasives, solvents, bleach and acidic or alkaline cleaners may damage some finishes. Their suitability depends on the exact surface and product instructions; a broad “wood safe” or “all purpose” label does not establish approval for every desk in the room.
Illustrative Example: A Mark on a Veneer Desk
Imagine a coffee mark discovered on a shared veneer desk after a meeting. This is a hypothetical decision process, not a tested stain-removal result. The administrator identifies the finish from the equipment record and checks its care guide before choosing a product.
If the guide permits a lightly damp cloth, they follow that method and the required drying step. If a mark remains, they record what was used and ask the supplier for the next appropriate action. They do not repeat scrubbing, mix a stronger solution or assume a set number of passes will remove the mark.
The follow-up includes checking whether cups have a stable place and whether the approved coasters are available. A prevention change is recorded separately from the stain’s eventual repair decision. This avoids implying that every dried spill can be removed without visible damage.
Build a Finish-Specific Supply List
| Surface record | Compatibility question | What staff need |
|---|---|---|
| Solid wood with identified finish | Which dusting and cleaning methods does the maker specify? | Named supplies and clear restrictions |
| Real-wood veneer | Does the guide cover this exact finish and any special exceptions? | Application, drying and spill-response instructions |
| Laminate or coated surface | Which detergent or wipe is compatible with this product? | Label directions and any rinsing requirement |
| Unknown or damaged surface | Can the supplier identify it and assess the damage? | A contact route; no trial-and-error chemicals |
Keep the manufacturer-approved list short enough that staff can choose correctly. If the cleaning contractor brings its own products, compare them with the record before work starts. Record any approved substitution so a future staff member does not unknowingly revert to an incompatible product.
Plan Additional Care Only When It Is Appropriate
Do not make quarterly waxing or polishing a default for all desks. Some finishes permit a particular product while others prohibit wax, oil or abrasive treatments. Follow the finish-specific care schedule and obtain advice before adding a coating to a surface that has not previously had one.
For a shared workspace, compatible ready-to-use supplies may simplify handovers, but check the exact product and its instructions. A disinfectant’s required contact time and the desk’s material compatibility both matter; routine cleaning and disinfection are different tasks.
Do not cover peeling or swollen material with a mat and assume that further damage is prevented. Record the condition and ask the supplier whether continued use, repair or replacement is appropriate. A repair marker may disguise a mark but does not restore every finish or structural defect.
Actionable Pre-Use Checklist for New Desk Care Products
Before introducing any new cleaning product to your office maintenance routine for desks, complete these steps to avoid accidental finish damage:
- Cross-reference the product’s ingredient list with the desk manufacturer’s approved cleaner list to rule out explicitly prohibited ingredients.
- If the manufacturer requires a hidden-area test, use its specified method and assessment period before wider application.
- Confirm that the product does not require rinsing, or plan for immediate rinsing and drying to avoid leaving residue on the finish.
- Label all desk-specific cleaning products clearly to avoid mixing them up with harsher cleaners intended for bathroom or kitchen surfaces.
- Train staff on the difference between desk-safe cleaners and other office cleaning products, so only approved options are used on desk surfaces.
For desks with significant finish damage (such as peeling, cracking, or large discolored areas), contact the original manufacturer or a professional furniture repair service for guidance; attempting to strip and re-finish desks in-house without proper training often leads to uneven results or permanent damage to the underlying desk material.
Have a question or a correction?
Contact the editorial team