Scanners are relied on for digitizing paperwork, contracts, and employee records, but even minor debris on glass or rollers can cause streaks, misfeeds, or distorted scans. Rushing to clean without pre-checks often leads to scratched glass, damaged roller coatings, or voided equipment warranties. This guide walks you through the critical pre-cleaning checks, safe cleaning procedures, and troubleshooting steps tailored to shared office scanners, including flatbed and sheet-fed models.
Record the Defect Before Cleaning
Check the original document and scan settings first. Remove staples or other unsuitable material according to the scanner’s document requirements. Use a clean, non-sensitive test sheet to record whether the problem appears on the flatbed, the document feeder or both, where those functions exist. Keep the results for comparison after any approved cleaning.
A streak confined to feeder scans can direct attention to that scan path, but it does not prove that rollers or a particular glass strip are the cause. Hardware layouts vary, and settings or other faults may be involved. Follow the model’s troubleshooting sequence rather than diagnosing a component from a single symptom.
Pre-Cleaning Safety and Compatibility Checks
Before touching any scanner components, complete these mandatory checks to avoid damage or safety risks:
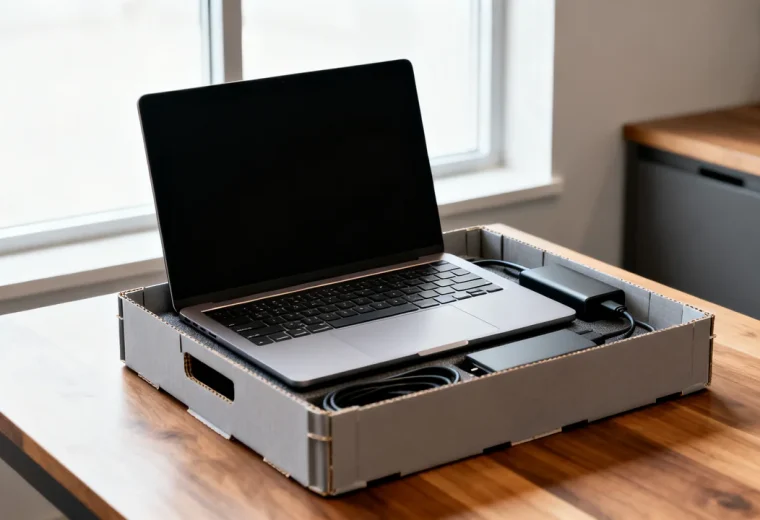
- Shut down and disconnect power and other connections as directed by the model’s manual. This does not make internal electrical assemblies safe to access; stay within the approved user-cleaning areas.
- Consult the scanner manufacturer’s manual for approved cleaning materials and prohibited actions. Many models ban abrasive cloths, general-purpose cleaning sprays, or alcohol-based solutions on certain glass or roller coatings.
- For scanners still under active warranty, confirm that user-performed cleaning is allowed; some warranties require only authorized service technicians to perform internal maintenance to keep coverage valid.
- Remove all paper from the ADF input tray and flatbed surface, and open only the user-cleaning cover identified in the manual. Do not open the equipment casing or force a cover.
Flatbed Glass Cleaning Pre-Checks and Procedure
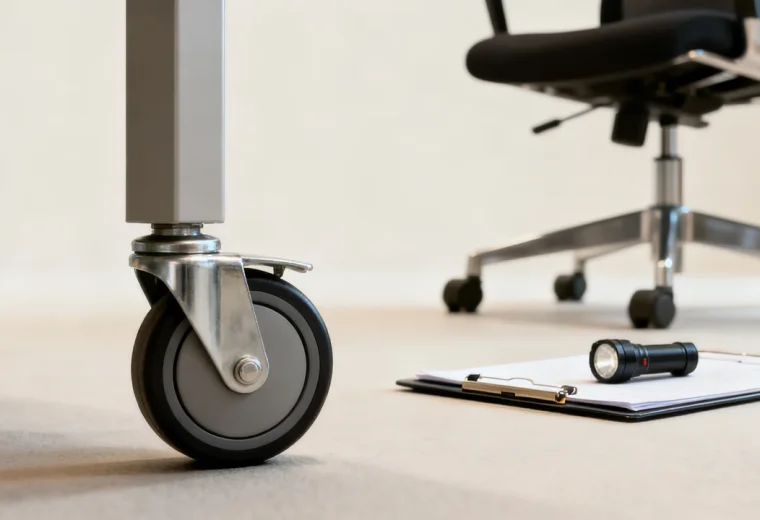
Flatbed glass is prone to scratches from hard debris, so never wipe it before inspecting for loose particles first. Start by holding a flashlight at a low angle across the glass surface to spot dust, hair, dried ink specks, or small shards of paper that may not be visible to the naked eye. Use the manufacturer’s specified cloth and debris-removal method. If gritty material cannot be removed without dragging it across the glass, stop and ask support rather than risking a scratch.
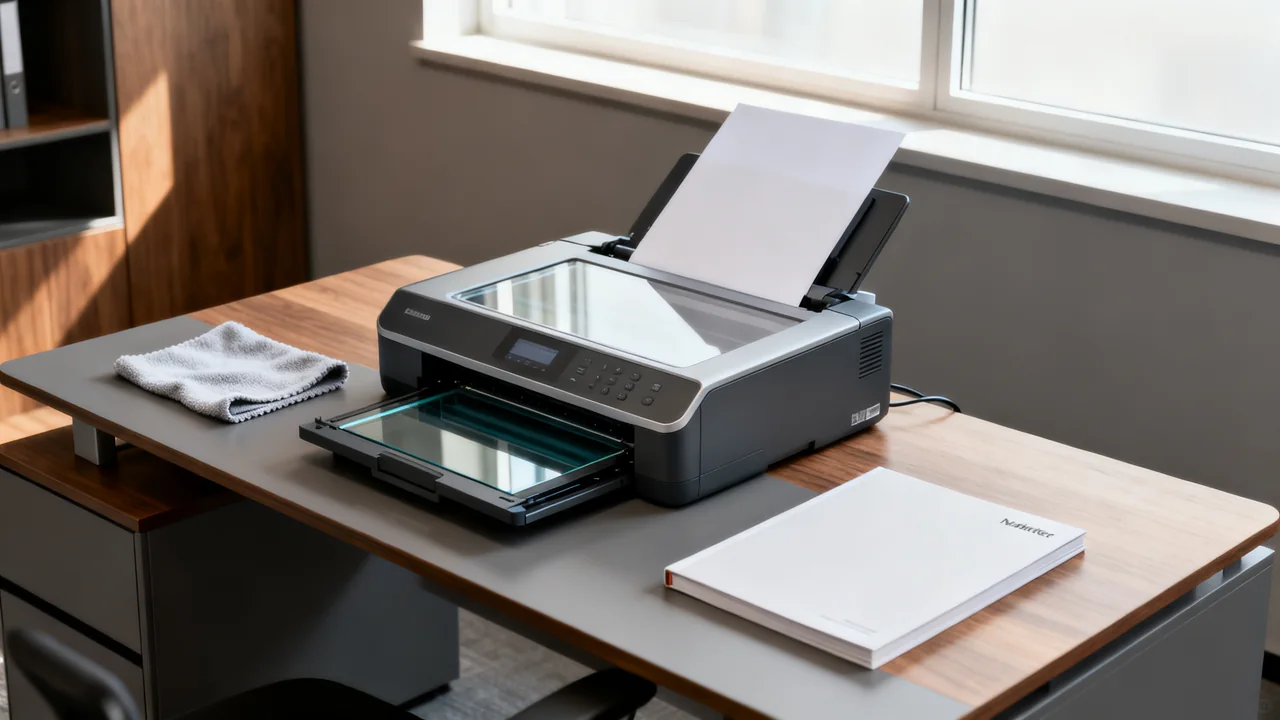
If smudges or sticky residue remain after dry brushing, apply a small amount of the manufacturer-approved cleaning solution to the microfiber cloth, not directly to the glass. Excess liquid can seep under the glass edge and damage the scanner’s internal sensor array. Follow the model’s wiping and drying instructions with light pressure. Do not use paper towels, tissue paper, or newspaper, as these contain wood fibers that leave scratches and lint behind.
Roller and ADF Glass Pre-Checks and Procedure
ADF rollers grip paper to feed it through the scan path, so damaged or dirty rollers cause misfeeds, multi-page feeds, or skewed scans. First, inspect rollers for visible wear: cracks, missing material or a changed surface should be assessed against the manual’s wear criteria. Ask support if their condition is uncertain. If rollers look intact with only dust or light paper residue, proceed with cleaning.
Use only the manufacturer-approved cloth, solution and roller-access method. Rotate or remove a roller only if the model’s user instructions explicitly say to do so; some rollers must not be turned by hand. Do not apply excessive pressure, as this can dislodge the roller from its mounting or damage the rubber coating. Locate any ADF glass or imaging surface from the manual’s diagram and follow its specific cleaning instructions; do not assume it is accessible or uses the same method as the flatbed. Even a tiny speck on this strip can cause a vertical streak across every page scanned through the ADF.
After cleaning, allow all components to air dry completely before closing access panels and reloading paper. Never use compressed air to blow debris out of the ADF, as this can push dust into the scanner’s internal sensor housing and cause more permanent issues.
Illustrative Example: Troubleshooting a Shared Office Scanner
Consider a small nonprofit office with a shared flatbed/ADF scanner used by 8 staff members for digitizing donor letters and grant applications. The office manager notices that all ADF scans have a consistent 2mm vertical blue streak down the right side, while flatbed scans are completely clear. First, they run the standard test scans to confirm the defect is isolated to the ADF path.
In this hypothetical example, they find separate instructions for the glass and rollers and use only the supplies approved for each. After unplugging the scanner, they lift the ADF housing and spot a small dried fleck of ink on the ADF glass strip, likely from a donor letter with a handwritten signature. They use the permitted glass-cleaning procedure without scraping and allow the surface to dry as directed. They also inspect the ADF rollers, which have light paper dust but no signs of wear, and wipe them gently.
After reassembling the scanner, they run three test scans through the ADF, and compare the results; if the streak remains, they stop repeating the cleaning and contact support. They document the cleaning in the office equipment log so the next scheduled check can note any recurring residue issues.
Decision Table: When to Clean, Repair, or Replace Scanner Components
| Observed Issue | First Action | Follow-Up If Issue Persists |
|---|---|---|
| Streaks only on ADF scans | Follow model-specific ADF troubleshooting and approved cleaning | Contact support; do not expose or touch internal sensors |
| Streaks on both ADF and flatbed scans | Check originals, settings and model troubleshooting | Check for scratches on glass that require replacement |
| ADF misfeeds multiple pages during routine use | Clean feed rollers and check for torn paper in feed path | Replace worn rollers per manufacturer guidance |
| Visible scratch on flatbed glass | Test scan to confirm scratch appears on output | Contact vendor for glass replacement quote |
| Rollers have visible cracks or glossy worn patches | Stop use if damaged; confirm the correct service action | Install replacement rollers or schedule technician visit |
Post-Cleaning Verification and Documentation Steps
After cleaning is complete and all components are dry, perform a structured verification to confirm the issue is resolved before returning the scanner to shared use:
- Run three consecutive test scans through the ADF using blank white paper, and three test scans on the flatbed using the same paper. Inspect all scans for streaks, spots, or skew.
- Scan one multi-page document through the ADF to confirm no misfeeds or multi-page feeds occur.
- Wipe down the external scanner housing and control panel with an office-safe surface cleaner approved for plastic, per the manufacturer’s guidelines.
- Log the cleaning date, components cleaned, and any observed issues (such as early roller wear) in your office equipment maintenance log. This helps identify recurring problems, such as repeated residue from a specific team’s use of hand-annotated documents, that can be addressed with staff guidance.
Key Tradeoffs for Shared Office Scanner Care
Use the maintenance intervals, usage counters and condition triggers in the model’s instructions. Do not postpone a specified interval until a visible defect appears. Conversely, do not repeatedly clean a surface to treat a fault that the troubleshooting guide assigns to another cause. For example, Epson’s DS-800WN cleaning instructions distinguish permitted user access and materials and warn against opening the scanner case; that guidance must not be generalized to a different model.
For scanners used to scan sensitive documents (such as personnel records or client contracts), confirm your office’s data handling policies before cleaning, as residual paper particles may contain sensitive information that requires secure disposal. Avoid using shared cleaning cloths that may have picked up residue from other office surfaces, as this can transfer debris or chemicals to scanner components.
Short Actionable Pre-Cleaning Checklist
- Run flatbed and ADF test scans to confirm the source of defects
- Unplug the scanner and consult the manufacturer’s manual for approved cleaning materials
- Inspect glass for hard debris before wiping to avoid scratches
- Check rollers for wear (cracks, glossy patches) before attempting to clean
- Allow all components to dry completely before reassembling and testing
Have a question or a correction?
Contact the editorial team