Shared cabinets and drawers often become disorganized because team members have no clear, consistent way to know what goes where, especially when new staff join or hybrid teams rotate through workspace areas. A well-designed labeling system eliminates guesswork without requiring frequent updates or specialized equipment. This guide focuses specifically on label content, placement, and maintenance, separate from supply layout, bin selection, or inventory reorder processes covered in other resources. All label materials and placement choices should align with manufacturer guidance for the surfaces you are adhering to, to avoid permanent damage to cabinet finishes or drawer hardware.
Core Principles for Shared Space Labeling
Before designing individual labels, ground your system in rules that make it accessible to every team member, regardless of how often they use the storage space. First, prioritize clarity over creativity: avoid inside jokes, abbreviations that only long-tenured staff recognize, or overly narrow category names that exclude related items. Second, make labels scannable at a glance: use high-contrast text and consistent formatting so someone looking for a specific item can find it in seconds without reading every label on a bank of cabinets. Third, build in flexibility: your storage needs will shift as team sizes change, new equipment is adopted, or office workflows adjust, so labels should be easy to update without leaving residue or requiring full replacement of the system. Finally, ensure all labels align with your workplace’s existing access rules: clearly mark restricted storage areas (for sensitive documents or equipment requiring authorized access) so no one accidentally accesses contents they are not authorized to handle.
Many workplaces make the mistake of only labeling the outside of cabinet doors, which fails to account for cabinets with multiple shelves or drawers with segmented storage. A complete system addresses three location types: exterior labels for the outside of cabinets or drawer fronts, to indicate the broad category of contents inside; interior labels for individual shelves, drawer dividers, or bin slots, to specify exactly what belongs in each sub-section; and content labels for individual bins or removable storage containers, so items stay sorted even if the bin is moved to a different shelf or taken to a work area.
Label Content Structure for Consistency
Every label should follow the same content structure, so team members know exactly what information to expect when they read one. Start with a broad category at the top, such as “Admin Consumables” or “AV Equipment Spares,” to group related storage areas across the office. Next, add a specific contents line that lists the most common items stored in that space, using plain language. For restricted areas, add a clear access note, such as “Authorized admin staff only” or “Training required before use,” at the bottom of the label.
Avoid overloading labels with too much detail: keep the contents line short enough to read easily, and add a note if miscellaneous related items are allowed, such as “+ other small desk stationery.” For drawers or shelves that hold multiple item types with different restock rules, include a small icon or one-word indicator to show who is responsible for replenishment, such as “Admin restock” or “Team self-replenish.” If you display a reorder cue, identify its counting unit and owner, and keep it synchronized with the inventory record. Avoid stale counts that look authoritative but are no longer correct.
Illustrative Example: 4-Cabinet Admin Storage Set
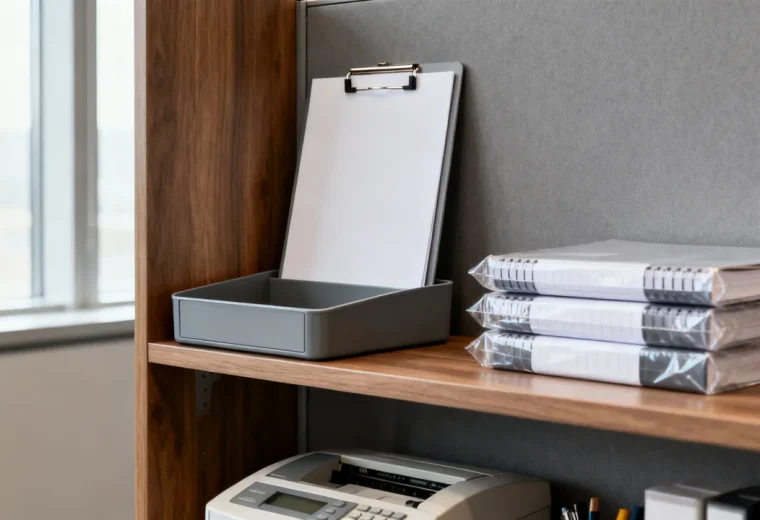
To show how this structure works in practice, consider a small office with four floor-to-ceiling shared cabinets next to the admin desk, used by 12 in-office and hybrid team members. All labels follow the same 3-line structure, with clear, high-contrast text and a label material checked for compatibility with the actual cabinet finish.
- Cabinet 1 (top to bottom exterior label): Category: Admin Consumables; Contents: Notebooks, pens, envelopes, postage; Restock: Admin team. Interior shelf labels break down contents further: Top shelf: Letterhead, #10 envelopes, postage stamps; Middle shelf: Spiral notebooks, legal pads; Bottom shelf: Ballpoint pens, highlighters, pencil sets.
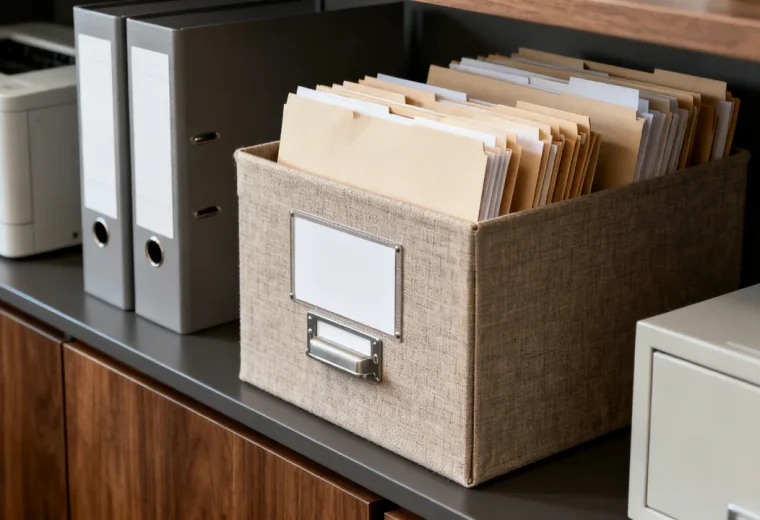
- Cabinet 2 (exterior label): Category: Document Storage; Contents: Blank file folders, hanging folders, file labels; Restock: Admin team. Interior labels: Top shelf: Letter-size hanging folders, manila file folders; Middle shelf: Legal-size hanging folders, color-coded file labels; Bottom shelf: Empty file boxes for archived materials.
- Cabinet 3: Breakroom supplies. Contents: coffee, tea, napkins, and cutlery in suitable storage. Cleaning products use a separate identified location in accordance with their storage instructions.
- Cabinet 4: Restricted equipment storage. Access: designated staff. Keep any sensitive contents list in an appropriately restricted record rather than on a public-facing label. First-aid supplies should have clearly marked access consistent with the workplace’s first-aid arrangements; do not group them with restricted equipment merely for convenience.
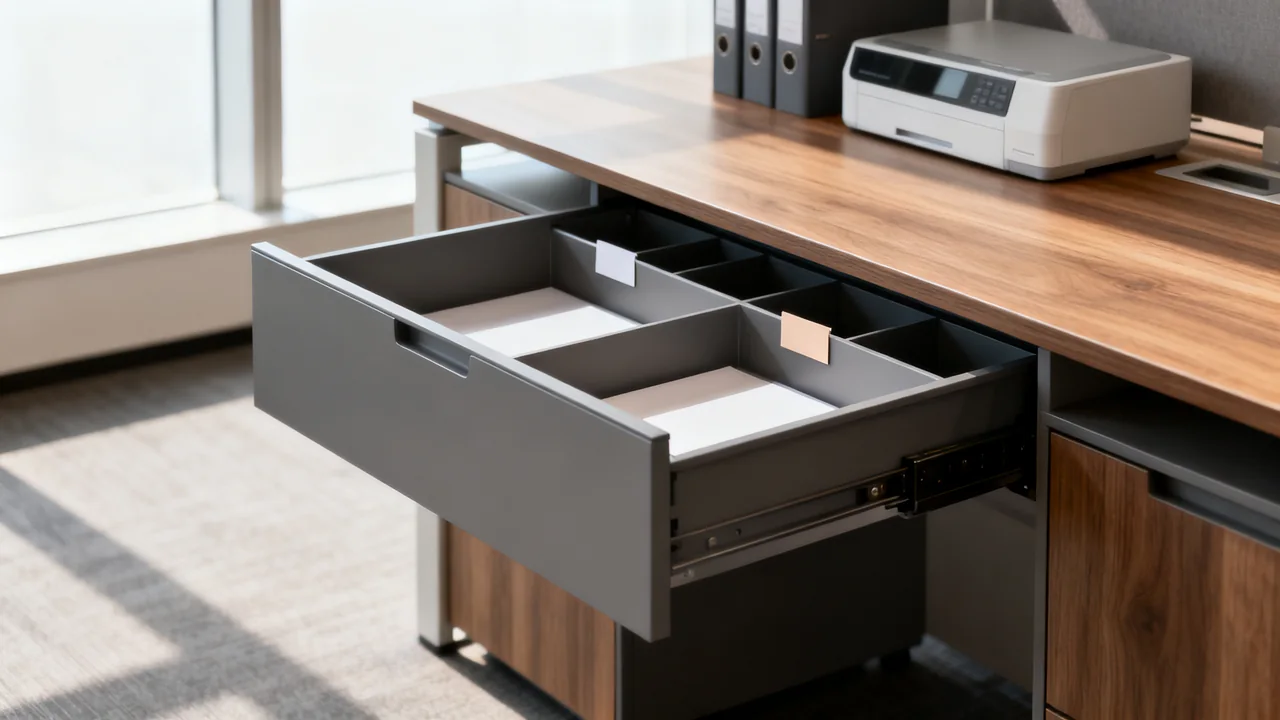
Drawers under the admin desk use the same structure, with smaller labels on drawer fronts: Drawer 1: Category: Admin Tools; Contents: Staplers, tape dispensers, hole punches; Restock: Self-service. Drawer 2: Category: Shipping Supplies; Contents: Packing tape, shipping labels, bubble mailers; Restock: Admin team.
Material and Placement Decision Framework
Choose label materials against the actual finish and cleaning routine. “Removable” is a product claim to verify, not a guarantee that every adhesive can be removed from every surface without damage. Where permitted, try a sample in an inconspicuous location and follow both the label and furniture instructions.
| Option | Useful feature | Limit to check |
|---|---|---|
| Removable adhesive label | Simple and compact. | Finish compatibility, adhesion, and removal method. |
| Moisture-resistant label | May tolerate the intended cleaning routine. | Actual chemical and water resistance. |
| Holder with an insert | Contents text can change without replacing the holder. | Safe mounting and secure retention of the insert. |
| Tag | Avoids adhesive on a suitable handle or shelf. | Visibility, snagging, and movement. |
Place labels where users can read them without awkward reaching, and keep handles and operating parts clear. Test the layout with doors open and closed and from seated and standing positions. A label on glass does not make the contents confidential; use appropriate storage for sensitive material.
Maintenance and Update Process
Even the best labeling system will become outdated if it is not maintained regularly. Build a simple update process that fits into your existing quarterly office supply review, so you do not have to schedule separate audits. First, assign a single point person for label updates, usually a member of the admin team, to ensure consistency when changes are made. Second, whenever you reallocate a cabinet or drawer to new contents, update the label immediately, rather than leaving a handwritten note or outdated label in place that will confuse team members. Third, every quarter, walk through all shared storage areas to check for peeling labels, missing inserts, or labels that no longer match the contents, and make updates as needed.
When updating labels, use the same formatting and material as the rest of the system, to avoid visual clutter that makes labels harder to scan. If you change your label format over time, replace all labels in a single storage bank at once, rather than mixing old and new formats in the same area. If you remove a label, clean any remaining residue from the cabinet or drawer surface immediately, to avoid buildup that makes new labels less likely to adhere properly. Use only manufacturer-recommended cleaning products for the cabinet or drawer surface to avoid finish damage when removing residue.
Quick Actionable Checklist for Launching Your System
Use this short checklist to roll out your labeling system in manageable stages:
- Inventory all shared cabinets and drawers, and group them into clear, useful categories based on their current use
- Select a label material and size that works for your storage surfaces, per the decision framework above
- Create a standard label template with consistent font, text size, and content structure for all labels
- Print and apply exterior labels first, then add interior shelf/drawer labels for segmented storage areas
- Share a 2-minute overview of the system with your team, noting where to report outdated or missing labels
- Add label audits to your existing quarterly office supply review task list
You do not need to label every single storage space on your first pass: start with the most frequently used shared cabinets and drawers, such as those near the admin desk or breakroom, then expand to less frequently used areas over time. If your team has specific accessibility needs, such as low vision, adjust label text size, contrast, or placement to ensure all members can read labels clearly without assistance.
Have a question or a correction?
Contact the editorial team