Relocating desks, whether across a floor or to a new office, often leads to misplaced screws, washers, cam locks, or bracket clips that leave workstations partially assembled and teams unable to get back to work. This guide focuses exclusively on tracking small hardware during disassembly, transport, and reassembly, with no overlap with furniture purchasing, layout planning, or equipment fitting advice covered in other resources.
Pre-Move Hardware Audit and Prep
Before touching any tools, gather baseline information to set clear expectations for what hardware you should retain. Locate original assembly manuals for each desk model if available; these list exact hardware counts per unit, which you can use to cross-reference during disassembly. If manuals are missing, take close-up photos of every connection point on each desk before disassembly: leg-to-frame joints, modesty panel attachments, cable management tray brackets, and drawer slide mounts. Photos can help identify locations, but do not replace assembly instructions or establish the correct fastener specification. Obtain the appropriate instructions or qualified help before dismantling a desk with uncertain connections.
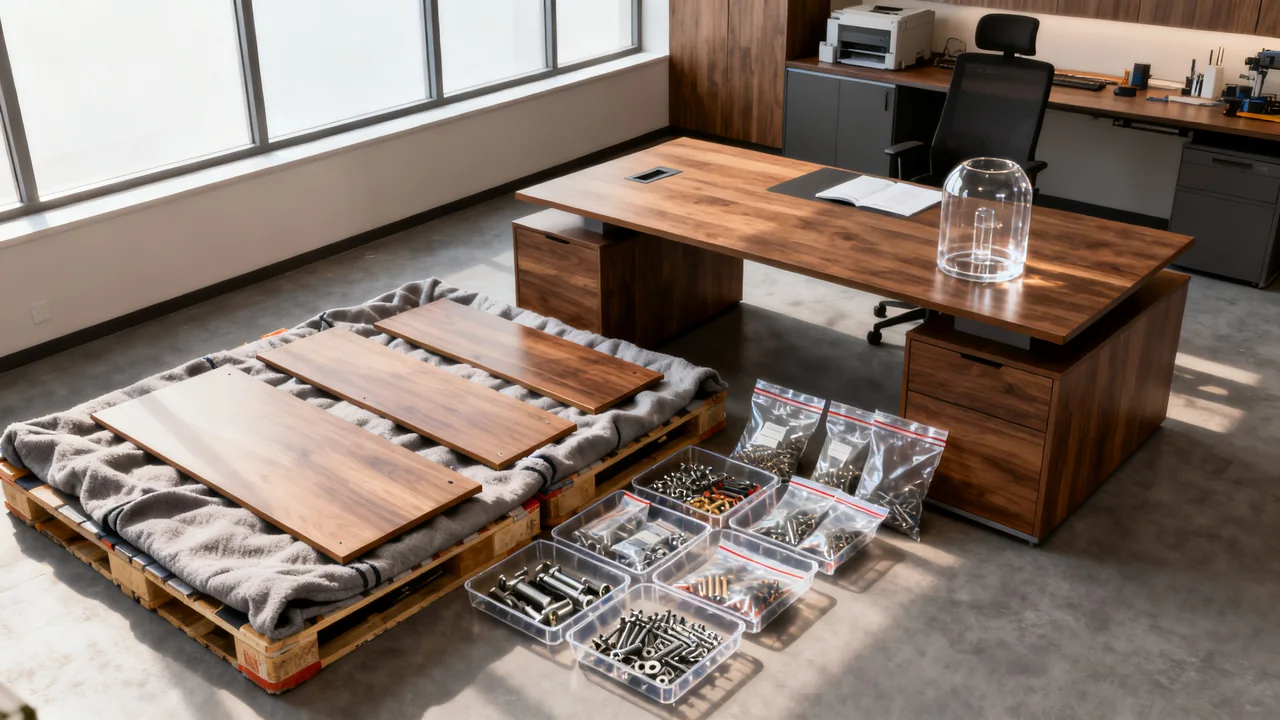
Next, prep a dedicated hardware sorting station near the disassembly area. Stock it with permanent markers, zip-top plastic bags of varying sizes, removable labels or tape checked for compatibility with the actual finish, and a portable digital scale if available. Assign one team member to lead hardware tracking for the entire move; this single point of contact reduces confusion about where parts are stored and who is responsible for them. Avoid having multiple people set aside hardware without coordinating, as this is a common cause of missing parts.
Disassembly: Labeling Hardware at the Point of Removal
The most effective way to avoid lost hardware is to label every set of parts the moment you remove them, instead of sorting loose parts after disassembly is complete. Follow the manufacturer’s disassembly sequence and support requirements. Within that sequence, keep each set of removed hardware separately identified. For example, if you are taking off the four legs of a fixed-height desk, remove all screws for one leg, place them directly into a labeled bag, then move to the next leg. Do not pile hardware from multiple joints into a single container, even if the screws look identical; subtle size differences can cause assembly issues later.
On each bag, write three pieces of information: the unique desk ID (you can assign temporary IDs like “Desk 3 – Northeast Open Office” if desks are not already labeled), the specific part the hardware attaches to (e.g., “Left front leg”), and the quantity of parts in the bag. For custom or built-in desk components that have non-standard hardware, wrap the bag directly to the corresponding part using painter’s tape, so the hardware stays paired with the piece it belongs to. For small parts like cam lock pins or washers that can slip out of partially sealed bags, double-bag them or use small sealable plastic containers instead.
Illustrative Example: Relocating 8 Sit-Stand Desks for a Marketing Team
Suppose a hypothetical move includes eight identified desks, and the model-specific instructions call for retaining four groups of removable hardware for each desk. The exact parts and sequence come from those instructions, not this example.
As each group is removed in the approved sequence with the required support, it goes into its own labeled bag. Each label carries the desk ID, connection name, and counted quantity. The four bags for Desk 1 are secured in its labeled, closed hardware container; the same system is used for the other desks.
Four bags for each of eight desks gives 32 bags to reconcile before transport. The count confirms container tracking, not correct disassembly or completeness of every fastener. The lead also checks each bag’s contents against the recorded hardware list and keeps the approved assembly instructions with the move record.
Hardware Storage and Transport Best Practices
Once all hardware is labeled and paired with its corresponding desk components, take additional steps to protect parts during transport. For small hardware bags that are not taped directly to furniture, place them in a single lidded plastic bin marked “Desk Hardware Only”, rather than mixing them with moving supplies, tools, or office supplies. If you are moving multiple types of furniture at once, separate desk hardware from cabinet, chair, or divider hardware using dividers in the bin, or use separate clearly marked bins for each furniture category.
Avoid placing hardware bins under heavy furniture loads during transport, as crushing can split bags open and mix parts. If you are using a moving company, confirm that the hardware bin is marked as high-priority, and that it will be unloaded first at the new location so you can access parts immediately when reassembling desks. For long-distance moves, consider using tamper-evident seals on the hardware bin to make opening visible, while retaining a count and custody record.
Hardware Sorting Options: Side-by-Side Comparison
Three common storage methods work for desk hardware, each with different tradeoffs depending on the size and complexity of your move. The table below outlines key factors to consider when choosing a method:
| Storage Method | Best For | Pros | Cons |
|---|---|---|---|
| Zip-top plastic bags | Small moves, standard hardware sizes | Low cost, easy to label, conform to irregular spaces when taped to furniture | Can tear if snagged during transport, not ideal for very small parts like set screws |
| Sealable hard plastic containers | Moves with custom or rare desk hardware, long-distance relocations | Check closure, impact protection, and any claimed water resistance for the chosen container | Higher cost, bulkier to store, harder to tape directly to furniture components |
| Compartmentalized hardware organizer | Moves with multiple identical desks, where parts can be grouped by type | Keeps identical parts sorted, easy to count total quantities at a glance | Risk of mixing parts if compartments are not clearly labeled, not ideal for unique custom desk parts |
For most small office moves, zip-top bags are sufficient, but upgrade to hard containers if you are moving desks with non-standard hardware that would be difficult to replace. Use a compartmentalized organizer only if all desks are identical and you have confirmed that hardware sizes are consistent across every unit by cross-referencing with assembly manuals or pre-disassembly measurements of fasteners at matching connection points across units.
Reassembly: Cross-Referencing Hardware to Avoid Loss
When you arrive at the new location, unload the hardware bin first, and place it near the reassembly area. Before starting to build any desks, cross-reference the number of labeled hardware bags against your pre-move audit count to confirm all parts are present. If any bags are missing, stop and search the moving truck, furniture components, and loading areas before beginning assembly; it is far easier to find a missing bag before furniture is built than to track down a single screw after you realize a joint is incomplete.
Follow the identified model’s assembly instructions; as each approved step is completed, empty the corresponding hardware bag, and place the empty bag in a separate “used bags” pile. Do not throw away any bags or leftover hardware until every desk is fully assembled and tested. If you have leftover hardware after building a desk, cross-reference it against your pre-disassembly photos to confirm you did not miss a connection point. Do not assume a leftover fastener is optional. Reconcile it with the instructions and the components being installed before releasing the desk for use. Only confirmed spare parts should go into a labeled spare-hardware container.
Post-Move Hardware Retention and Documentation
After all desks are assembled and in use, organize any leftover hardware for future use. Label each set of extra parts with the desk model and the type of part, and store them in a dedicated office supplies cabinet with other furniture repair parts. If you have the original assembly manuals, keep digital copies of the hardware count pages in a shared drive so you can reference them for future moves or repairs.
If you had to replace any missing hardware during reassembly, note the part size, desk model, and quantity used in your shared documentation. This will help you build a reference list of common hardware sizes for your office’s desks, so you can keep spare parts on hand for future moves or adjustments. Keep verified spares identified by the intended model and part reference. Similar-looking screws can differ in thread, length, or strength; do not substitute loose hardware without confirming it is approved for the connection.
Actionable Pre-Move Hardware Checklist
Complete these steps before starting any desk disassembly to reduce the risk of lost parts:
- Obtain the correct disassembly and assembly instructions; take connection photos as supplementary records, not substitutes
- Assign a single team member to lead hardware tracking for the entire move
- Prep labeling supplies, storage containers, and temporary desk ID markers
- Count the number of desks being moved, and note how many connection points each has
- Set up a dedicated sorting station near the disassembly area to avoid mixing parts
Adjust this checklist based on the size of your move: for larger relocations with many desks, add a step to cross-reference hardware counts at the end of each disassembly shift to catch missing parts early.
Have a question or a correction?
Contact the editorial team