A staged office refresh lets you update furniture, layout, and finishes without shutting down operations for days or blowing your entire budget in one purchase. Unlike full gut renovations, this approach lets you test changes before committing to full rollouts, adjust to team feedback, and spread costs across quarters. The stages can be scaled to the workplace, staffing, and amount of change required.
This guide focuses specifically on furniture-focused refresh stages, excluding deep construction, electrical rewiring, or full HVAC overhauls. All furniture load, compatibility, and cleaning guidance should be cross-referenced with your specific manufacturer’s manual before purchase or installation.
Phase 1: Baseline Assessment and Priority Mapping
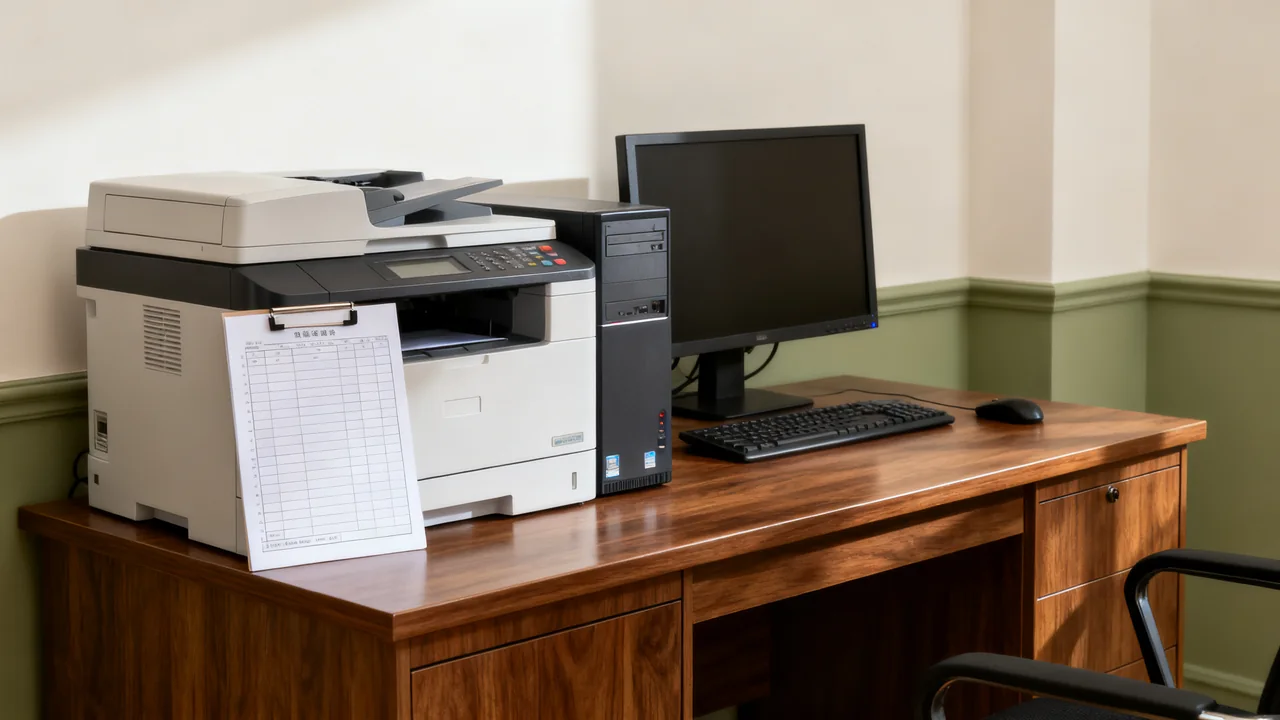
The first stage does not require any purchases. Start by documenting every existing piece of furniture, its condition, and its usage across representative work patterns. Note which desks are used consistently, which chairs are rarely occupied, which storage units are overflowing, and which surfaces show visible wear like frayed upholstery or water-damaged tops. Mark items that are fully functional, those that need minor repairs, and those that are beyond salvage.
Next, survey your team to identify pain points tied directly to furniture: for example, do people struggle to find seating for impromptu meetings? Do shared desks wobble when multiple people type? Is there no dedicated space for package drop-offs? Rank these pain points by how much they impact daily work, not just how annoying they are. A wobbly desk used by a full-time employee is a higher priority than a scuffed reception side table that only holds a plant.
At the end of this phase, you will have a ranked list of needs, a list of furniture you can keep, and a rough budget cap per stage. Set an overall budget envelope and stage limits, then review any changes through the normal approval process as trials and quotations provide better information.
Illustrative Example: 8-Person Marketing Agency Baseline
As a fictional planning example, consider an 8-person agency with 6 fixed-height desks, 8 mismatched task chairs, 1 small 4-person meeting table, 1 overcrowded filing cabinet, and a reception bench with visible tears in the upholstery. The team’s top pain points are: 1) no extra seating for client meetings that run over 4 people, 2) 3 chairs that squeak and lack lumbar support, 3) no storage for marketing collateral samples, 4) scuffed desk edges that scratch laptop cases. The team decides to keep 5 fully functional desks, the meeting table, and the filing cabinet, and set a first-stage budget using current quotations and the approved scope.
Phase 2: Low-Impact, High-Reward First Changes
Choose a first stage that addresses a real priority and can be completed within the available access window. It might be a chair trial, a storage adjustment, or a limited layout change. Do not delay a necessary safety or access correction merely to start with decorative or easily installed items.
Trial a representative product or arrangement before repeating it. Check fit, user feedback, movement, care, and compatibility with existing furniture. Record what would count as a successful trial and what still needs resolution.
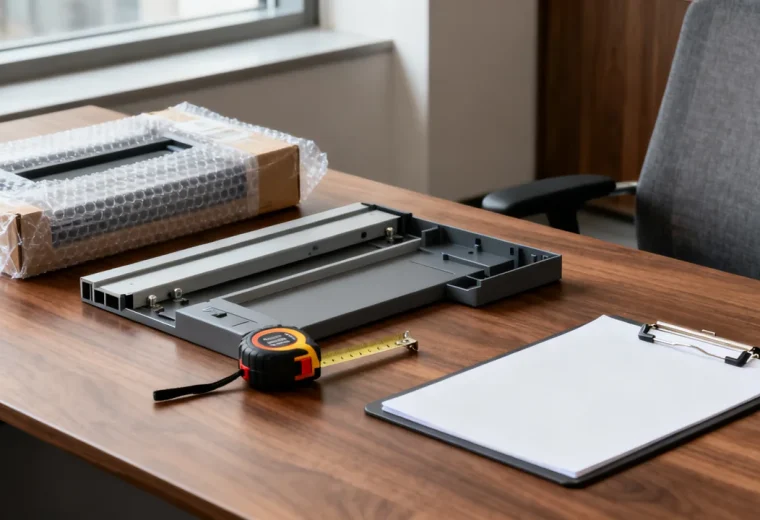
Keep the scope small enough to reverse or adjust where practical. This can reduce the impact of a poor fit, but it does not remove the need to measure delivery routes and plan installation.
Phase 3: Layout Adjustment and Core Work Surface Updates
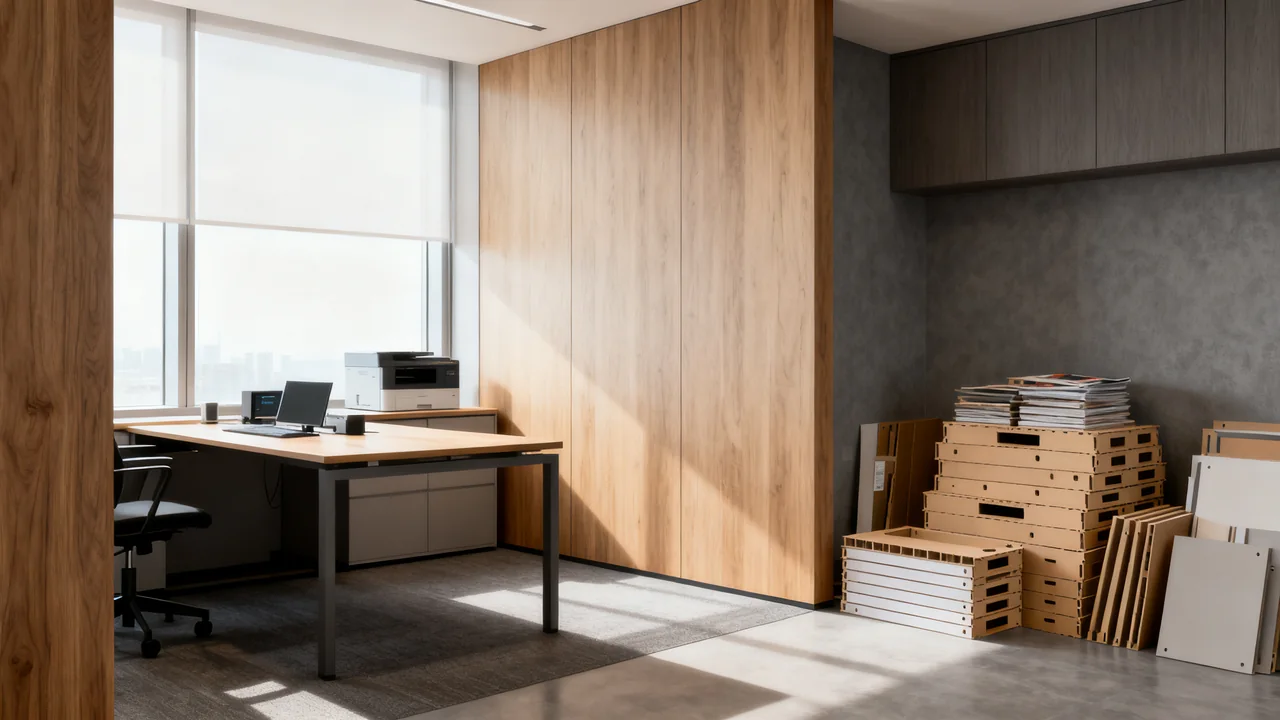
Once you have tested small changes and confirmed your team is comfortable with the pace of the refresh, move to adjusting layouts and replacing core work surfaces like desks or meeting tables. Schedule this work for a weekend or a day when only 1 to 2 team members are in the office, to avoid disrupting meetings or deadline work. Before moving any furniture, mark the new layout on the floor with painter’s tape to review the occupied layout, access routes, and applicable building requirements with the responsible facilities contact, keeping emergency exits and electrical equipment access clear.
If you are replacing desks, start with one section of the office first, not the entire space. For example, replace 2 desks for the content team, use that setup for two weeks, adjust the position or add monitor arms as needed, then replace the rest of the desks in the next stage. This lets you catch issues like insufficient depth for monitor setups or wobbly legs before you buy multiple matching units.
When moving desks, label all hardware (screws, monitor arm brackets, cable ties) with the desk and employee name to avoid losing small parts. Unplug all electronics before moving desks, and do not use liquid cleaners directly on electronic devices during the shift; follow your device manufacturer’s approved cleaning instructions. To reduce electrical risk, never daisy-chain power strips for new desk setups, and have the supply and equipment loads checked under the applicable electrical requirements by the responsible qualified person.
Phase 4: Finishing Touches and Completion
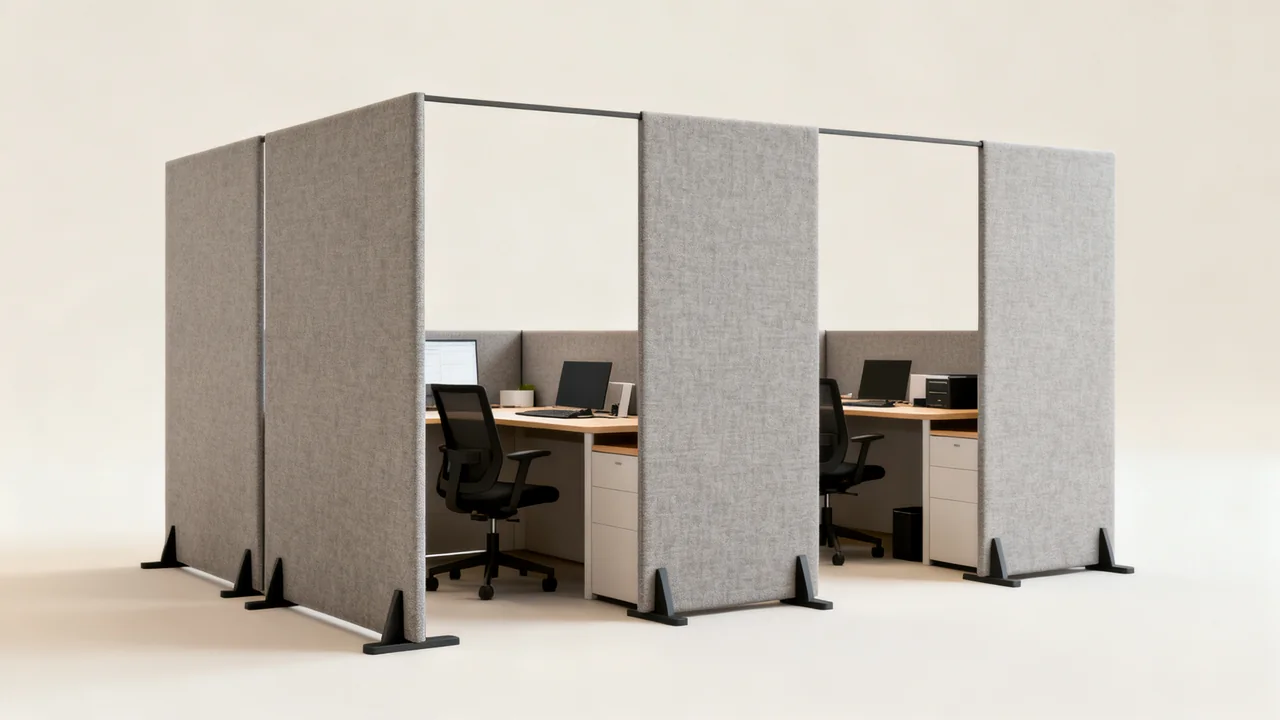
The final phase covers upgrades that are not critical for core work but improve long-term comfort and visual consistency. This includes adding room dividers for privacy, replacing worn reception furniture, installing task lighting, or adding decorative elements like wall shelves or plants. These changes can be rolled out one at a time, with no need for full office shutdowns. When mounting shelves or lighting, follow all manufacturer weight limits and have the mounting method and supporting structure confirmed for the actual product and loaded installation.
At this stage, you can also address minor wear on existing furniture you decided to keep, like reupholstering a reception bench or touching up scuffed desk edges. Follow the furniture manufacturer’s guidance for reupholstery or finish repairs, and avoid mixing chemical cleaning products, as this can create toxic fumes or damage surfaces even if each product is approved for use individually. For reupholstery, confirm applicable furniture and fire-performance requirements with the responsible supplier or facilities contact; a fabric description alone does not establish the performance of the finished item.
Before closing out the refresh, walk the space with your team to confirm all pain points have been addressed, and make a note of any adjustments needed for future updates, like extra storage or additional seating for new hires.
Stage Comparison: Effort vs. Disruption
| Stage | Main output | Planning question |
|---|---|---|
| Baseline | Priorities, retained furniture, scope, and budget envelope. | Which problems need prompt action? |
| Initial trial | A tested product or arrangement. | What evidence is needed before repeating it? |
| Layout and core furniture | An installed working area with verified access and connections. | When can delivery and installation happen safely? |
| Completion | Remaining finishes, records, and unresolved-item list. | What needs correction before the project is closed? |
Estimate time, cost, and disruption from the actual scope, access arrangements, and supplier quotations. A generic stage budget cannot account for local labor, furniture choices, or delivery constraints.
Actionable Pre-Refresh Checklist
Before you start any purchase or furniture move, complete these steps to avoid costly mistakes:
- Document furniture condition and representative usage
- Survey the team to rank furniture-related pain points by operational impact
- Confirm door widths, ceiling heights, and floor load limits for any new furniture you are considering
- Test at least one sample of any new furniture (chair, storage bin, desk) through relevant tasks before ordering a full matching set
- Schedule high-disruption work (desk moves, layout changes) for low-occupancy days
- Cross-reference all cleaning, installation, and weight limit guidance with the specific manufacturer’s manual
- Confirm all planned layout changes keep emergency exits and electrical panels fully accessible
Common Tradeoffs to Adjust for Your Team
Fit the sequence to confirmed operating constraints. A workplace with continuous client appointments may need smaller zones and separate installation windows. A hybrid office may have low-attendance periods, but confirm who will still need access and how deliveries will be supervised.
When the budget is limited, reduce the scope or divide it into approved stages while preserving necessary safety, access, and equipment suitability. Keep serviceable furniture where it meets the needs; do not promise another year of use without considering condition and support.
After each stage, allow enough real use to gather relevant feedback before repeating the arrangement. Record unresolved issues and who will address them. Staging makes changes easier to learn from and adjust, but cannot guarantee that all rework will be avoided.
Have a question or a correction?
Contact the editorial team