A monitor arm must fit the display, the mounting surface, and the way the screen needs to move. Matching the screw-hole pattern is only one check. Before ordering, build a compatibility record using the exact monitor, arm, desk, and any attached accessories.
Identify the display and its approved mounting details
Record the full monitor model and the manufacturer’s mounting instructions. Check whether the stand is removable and which mounting arrangement is supported. For a VESA interface, confirm the specified hole pattern and any requirements for the mounting plate, recess, adapters, screws, or spacers.
Use the monitor’s relevant weight without its original stand where the documentation specifies that mounting weight. Include supported attached accessories in the load assessment. Do not infer the weight from screen size or use a shipping weight that includes packaging.
Check screw diameter, thread, engagement depth, and any approved spacer arrangement from the instructions. A recessed mounting area does not simply mean “buy longer screws”: excessive engagement can damage equipment, while insufficient engagement may be unsuitable. Obtain the approved hardware rather than guessing.
Read every load limit, including minimums
Some adjustable arms specify both minimum and maximum supported display weights. A screen below the minimum may not balance correctly even though it is far below the maximum. Check how the manufacturer defines the load and whether display dimensions or geometry add restrictions.
For a multi-monitor system, verify each arm’s limit and any total system limit. Adding two display weights and comparing only the sum can miss an overloaded individual arm. Also account for approved accessories and any conditions attached to the rating.
A curved or unusually deep display can have different mounting considerations from a flat display of similar mass. Follow explicit compatibility information for the exact arrangement. Do not assume a bracket advertised for a diagonal screen-size range establishes every necessary fit condition.
Verify the desk’s mounting area and structure
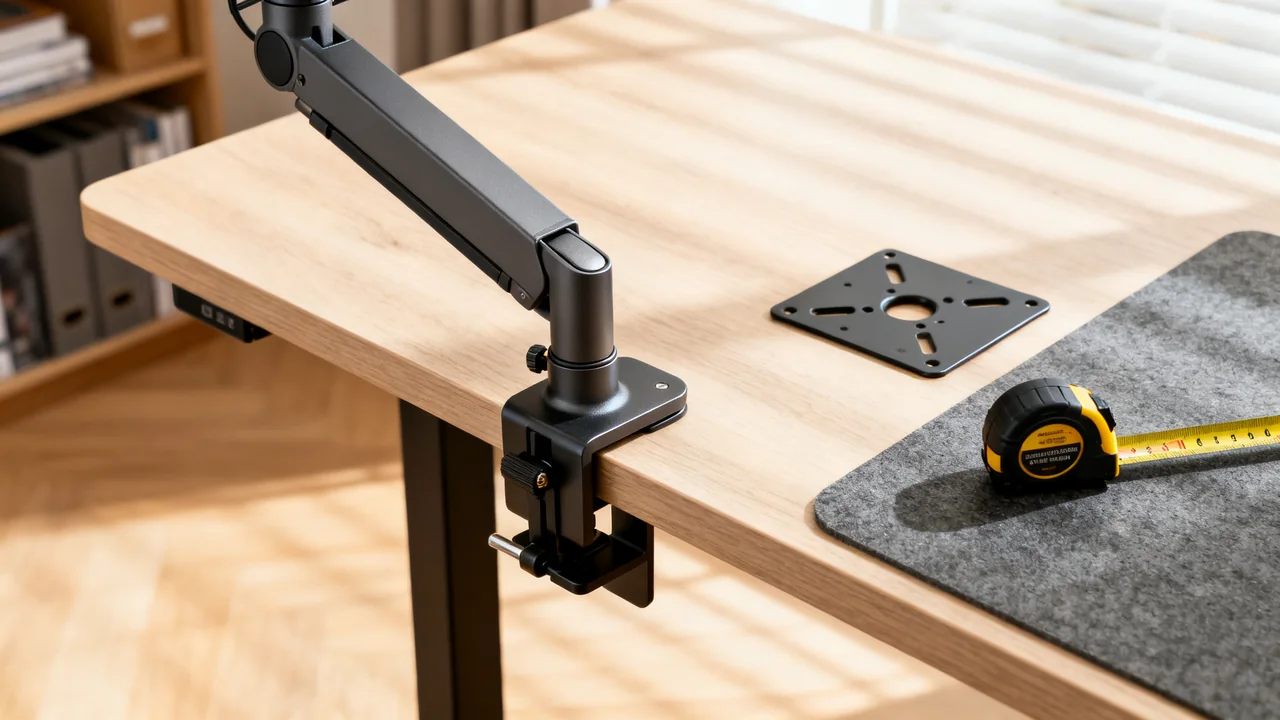
For a clamp mount, measure thickness at the actual location, the available contact surfaces, and nearby underside obstructions. Check that the desk material and construction are approved for the concentrated mounting forces. A compatible thickness does not establish that glass, a hollow core, or a thin edge can support the system.
For a grommet or other through-surface mount, verify the approved hole dimensions, location, underside access, and supporting material. An existing cable hole is not automatically a structural mounting point. Do not drill or alter the desk without the required approval and a suitable installation plan.
Check the desk’s overall load requirements as well, including the arm and equipment. Overall capacity and local mounting strength are different questions. A reinforcement plate is not a universal remedy for an unsuitable surface; use only an approved solution for the actual system.
| Compatibility layer | Evidence to obtain | Common false shortcut |
|---|---|---|
| Display interface | Mount pattern, plate fit, approved hardware | Matching four holes proves all hardware is suitable |
| Arm loading | Per-arm minimum/maximum and system limits | Total display weight alone proves compatibility |
| Desk attachment | Material, construction, contact area, thickness | Clamp opening range proves structural support |
| Movement | Reach, retraction, tilt, height, rotation | Maximum reach shows the nearest usable position |
| Cabling | Connector clearance and movement allowance | A cable that fits at rest works through every position |
Map the full movement envelope
Measure the desired screen positions relative to the mounting point. Use the actual screen plane, not just the end of the arm. Check minimum as well as maximum reach and the space needed for links to fold near a wall.
Consider tilt, height, portrait rotation, and any sharing position used in the workflow. Verify that the screen will not contact shelves, partitions, another display, or neighboring equipment in those positions. An arm does not need an arbitrary rotation angle if the task does not require it.
On a height-adjustable desk, the arm moves with the desk but connected cables may lead to equipment that does not. Check the approved movement with enough suitable cable allowance and without tension or pinch points. Route cables as directed rather than tightly binding them to maximize neatness.
Apply an illustrative two-display check
Assume an imaginary workstation has two displays, each weighing 11 pounds without its original stand. The proposed arm’s fictional specification permits 8–15 pounds per display and 30 pounds total. These figures are example inputs only. Each 11-pound display is within the per-arm range, and their combined 22 pounds is within the stated system limit before any additional supported load.
That arithmetic does not complete the purchase check. The monitor interfaces, approved hardware, screen geometry, desk structure, attachment area, and movement envelope still need verification. If one display instead weighed 16 pounds, the 27-pound combined total would remain below 30 pounds but the individual 15-pound limit would fail.
The example shows why a single total-weight comparison is inadequate. Keep every applicable requirement as its own pass, fail, or unresolved line rather than letting one successful calculation imply overall approval.
Confirm the order and installation responsibilities
Ask the supplier to identify the exact arm, mounting kit, adapters, and approved accessories in the quote. Resolve uncertain compatibility in writing before ordering. Check return conditions for unsuitable or opened items without assuming a trial is automatically available.
Use the manufacturer’s installation process and appropriate personnel for the work. This guide is a pre-order check, not a substitute for mounting instructions. Do not improvise fasteners, remove structural desk parts, or modify the display to force a fit.
- Record the exact monitor and stand-free mounting weight.
- Check interface, screws, spacers, and plate clearance.
- Verify each arm’s range and every overall limit.
- Confirm desk material and attachment approval.
- Map retraction, movement, and cable clearance.
- Order the approved configuration and arrange suitable installation.
Have a question or a correction?
Contact the editorial team