Onboarding new employees often involves last-minute supply runs, misplaced items, and inconsistent setups that leave new hires waiting to start work. A pre-assembled new-employee desk kit standardizes the process, eliminates repeated prep work for each hire, and ensures every team member has exactly what they need for their role on day one, without overstocking low-use items. This framework is designed for small teams of 5 to 25 people, with flexibility to adjust for in-office, hybrid, or remote roles, and avoids the overbuying common with one-off supply purchases.
Core Kit Sizing and Storage Rules
Choose how many kits to prepare from confirmed or reasonably expected starts and available storage. If hiring is infrequent, keep a component checklist and assemble on demand. If several people with similar roles will start together, prepared base kits may simplify distribution.
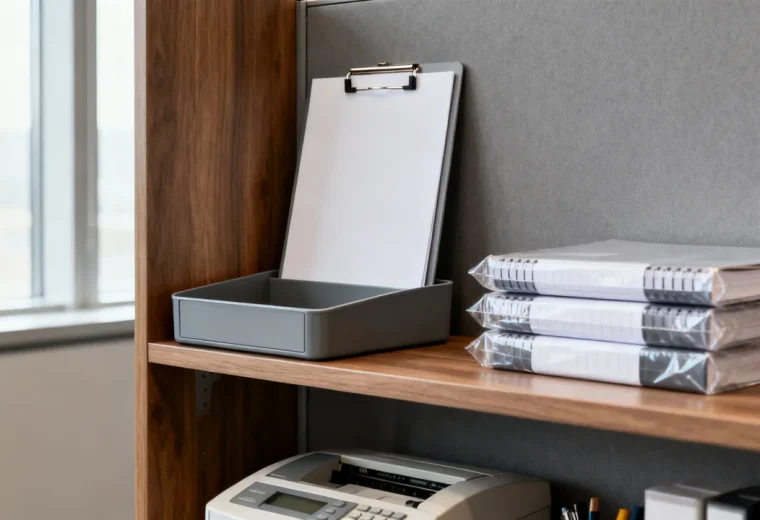
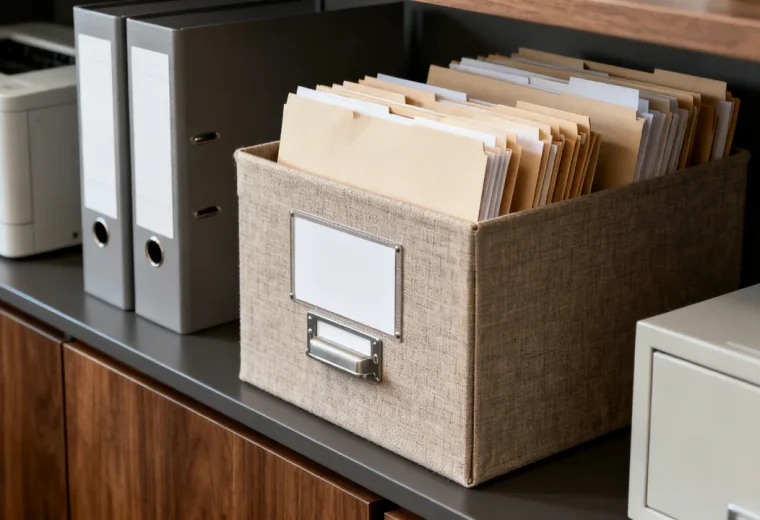
Choose containers after measuring the actual contents and storage space. Label unassigned kits and keep a record of what has been reserved so those supplies are not counted twice as general stock. Personalized items and any optional food should be handled according to the recipient’s preferences and the product’s storage requirements.
Base Kit: Universal Items for Every Role
The base kit should contain only items commonly needed in your workplace. The following list is a menu to adapt, not a universal requirement. Remove physical paperwork supplies if the role is entirely digital and use shared tools where practical.
- 1 set of 2 ballpoint pens (black ink, medium point, the same style your team uses for general use)
- 1 highlighter (your team’s standard color, if you use them for document markup)
- 1 small block of 3×3 inch adhesive notes (standard weight, not heavy-duty)
- 1 standard size pair of plastic scissors (blunt tip, for general office use)
- 1 12-inch plastic ruler with standard and metric markings
- 1 roll of ¾ inch clear adhesive tape, with a reusable plastic dispenser
- 1 small pack of 10 letter-size file folders, in your team’s standard color for individual use
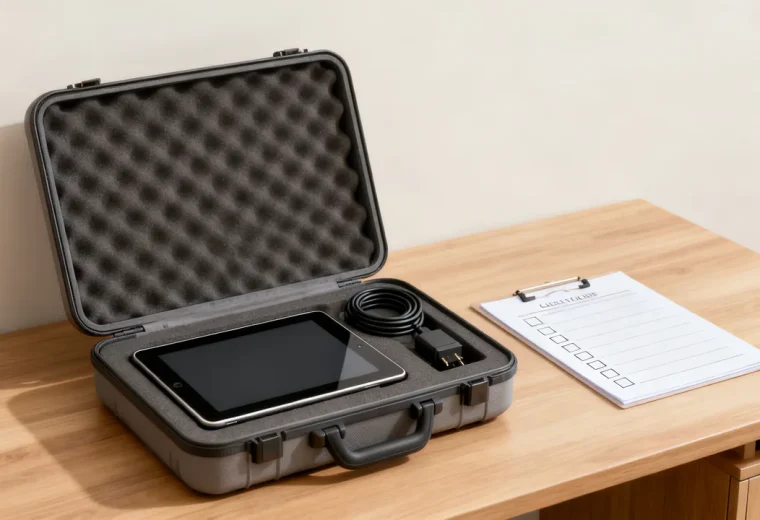
- A charger only when needed, approved for the assigned device and its required power and charging method
For remote or hybrid roles, adjust the base kit to include items that support home work, such as a compatible display cable in a length suited to the actual setup, or a small mouse pad, if your team does not provide these items as standard equipment. Remove items that are only useful in an office setting, such as file folders, if your remote team stores all documents digitally.
Role-Specific Add-On Modules
Modules are pre-packaged sets of items for specific roles, stored separately from base kits so you only add them when relevant, eliminating waste from unused items. Create modules only for recurring role requirements, and label each module clearly so you can grab the right set in seconds. Common modules include:
- Admin/operations module: 1 stamp pad (black ink), 1 letter opener, 1 pack of 50 shipping labels, 1 pack of 10 manila envelopes, 1 staple remover, 1 desktop stapler with a pack of 1000 standard staples
- Creative/design module: 3 fine-tip markers (black, blue, red), 1 8.5×11 inch sketch pad, 1 set of 6 colored pencils, 1 adjustable paper trimmer (small desktop size)
- Finance/HR module: 1 black fine-point permanent marker, 1 pack of 20 file folders in the team’s standard color for confidential documents, 1 date stamp with replaceable ink pad, 1 pack of 50 security envelopes
- Field/on-site module: 1 durable pocket notebook, 1 pack of 4 permanent markers (fine and chisel tip), 1 roll of 2-inch masking tape, 1 small utility knife (with safety lock, only if permitted by your workplace safety policy)
When building modules, check your team’s actual usage data from the last 6 months of supply orders to avoid including items that only a small subset of a role uses. For example, if only 2 out of 5 admin team members use shipping labels regularly, move that item to a “special request” list instead of including it in the standard admin module.
Illustrative Example: Building a Kit for a New Operations Hire
A hypothetical agency is preparing for an operations coordinator. The manager confirms the start date, work location, assigned equipment, and tasks. A small base set contains the writing supplies the coordinator expects to use, while shipping supplies are selected to match the existing label printer and parcel workflow.
IT checks the charger and display connections against the assigned device rather than choosing accessories from connector shape alone. The kit includes a short inventory and instructions for requesting anything missing. Optional welcome items are added only after relevant preferences are known.
The person preparing the kit records the actual cost and preparation time if the agency wants to compare future approaches. This example does not assume a particular purchase price, time saving, or absence of unused supplies.
Kit Configuration Decision Table
| Approach | Useful when | Tradeoff |
|---|---|---|
| Complete prepared kit | Several confirmed starters need closely similar supplies. | Ties up stock and space before the start date. |
| Base kit plus role module | Some supplies recur but others depend on the role. | Requires clear component lists and a final suitability check. |
| On-demand assembly | Starts are infrequent or needs vary substantially. | Requires time to gather and check the items before arrival. |
Choose the method that fits the hiring plan and revise it as that plan changes. The table describes options; it does not prescribe a team-size or hiring-frequency threshold.
Tradeoffs for Customization and Sustainability
When designing your kit, balance efficiency with customization and waste reduction to avoid common pitfalls. If your team prioritizes sustainability, opt for reusable components where possible, such as refillable pen barrels instead of disposable pens, and include a note in the kit explaining how to request refills instead of new items. Check the actual cost, refill availability, and likelihood that staff will use the refills before choosing this approach.
Offer a private way for the new employee to discuss equipment or accessibility needs with the appropriate contact. Examples might include preferred writing tools or different input equipment, but do not assume a standard “accessibility kit” suits everyone. Select and trial requested items with the employee rather than publicly labeling personal needs.
For hybrid teams, decide whether to provide kits for in-office use only, home use only, or both. If team members split time between home and the office, you can reduce costs by providing one base kit for their primary work location, and a small shared kit of common items at the office for use when they come in. Provide duplicates where the work genuinely requires them; compare the inconvenience of moving items with the cost and practicality of an additional set.
Post-Hire Kit Follow-Up and Iteration
After a new hire has been in their role for 2 weeks, send a short 3-question survey to get feedback on their desk kit, to refine your kit list over time. Ask: 1) Which items in your kit have you used regularly? 2) Are there any items you need that were not included in your kit? 3) Are there any items in your kit you have not used and do not expect to use? Track responses over 3 to 4 hires to identify patterns, such as a role that never uses the included ruler, or a role that consistently needs extra adhesive notes, and adjust your module lists accordingly.
Keep a running list of kit adjustments near your supply storage area, so you can update your kit components as roles evolve. For example, if your team switches from physical file folders to a fully digital document management system, remove file folders from your base kit to cut cost and waste. If your team starts using more USB-C devices, review approved chargers and cables against each device’s actual power and compatibility requirements.
Actionable Kit Building Checklist
- Confirm the role, start date, work location, and assigned equipment.
- Choose base components from actual tasks, then add role-specific items.
- Check device accessories with the responsible IT contact.
- Record reserved stock and label unassigned kits clearly.
- Offer a private route for individual equipment requests.
- Include a component list and a contact for missing supplies.
- Ask for feedback after the employee has had time to use the setup.
Restock components through the ordinary approved supply process. Use the hiring plan and delivery time to decide whether spares are justified; a fixed percentage of extra kits is not a substitute for that decision.
Have a question or a correction?
Contact the editorial team