A whiteboard camera is worth considering when remote participants need to follow writing as it happens and the room camera cannot show it clearly. The purchase should be judged on readable content and a usable sharing workflow. A wide viewing angle or a feature called content enhancement does not establish either outcome by itself.
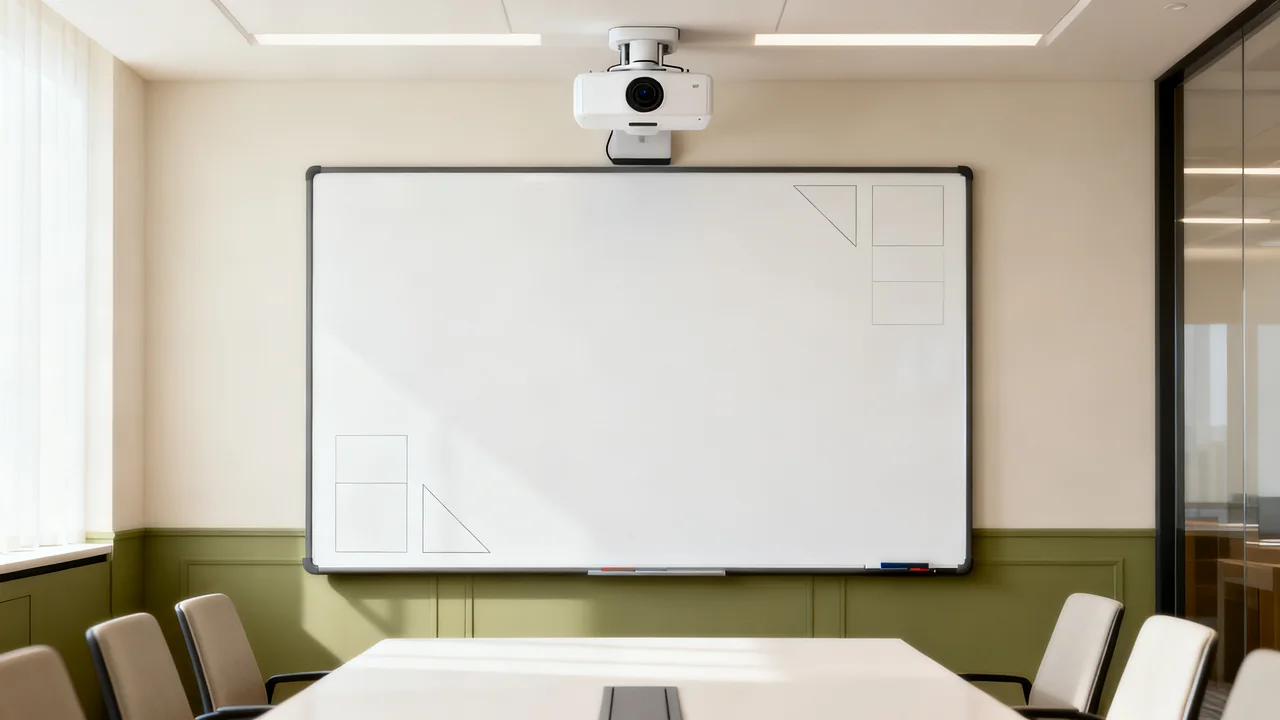
Start with the board that people actually use. Its dimensions, surface, position and lighting all affect the installation. A camera demonstrated on a different board in another room is helpful background, but the intended setup still needs verification.
Define what remote participants must see
Record the writing area, board height, nearby obstructions and whether the board moves. Identify whether users need the entire surface, small diagrams, different marker colors or attached notes. Include writing near the edges in the requirement.
Observe the presenter workflow. Some people step aside after writing; others talk while standing in front of the board. Decide whether remote attendees must see the presenter and the board simultaneously. A system that switches the only participant camera to the board may not meet that requirement.
Use neutral sample content for evaluation. Include the smallest writing people reasonably need to read, rather than a demonstration containing only large headings. Ask remote participants to read it without relying on the presenter to explain what the camera missed.
Check the supported installation geometry
Use the selected manufacturer’s instructions for supported board size, camera position, mounting height and distance. There is no universal above-board spacing or field-of-view range for all content cameras. A number describing the lens alone does not establish coverage after cropping and image correction.
Confirm the mounting surface and hardware with the responsible installer. Check power and data routes, supported cable lengths and access for adjustment or service. A nearby outlet is useful only if it fits the device’s actual power arrangement.
For a movable board or temporary stand, test stability, cable protection and the procedure for restoring alignment. Avoid placing stands or leads where they restrict access. If frequent repositioning requires recalibration, include that work in the decision.
Evaluate features in the intended meeting platform
| Feature | Useful question | Demonstration to request |
|---|---|---|
| Board correction and cropping | Does the complete writing area remain readable? | Text and diagrams at the center, edges and corners. |
| Presenter handling | What happens when someone stands in front of the board? | A presenter writes, moves and pauses in normal positions. |
| Meeting integration | How does the host start and stop sharing? | The actual room platform, user permissions and connection path. |
| Image capture | Where is a saved board image stored? | Save, retrieve, share and delete a neutral sample. |
| Licensing and support | Which functions need software, accounts or subscriptions? | A written list of required components and recurring charges. |
USB Video Class compatibility can be relevant to basic video input, but it does not guarantee that every laptop and meeting application supports all content-camera functions. Check the full workflow, including any software, permissions, room-system support or separate content-sharing mode.
A hypothetical board-camera trial
Imagine a team that uses a fixed wall board for planning and wants remote colleagues to follow diagrams as they develop. The team also needs participant video to remain visible. This example describes acceptance steps rather than a result for an unnamed camera.
The team would ask the supplier to demonstrate a supported mounting arrangement on that board. A presenter would write sample material across the intended area and move normally while explaining it. A remote listener would note unreadable areas, delayed updates and any loss of the participant view.
The host would then stop sharing, restart it and save a sample image if that feature is required. If the trial relies on administrator access or an account that normal hosts will not have, the setup is not yet ready for the team’s workflow.
Test lighting and surface effects
Check the view with the room’s ordinary lighting and at the times when window reflections are troublesome. Image processing may improve a picture but should not be assumed to recover writing hidden by glare. Try the existing light controls and repeat the readability check.
Test the board’s usual marker colors, erasing condition and attached material. A camera’s treatment of handwriting or sticky notes may differ from another model’s. Avoid buying a board coating or film until the board manufacturer confirms compatibility and the actual result has been demonstrated.
If readable capture remains difficult, compare a different room arrangement or a digital collaboration workflow. The goal is useful shared content; retaining a physical board is a requirement to discuss, not an assumption that must force an unsuitable installation.
Document the accepted workflow
- Record the camera, board and supported mounting configuration.
- Keep the tested sharing steps and required account permissions.
- Confirm participant video and content behave as required.
- Document storage and deletion for captured board images.
- Name the person responsible for alignment, updates and support.
- Retest after moving the board or changing the room system.
Include installation, required software, accessories and support in the quote. A camera is ready for purchase when its complete setup has demonstrated the required content and the team can operate it without relying on undocumented steps.
Have a question or a correction?
Contact the editorial team