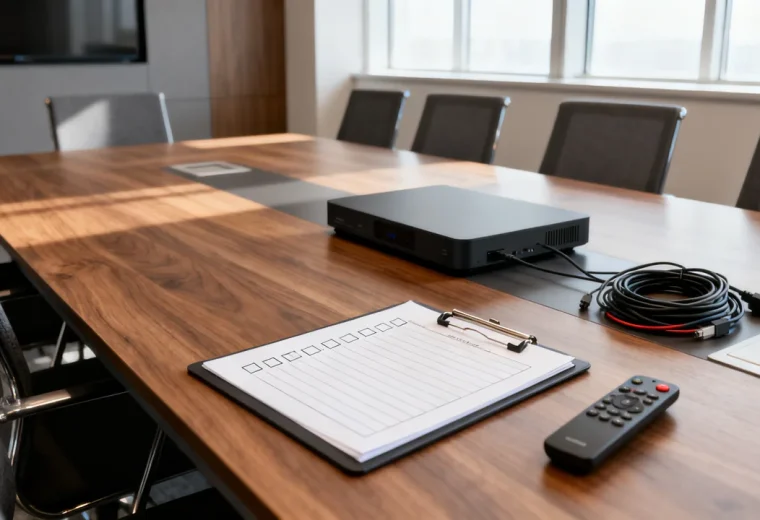
A bring-your-own-laptop meeting kit should make a defined set of laptops work with a defined room. It cannot be assumed to support any visitor’s device simply because it includes several adapters. Build it around the laptops, display and meeting peripherals you can verify, then provide a clear fallback for exceptions.
The kit includes more than a dock. Cables, power supplies, instructions, storage and a repeatable reset procedure determine whether the next user can start a meeting. Treat those items as part of the purchase rather than additions to solve after installation.
Define the supported workflows
List the regular laptop models and operating systems, the display inputs and the camera and audio devices. Decide whether a laptop must receive power from the kit or can use its own charger. Also identify guests who cannot install software or change managed-device settings.
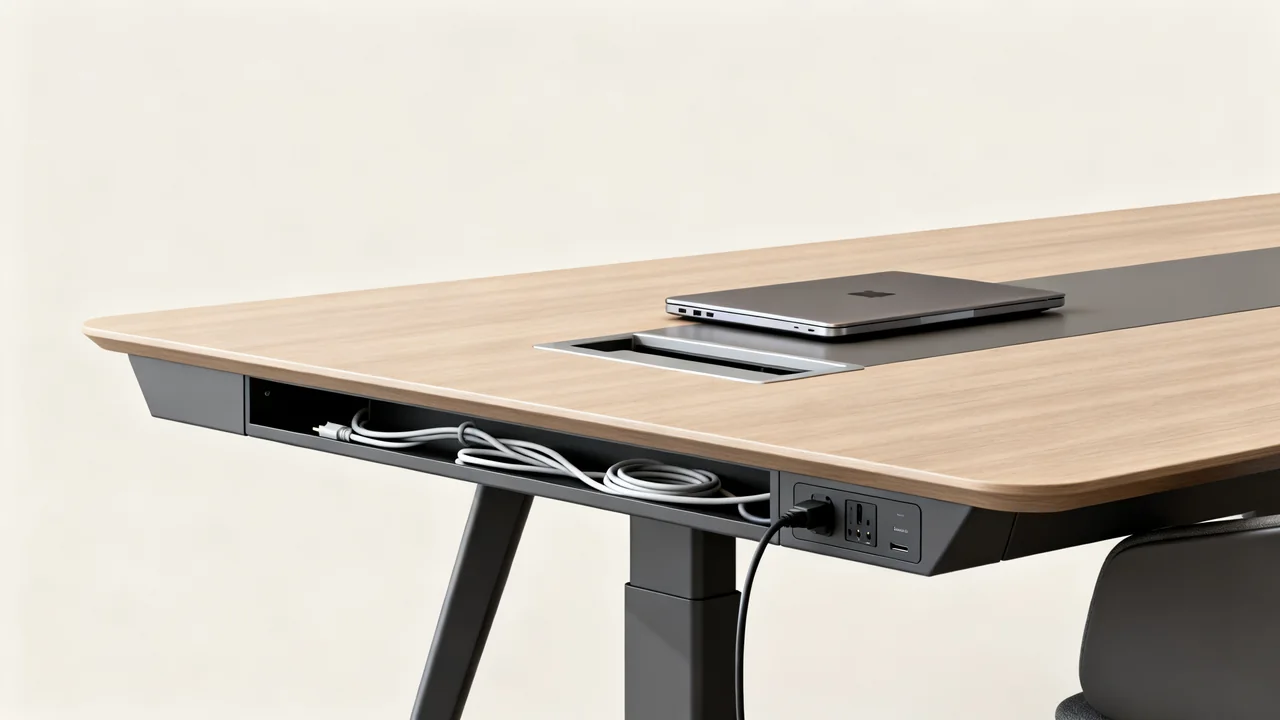
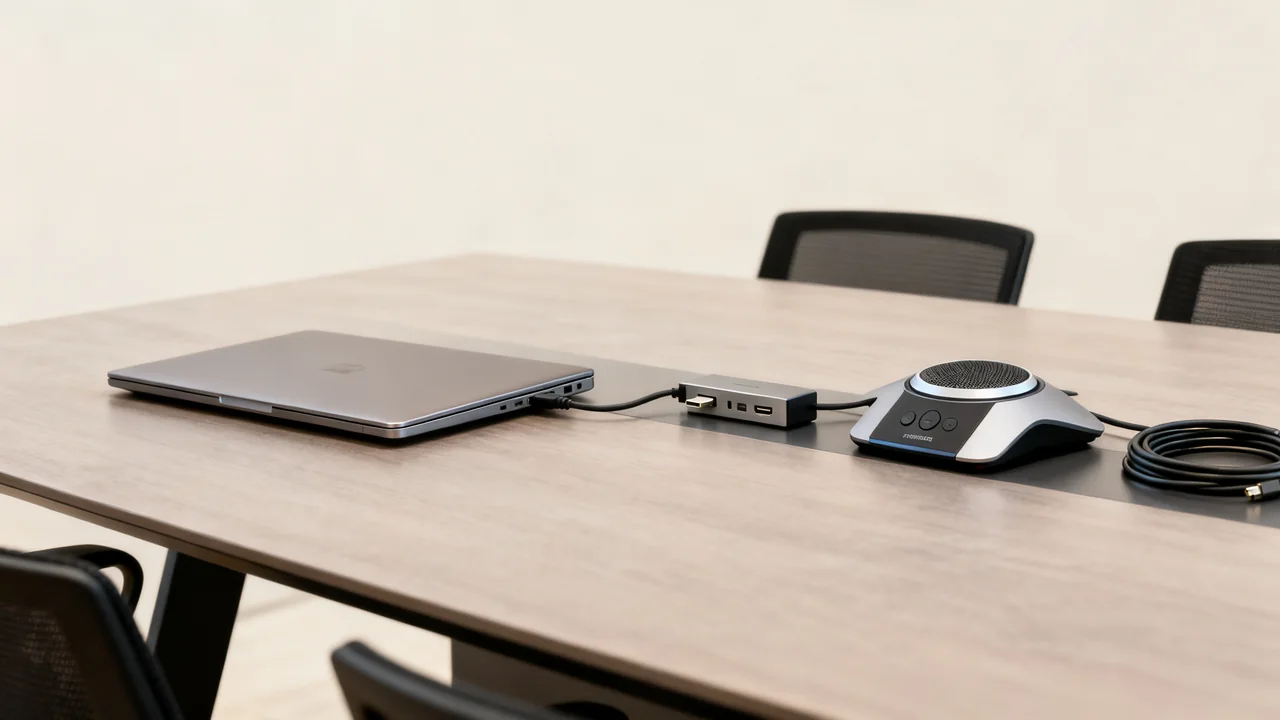
Draw the path for display video, USB peripherals and power separately. A compatible USB-C dock may combine several functions, but the laptop port, dock, cable and power supply must support the intended arrangement. Connector shape alone does not establish video output or charging capability.
Keep a direct-display fallback if the actual laptops and display support one. For example, a laptop with HDMI output may connect to the screen by HDMI while a separate USB connection handles a camera and speakerphone. Its charging arrangement remains a separate check.
Choose a complete base kit
| Component | Selection check | What to record |
|---|---|---|
| Dock or hub, if needed | Supported laptop ports, operating systems, display modes and peripherals. | Exact model, supplied host cable, power supply and required software. |
| Display connection | Compatible output, input and measured cable route. | Selected screen input and tested resolution. |
| Room camera | Supported connection and view of required seats. | Device name shown in the meeting application. |
| Room audio | Understandable speech and suitable playback in the room. | Microphone and speaker selections, mute behavior. |
| Power arrangement | Suitable charging and electrical installation for the actual equipment. | Which devices use kit power and which need their own charger. |
| Instructions and storage | A first-time user can connect and restore the kit. | Room owner, inventory and support contact. |
Do not include a passive USB-A-to-HDMI adapter as a universal video solution. USB graphics products use specific technology and may need software. Synaptics publishes DisplayLink driver information for its USB graphics devices; check the exact product and operating system before choosing that route for guests.
Add only accessories with a demonstrated use
A content camera may help share a physical whiteboard, but it needs a supported connection and meeting workflow. Test the intended board view and restore the participant view afterward. A port available on a dock does not establish that every camera feature will work.
A presentation remote may be useful if presenters move away from the laptop. Verify its connection, supported applications and storage. Avoid adding an untested accessory merely because a bundle includes it.
For adapters, record direction as well as connector type. A product designed for one signal path may not work in reverse. Label by the approved use, such as the tested laptop connection, and keep the original model information available for replacement purchases.
A hypothetical mixed-laptop kit
Suppose an office has laptops with documented USB-C display output and another group with HDMI output and USB-A data ports. The room needs one display, camera and speakerphone. This is an illustrative planning situation, not a compatibility guarantee for unnamed products.
The office could trial a compatible dock for the USB-C group and a direct HDMI plus supported USB peripheral connection for the other group. It would verify each path with representative laptops, including whether a suitable hub is needed for the peripherals. Users on the second path might still need their own laptop charger.
The quick-start card would show these as two tested connection paths. It would not tell every user to attach an adapter to the same dock and assume all functions will follow. An unsupported visitor laptop would use the documented support or fallback process.
Test the kit as a whole
Test every supported laptop group with the installed cables and peripherals. Join a call, select the room camera and audio, share content, and check the remote result. Confirm charging if it is part of the requirement. Use the normal display mode and meeting application rather than a simplified bench setup.
Disconnect, reconnect and test the next user. Check whether the display input, audio selections or pairing state leave the room confusing. Ask someone who did not assemble the kit to follow the instructions and note where they need assistance.
Compare a vendor bundle with a custom kit on the same basis: supported devices, complete contents, installation, service terms and acceptance results. A bundle can simplify purchasing, but it does not remove the need to test your laptops. A custom kit can offer choice while giving your team more compatibility work to own.
Keep it ready without accumulating clutter
- Label components and store each in an identifiable place.
- Keep only tested spare cables and adapters.
- Record faults and missing items where the room owner will see them.
- Follow manufacturer instructions for care and updates.
- Recheck the kit after replacing a component or changing supported laptops.
- Adjust inventory and inspection frequency from observed use and failures.
Publish a short supported-device note with the connection card. It should help users prepare for a meeting without overstating universal compatibility. The kit is ready when its intended users can connect, run the required call and leave it usable for the next person.
Have a question or a correction?
Contact the editorial team