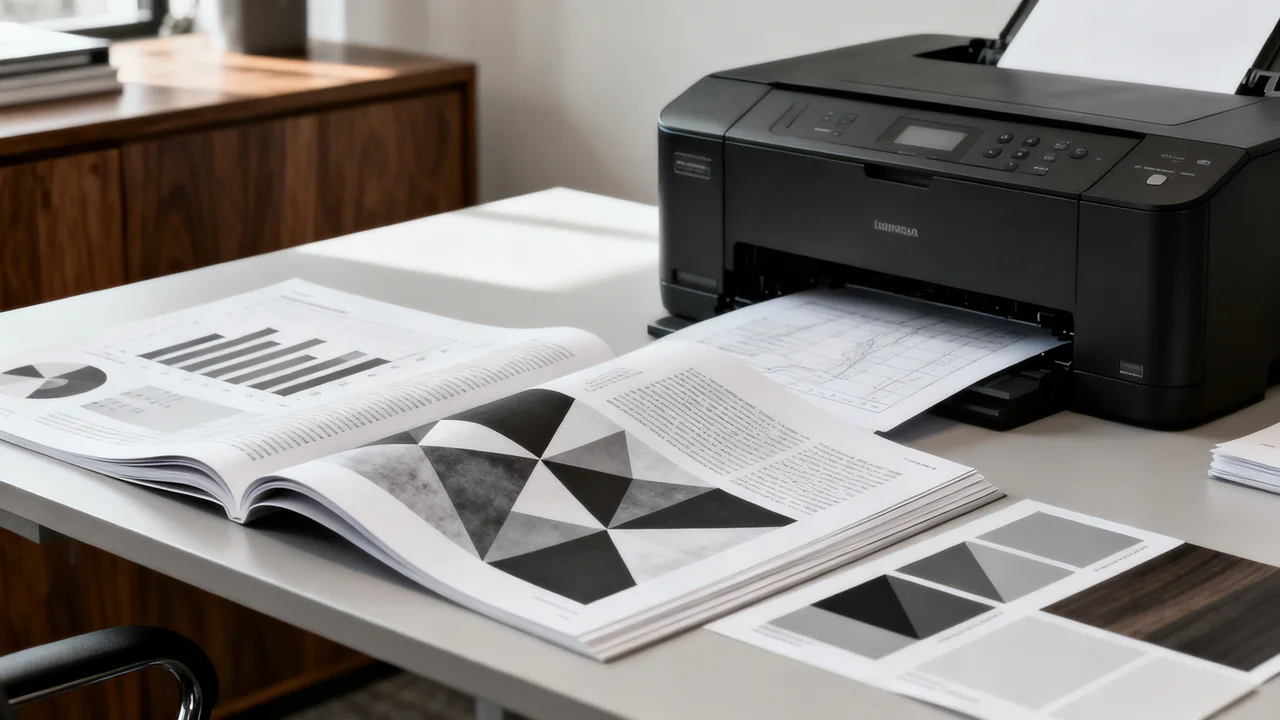
A document that is clear on a color screen can lose information when printed in black and white. Two different colors may become similar gray values, pale highlights may disappear, and a layout scaled to fit the page may make text difficult to read. Start with the document’s design, then test the actual printer and settings.
Make meaning independent of color
Use explicit labels for information that currently depends on color alone. A chart can identify a line directly, combine different line styles with labels, or use clearly distinguishable markers. A table can add a status word or symbol with a legend instead of relying only on a colored cell.
Check that added patterns do not obscure the data. Dense hatching can make a small bar chart harder to read, and overlapping markers can hide trends. Select the simplest combination that remains distinguishable at the printed size.
For text, choose a clearly readable foreground and background. Making pale colored text bold may not solve its weak grayscale contrast. A print-specific version can use dark text and simple backgrounds while retaining the meaning of the original. Avoid altering a record’s content when the task requires a faithful reproduction.
Check size, page breaks, and reading order
Review the document at the size it will be printed. Automatic “fit to page” settings can shrink a large spreadsheet or diagram substantially. Adjust the layout, page size where supported, or page breaks rather than assuming a higher printer resolution will rescue tiny text.
In a spreadsheet, configure print titles or the application’s equivalent to repeat headings on later pages. Freezing panes for screen use is a separate feature and does not necessarily repeat headings in print. Check the preview and a sample page from the middle of the report.
For presentation handouts, choose the number of slides per page based on the actual text and intended use. If recipients need to annotate, include space for that. A fixed slides-per-page rule cannot account for every deck. Add page numbers or section references where they help people navigate the printed version.
Use print modes deliberately
Read how the exact driver defines grayscale, monochrome, black-only, draft, and quality settings. The same label can behave differently across devices. A grayscale setting on a color printer does not by itself prove that only black consumable is used.
Compare a representative sample using supported modes. Record which mode preserves fine text and chart distinctions at acceptable speed. Do not assume every default is a toner-saving draft mode, or that increasing density always improves readability. Too much darkness can merge details or reduce the distinction between shaded areas.
Change one setting at a time when diagnosing a problem. Keep the file and paper constant so you can see what changed. Use only settings and troubleshooting procedures described for the device, rather than improvising adjustments to internal components.
| Problem in the sample | Document change to try | Output check |
|---|---|---|
| Chart series merge together | Add direct labels, line styles, or markers | Identify each series without seeing the color original |
| Highlighted status disappears | Add a word or explained symbol | Read the status without relying on a fill |
| Spreadsheet text is too small | Revise scaling and page breaks | Read ordinary cells at the final print size |
| Later pages lack context | Configure repeated print headings | Interpret a middle page on its own |
| Faint scanned marks vanish | Review capture and conversion settings carefully | Compare the print with the original image |
Use paper samples without assuming weight guarantees clarity
Choose paper approved for the exact printer and mode. Examine opacity, surface, and the printed result rather than assuming one weight guarantees no show-through. If both sides will be printed, inspect both sides under the lighting in which readers will use the document.
Gloss, texture, and paper shade can affect the viewing experience. Compare samples with the actual content rather than declaring all coated paper unsuitable for monochrome work. Printer compatibility and the reader’s task determine whether a stock is useful.
Keep the tested stock and settings together in the print profile or job instructions. Changing paper while keeping the old settings can make later results difficult to compare. For routine documents, a small set of verified choices may be easier to manage than many nominal quality tiers.
Apply an illustrative report revision
Assume an imaginary report has four colored chart lines and a table whose exceptions are marked only by a pale fill. In the first monochrome sample, two lines look alike and some marked cells are indistinguishable. These are hypothetical observations, not a test of a particular printer.
The author labels the lines directly and gives them distinct supported styles. The table gains an “Exception” column with a short status word. Section headings use dark text, and the page layout is adjusted so the table fits without shrinking its body text excessively.
The team then prints a representative page and asks another reader to identify each line and exception without viewing the color version. This checks whether information survived the conversion. It does not claim a fixed time saving or a guaranteed reduction in printing costs.
Protect original information and investigate persistent defects
For scanned documents, image cleanup and black-and-white threshold conversion can remove faint handwriting, stamps, or shaded detail. Retain the original capture where required and compare any altered version before distribution. “Cleaner” is not always more faithful.
If a known-good file still prints faintly or with streaks, use the manufacturer’s troubleshooting sequence. Check supported paper, documented supply status, and the approved user procedures. Do not universally shake cartridges or promise a number of extra pages from a low-supply warning.
Escalate persistent defects through the appropriate service route. A layout change cannot fix every hardware issue, and a hardware adjustment cannot restore information removed from the source file.
- Use labels and structure so meaning survives without color.
- Check actual print size and repeated headings.
- Verify the exact driver’s modes rather than assuming their behavior.
- Compare a sample before printing the full batch.
- Preserve faint information in scans and records.
- Keep the successful file, paper, and settings repeatable.
Have a question or a correction?
Contact the editorial team