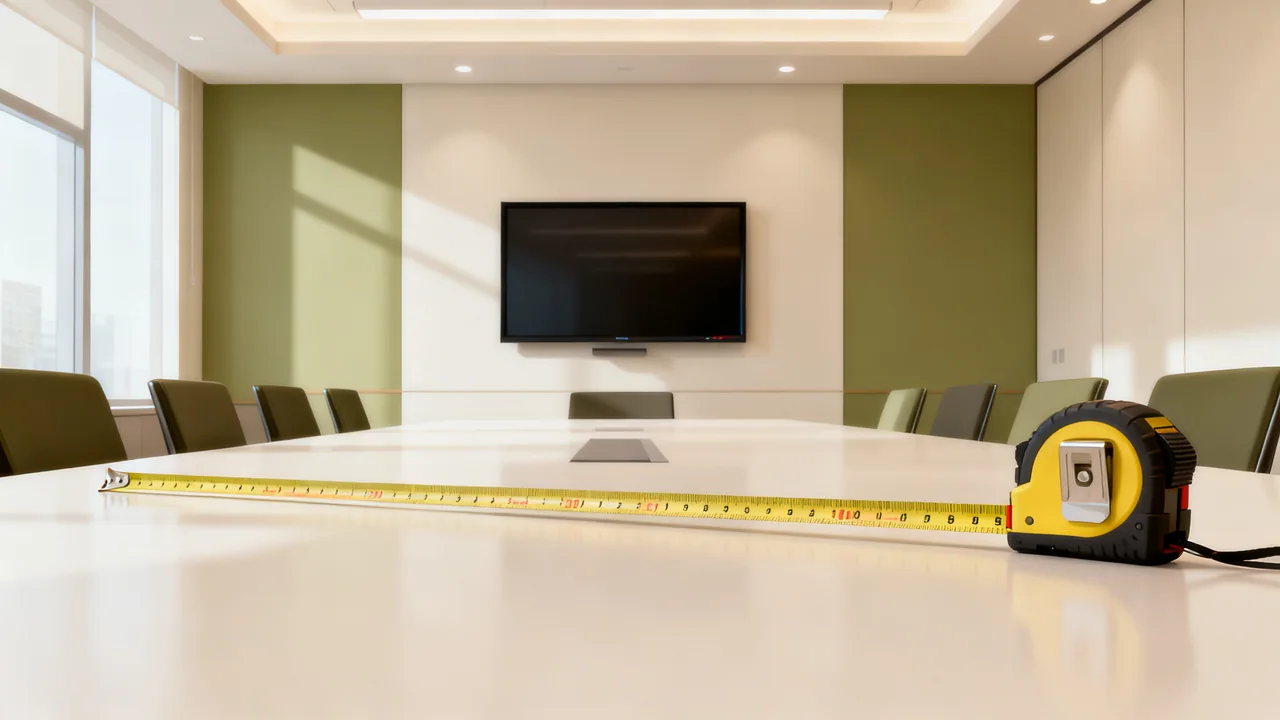
Before choosing a meeting-room display, measure the space and identify the content people must read. A presentation with large headings is a different requirement from a dense spreadsheet. The useful outcome is a display that fits its installation and is readable from every required position, verified with representative content.
Map Seating Positions and Viewing Distances First
For each position, record the viewing distance to the planned screen and whether the view is straight on or offset. Include the nearest and farthest intended seats. Keep a sample of the actual slides, spreadsheets or shared applications that users need to read; there is no universal slide-font size that proves readability for every room and display.
If seating is adjustable, mark the farthest possible spot someone could sit and the closest possible spot someone could sit. You will use both extremes to narrow your screen size range. Do not assume a standard table length fits a standard screen size; even a 6-person table can have drastically different viewing distances if it is placed against a wall instead of centered in the room. To confirm a screen size works for your measured distances, cross-check with the manufacturer’s published legibility guidance for text size and viewing distance, or test the display in person with sample slide content viewed from your farthest seating position.
Measure Horizontal Viewing Angles for Edge Seats
Note which seats view the screen from the side rather than straight on. A published viewing-angle figure may use a specified contrast criterion and does not guarantee that small text will be readable throughout that angle. Check the manufacturer’s definition and test representative content from the actual side seats.
If a required seat has poor visibility, compare another screen position, a different display or a revised layout. Keep all required seats in the acceptance test. Marking a seat as secondary is an operational decision that should be agreed with the room owner, not a substitute for meeting the original requirement.
Calculate Required Wall or Mount Space
Displays require more space than just the screen itself. First, measure the clear width and height of the wall where you plan to mount the display, subtracting space for light switches, thermostats, wall outlets, artwork, or door frames that cannot be moved. Next, check the manufacturer’s required clearance around the display for ventilation, as insufficient gap space can cause overheating, especially if the unit is mounted close to a wall.
For a wall installation, have the installer assess the wall construction, proposed mount, display weight and attachment method. Record the exact display and mount models. Matching a mounting pattern or finding a stud does not by itself establish that the complete installation is suitable. For a mobile cart, check its supported display size, weight, mounting pattern and base footprint against the intended location.
Test Vertical Placement with Intended Users
Try the proposed screen height with the actual seating and representative users. Consider comfortable viewing, the camera position and anything that blocks the lower portion of the image. A single average eye-height measurement is not a universal mounting instruction.
For rooms that support seated and standing use, test both workflows before fixing the height. Check the supported adjustment range of any adjustable mount or cart. If a screen must sit above furniture, record the available wall space and test whether seated users can comfortably see the content.
Illustrative Example: 8-Person Medical Office Conference Room
For a hypothetical planning exercise, consider an office with a conference table and occasional extra chairs at the back. The display wall also contains a door and a whiteboard. The team should record its real measurements in a worksheet rather than select a screen from the seat count alone.
- Viewing distances range from 3 feet (closest seat at the table) to 11 feet (farthest folding chair against the wall)
- Horizontal viewing angles for the leftmost and rightmost table seats are 28 degrees and 31 degrees, respectively
- Seated eye level for average-height attendees is 48 inches from the floor
- Wall studs are spaced 16 inches apart, centered in the clear wall section
Use the recorded distances to set up a demonstration with the team’s actual slide and spreadsheet samples. Check the nearest, farthest and side seats. Separately ask the installer to confirm the display, mount, wall, clearances and cable route. No screen size or installation height can be concluded from the illustrative measurements without those checks.
Compare Mount Type Requirements With Your Space Measurements
The type of mount you use will change how your measurements translate to a display choice. The table below outlines key measurement checks for three common mount types, to help you narrow options before you start shopping:
| Mount type | Space and support check | Compatibility check | Cable plan |
|---|---|---|---|
| Fixed wall mount | Installer-assessed wall support, clear space and documented ventilation. | Exact display dimensions, weight, mounting pattern and support rating. | Approved routing, supported lengths and service access. |
| Tilting or articulating mount | Clearance throughout the documented movement envelope. | Display and mount ratings, permitted adjustment and collision checks. | Approved cable lengths, bend clearance and strain relief throughout permitted adjustment. |
| Mobile cart | Complete base/display footprint, use location, route and storage. | Display size, weight, mounting pattern and cart/accessory limits. | Approved connections for stationary use; disconnect and secure cables before transport as the manufacturer instructs. |
An articulating mount can change the display’s depth and side clearance as it moves. Use the chosen mount’s documented movement envelope and cable requirements. Check for collisions and pinched cables through its permitted range; do not assume that a display fitting flat against the wall also fits when extended.
Account for Glare and Obstruction Measurements
Observe reflections from overhead lighting from the intended seats. If a screen is available, show the representative content while the normal lights are on. Also check line-of-sight obstructions such as tabletop objects or freestanding boards. Move or redesign an obstruction only where the room owner permits it.
Actionable Pre-Purchase Measurement Checklist
Complete all of these steps before you start browsing display options to avoid purchasing a screen that does not fit your space:
- Measure viewing distance for every current and potential seating position, including standing zones
- Calculate horizontal viewing angles for the leftmost and rightmost seating positions
- Document clear wall space (width, height, stud spacing) or cart footprint clearance in your planned location
- Trial the proposed screen height with representative seated and standing users and check obstructions.
- Check for glare sources and line-of-sight obstructions between the planned display location and all seats
- Measure the distance from the planned display location to the nearest power and data ports to confirm cable lengths specified in your hardware manuals are sufficient
Key Tradeoffs to Guide Final Decisions
Your measurements will often lead to competing priorities, so use these guidelines to make intentional choices based on how your team uses the room:
When measurements reveal competing needs, list the required uses and unresolved positions explicitly. Try content scaling, another layout or another display arrangement and repeat the readability check. Do not accept an unreadable or uncomfortable required seat merely because another seat improved.
If wall space is limited, evaluate another position or content presentation method and repeat the actual readability trial. If the display will move between rooms, assess the complete cart, screen, route and storage location using the manufacturer’s instructions. Keep those handling requirements separate from readability.
Have a question or a correction?
Contact the editorial team