A narrow meeting table creates a camera placement problem that a room’s seat count cannot describe. Nearby participants may sit near the image edges, distant faces may appear small, and people seated in line may obscure one another. The aim is to find a camera position that keeps the required seats visible during an actual call.
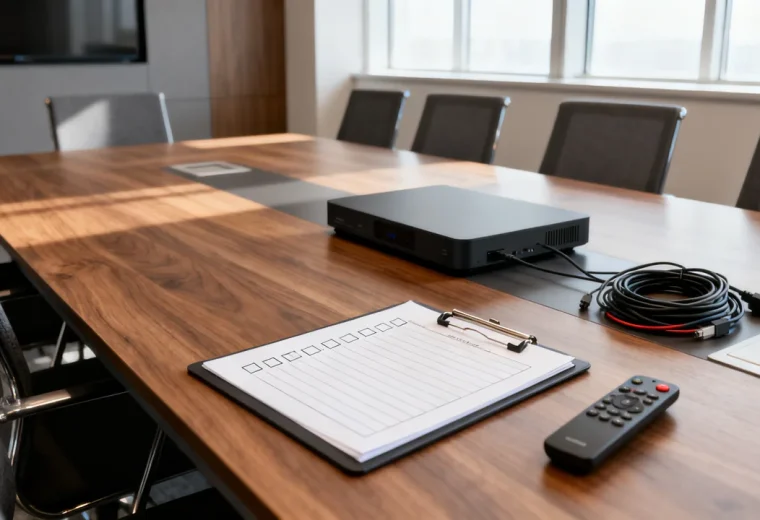
Start with the furniture in the arrangement people will use. A clear empty-room image is not an acceptance test. Open laptops, bottles, chairs pulled away from the table and someone leaning toward a colleague can all change the view.
Draw the camera position and every seat
Mark the table’s length and width, its distance from the display wall, the display position and the proposed camera position. Record the distance from the camera to the nearest and farthest seats. Include seats at the short ends rather than assuming they will remain empty.
Mark anything that could block the line of sight: a large laptop screen, a tabletop microphone, a storage unit or a person seated directly in front of someone else. Camera field of view only describes an angular view; it does not make an obstructed face visible.
When comparing specifications, distinguish horizontal from diagonal field of view. Check whether the selected output mode or automatic framing changes the useful picture. Use the manufacturer’s planning material to shortlist positions, then verify them with the intended device.
Compare positions without assuming a geometric shortcut
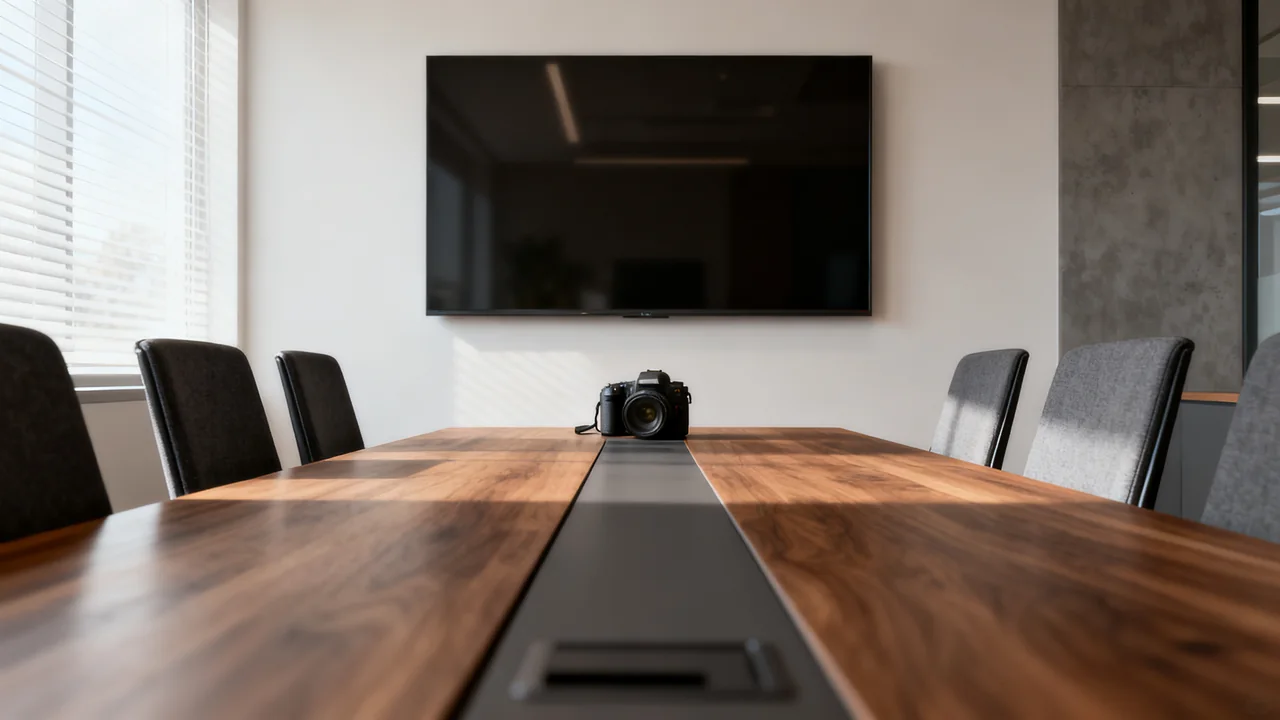
Mounting near the display can keep the table clear and put the camera near the faces people see on screen. The practical question is whether that position captures both nearby and distant participants. Moving a camera onto the table does not automatically increase the distance to the nearest chairs or improve coverage; the result depends on exactly where it is placed.
A tabletop stand can offer flexibility for a temporary room, but it also occupies working space and can be knocked or blocked. A camera placed within the seating group may need a different coverage design from a camera looking down the table from one end. Do not expect a conventional forward-facing webcam to cover people behind it.
| Candidate position | Reason to consider it | Check in the trial |
|---|---|---|
| Near the display | Keeps the table clear and aligns viewing direction with the screen. | Nearest-seat cropping, distant-face size and laptop obstruction. |
| Supported tabletop stand | Allows temporary placement without wall work. | Stability, working space, coverage direction and cable protection. |
| Offset beside the display | May avoid a physical obstruction. | Uneven face size, gaze direction and blocked seats on the opposite side. |
| Specialist multi-camera arrangement | May address a layout one view cannot cover. | Platform support, switching behavior, installation and maintenance. |
A hypothetical placement trial
Imagine an office with an eight-foot table, chairs along both long sides and a display at one end. The dimensions are illustrative assumptions, not a recommended room size. The office needs all regular seats visible and occasionally shares a wall whiteboard.
First, mark a supported camera position near the display and occupy each seat. Have a remote colleague note which faces are cropped, small or blocked. Next, try another supported position or a modest furniture adjustment, keeping the rest of the test unchanged. Record the actual measurements and the observed result for each attempt.
If the nearest seats cannot be included without making other faces too small, reconsider the seating arrangement or test a camera designed for that coverage. Moving a seat, reducing the required seating count or changing the equipment are distinct options. None is guaranteed to work from the table length alone.
Treat whiteboard sharing as a separate requirement
A camera that shows all faces may not make handwriting readable. Ask a remote participant to read sample notes on the actual board while the room is in its normal lighting. Avoid confidential material in the sample.
If the same camera must turn toward the board, check what happens to the participant view and whether users can restore it easily. A supported content camera or a digital whiteboard may be more suitable, but it needs its own compatibility and usability check. Do not solve the board problem by quietly losing required seats from the meeting view.
Check height, gaze and framing behavior
Try to keep the camera near the direction people look when watching remote participants. An unusually high or low position changes the perspective. Have people of different heights use the seats and check both headroom and the view of the nearest participants.
Compare the fixed view with any available automatic framing mode. Have someone arrive late, stand to present and return to the table. Check whether the system includes them at the right time and whether a participant near the edge disappears during framing changes.
Digital cropping can enlarge a face in the output, but it cannot recover a person who was outside the captured image or hidden by an obstruction. Assess readability and picture quality in the remote call rather than assuming a zoom control solves the placement problem.
Record the accepted arrangement
- Save a room sketch with the approved camera and furniture positions.
- List the seats included in the acceptance test.
- Record the framing mode and any relevant settings.
- Check supported mounts, cable routing and access for maintenance.
- Keep a test image without identifiable participants if a visual setup reference is useful.
- Repeat the check after moving the table or changing the camera.
For permanent mounting, confirm the mounting hardware, surface and cable installation with the appropriate installer. Avoid making irreversible changes until the temporary trial has demonstrated the required view.
Reference: Logitech’s camera installation guidance discusses height, angle and room coverage. Apply the chosen device’s own mounting and configuration instructions.
Have a question or a correction?
Contact the editorial team