A four-seat room can still be difficult to equip. The nearest chair may sit outside a camera’s view, the farthest speaker may sound distant, and the only available cable route may cross the doorway. Start with the actual room and a connection plan before comparing video bars.
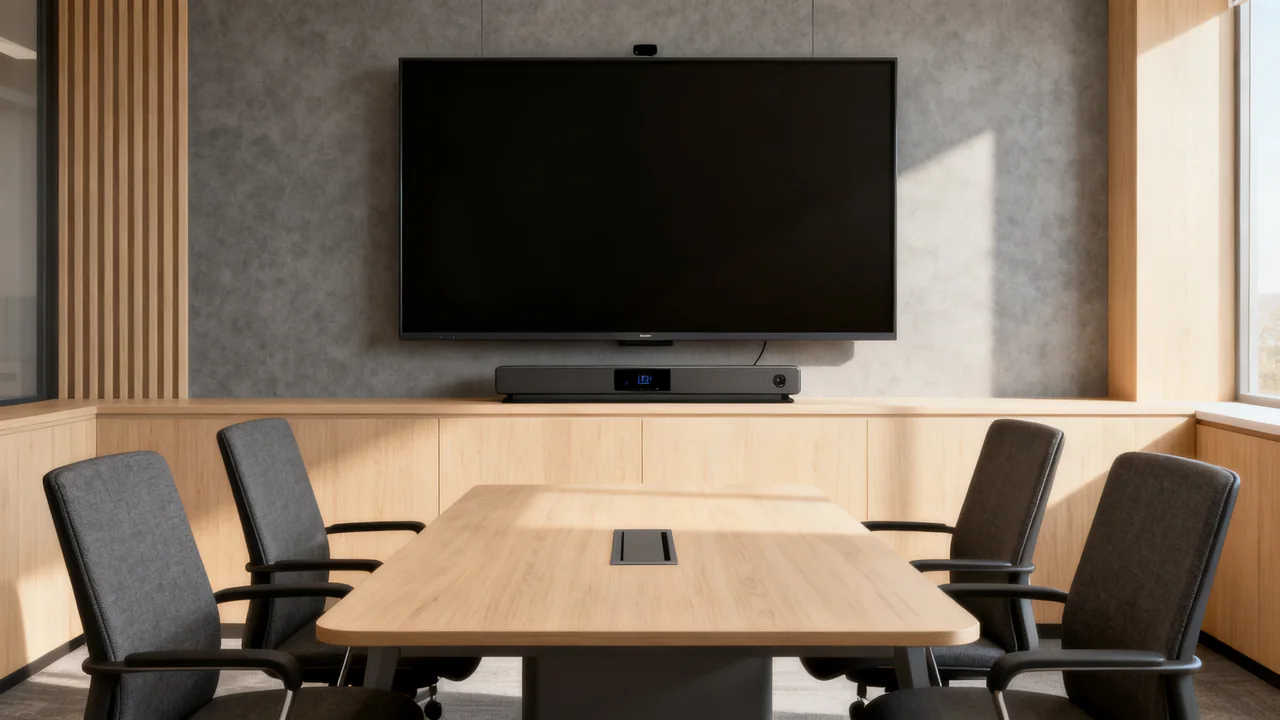
A video bar combines camera, microphones and speakers. What happens behind that combination varies: one device may need a separate computer, while another can run supported meeting software in an appliance mode. A product that fits physically can therefore still be the wrong purchase for the way your team joins calls.
Make a room sketch that includes people
Mark the display, table, chairs, doors, windows, power outlets and proposed camera position. Measure from that camera position to each seat, including the seats nearest the screen. Record table width and the available mounting space. Include laptop screens and other objects that could block faces.
Camera field of view is an angle, not a seat count. Check whether the manufacturer’s figure is horizontal, vertical or diagonal; those figures are not interchangeable. A wide-angle specification is useful for shortlisting, but it does not prove that everyone will appear naturally in the final meeting layout. Auto-framing can also crop the available image.
Ask a supplier to demonstrate the proposed camera position with all four seats occupied. Use the meeting application you actually intend to run. A local camera preview can help with setup, but a remote participant should also check the transmitted picture.
Decide what hosts the meeting
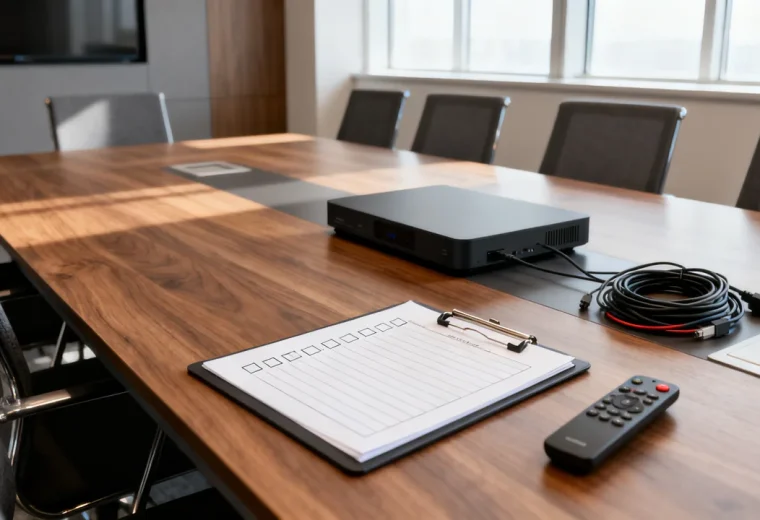
Write down whether a room computer, the video bar itself or a visitor’s laptop will host the call. Then draw the complete connection path. Include power, network, display video and USB data where each is needed. The shape of a USB-C connector does not establish every capability of the port or cable.
For a bring-your-own-laptop room, test the operating systems and laptop types your team uses. Verify whether a standard user can connect without administrator access, which peripherals appear in the meeting application, and how the display receives shared content. A bar’s USB connection may carry its camera and audio without also carrying the laptop’s display output.
For a dedicated room system, confirm the supported meeting platform, required licenses, network access and account ownership. Identify who will apply updates and restore the room if its account or device settings change.
Compare capabilities without buying a label
| Capability | Question to answer | Practical check |
|---|---|---|
| Camera framing | Can remote attendees see each occupied seat? | Test the closest seats, farthest seats and framing modes. |
| Microphone pickup | Is ordinary speech understandable from every chair? | Listen remotely with the ventilation and normal room activity present. |
| Speaker playback | Can everyone hear remote speakers comfortably? | Check the actual playback level and test conversation in both directions. |
| Expansion | Will a content camera or additional microphone be needed? | Check the exact supported accessory and operating mode. |
| Administration | Who can manage settings and updates? | Verify access, documentation and the support process. |
Resolution, price tier and marketing descriptions do not answer these questions by themselves. A higher-resolution camera does not establish better microphone pickup. A USB port on the bar does not establish compatibility with any available whiteboard camera. Compare the documented configuration that you would actually install.
A hypothetical four-seat decision
Imagine an office where two chairs face the display and two sit beside the table. Visitors use their own laptops, and a wall whiteboard is occasionally shared. These are planning assumptions, not observations from a product test.
The office could shortlist two bars that support its laptop workflow. During a trial, the team would check side-seat framing and ask a remote colleague to listen to every seat. It would separately demonstrate sharing the whiteboard, using a supported accessory or another documented method. If that feature cannot be demonstrated, it remains an unresolved requirement rather than an assumed benefit.
The purchase decision would include the bar, mount, power supply, required cables, any supported content-sharing accessory and setup labor. A cheaper device with an incomplete connection plan is not yet a comparable quote.
Check the mount and everyday access
Choose a mounting method explicitly supported for the bar and the display or wall arrangement. Verify clearance for connectors and ventilation. A display’s mounting pattern alone does not confirm that an accessory bracket can safely support the complete assembly. Have the appropriate installer assess permanent wall attachments.
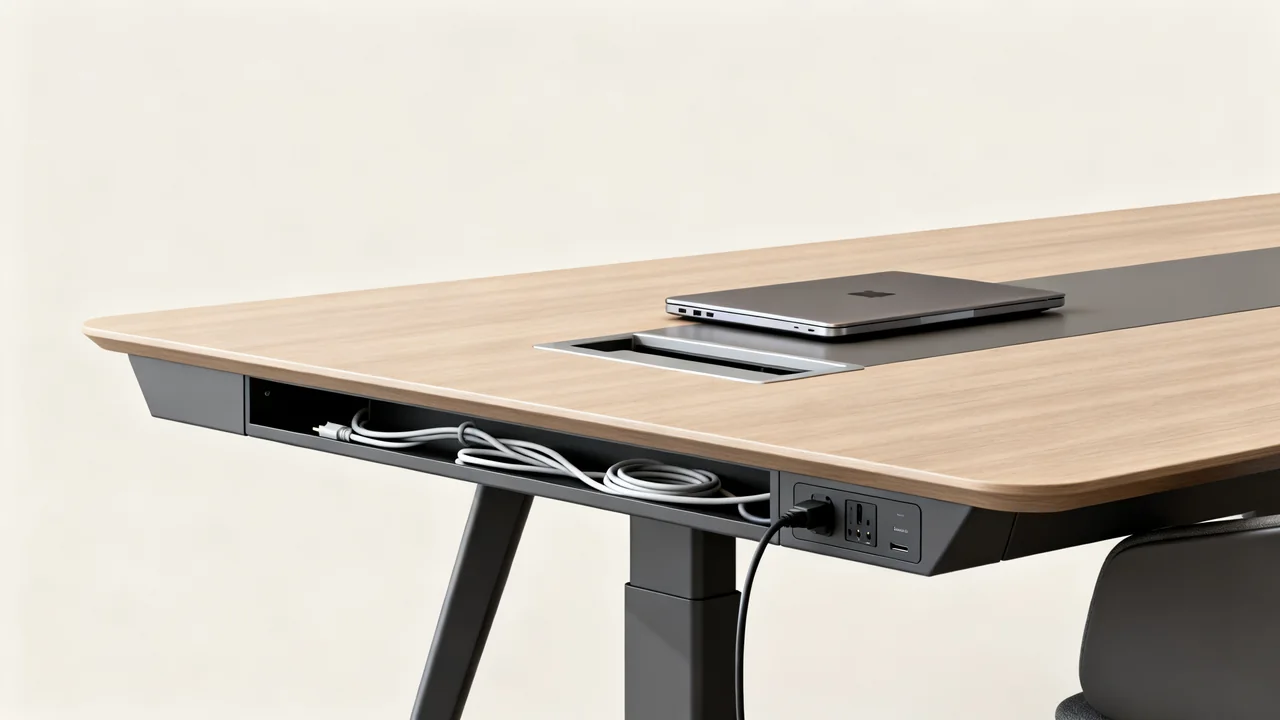
Route cables where chairs, doors and feet will not repeatedly pull or crush them. Use the manufacturer’s supported cable types and lengths, including any required active extension equipment. Keep the user connection within convenient reach and keep service connections identifiable.
Accept the room only after a complete call
- Join a call using each intended hosting method.
- Check faces and speech from all four seats.
- Share content and return to the meeting without losing camera or audio.
- Test mute, volume and the room’s normal disconnect procedure.
- Confirm the system returns to a usable state for the next person.
- Record the equipment, settings owner and support contact.
Keep a short connection card in the room. If a demonstration is unavailable before purchase, clarify the written return conditions and installation responsibilities before ordering. Leave unresolved requirements visible in the purchase record so they can be checked during acceptance.
Reference: Logitech’s installation guidance explains why camera placement and room coverage need to be considered together. Exact connections and accessories must be checked against the selected model’s documentation.
Have a question or a correction?
Contact the editorial team