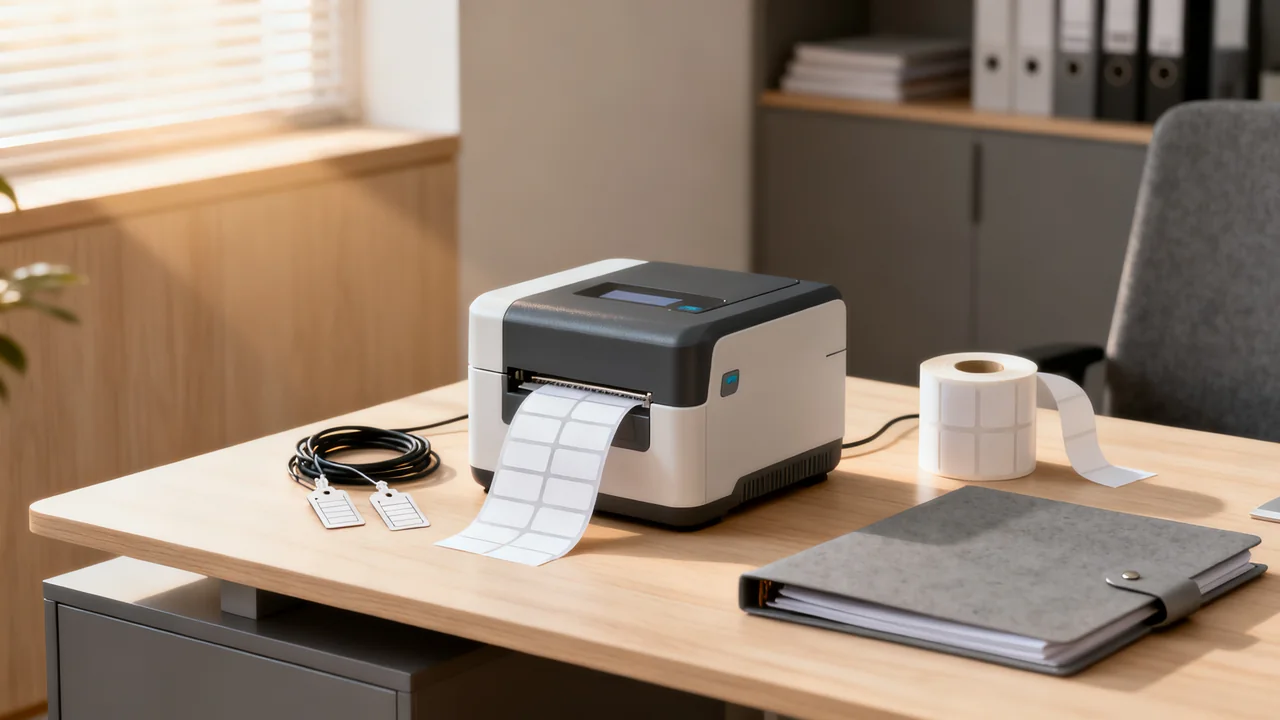
A label printer should be selected as a system: printer, software, label material, adhesive, and, where required, ribbon. The machine’s resolution or maximum width alone does not tell you whether a label will stay readable on a folder or remain attached to a textured device. Begin with the object and the information it needs to carry.
Separate folder labels from equipment labels
For folders, measure the usable tab or spine area and decide what must be readable when the folder is filed. Long names may need an abbreviation policy rather than smaller and smaller type. Consider whether labels will be replaced, covered, or expected to remain in place for an extended period.
For equipment, identify the application surface, available space, expected handling, and approved cleaning process. A label on a smooth monitor base faces different conditions from a label on a frequently handled adapter. Check whether labeling is permitted and avoid vents, controls, safety information, manufacturer identifiers, and service access.
Distinguish a convenient internal identifier from a specialist security, certification, or compliance label. A general office label printer does not establish that a mark meets a particular requirement. If such a requirement exists, obtain its specification before choosing materials or formatting.
Compare printing methods with matched supplies
Direct thermal printing forms an image on heat-sensitive media without a separate ribbon. Thermal transfer printing uses a ribbon with compatible media. These are useful distinctions, but neither technology name guarantees the finished label’s life, cleaning resistance, or suitability for an adhesive surface.
For durability claims, ask about the exact media and ribbon combination under the intended conditions. Direct thermal materials differ, and thermal-transfer ribbons and substrates also differ. Do not treat every transfer label as resistant to every office cleaning product or assume every direct thermal label will last a fixed number of years.
Other options, including cartridge-based tape systems or compatible sheet labels printed on an existing printer, may fit some tasks. A small number of occasional labels may not justify another device. Follow the printer and media instructions, including any restrictions on partially used label sheets, rather than assuming repeated feeding is acceptable.
Check dimensions, adhesive, and placement
Confirm supported widths, lengths, roll or cartridge formats, and printable area. The label’s physical width may be larger than the area available for text. Ask whether a cutter, gap sensor, or black-mark sensing is needed for the chosen stock, and verify the exact model supports it.
Permanent and removable describe adhesive intentions, not unconditional results on every surface. Test approved samples on a suitable representative surface with permission. Check initial placement, edge lift, readability, and removal where removal is required. A short trial does not prove years of durability.
Follow the label supplier’s application instructions and the equipment maker’s surface-care instructions. Do not introduce a solvent to prepare an electronic device merely because a label supplier recommends it for another material. Resolve incompatible preparation requirements before applying labels.
| Label task | Selection priority | Sample check |
|---|---|---|
| Folder tab | Readable text within the available tab area | Read the filed folder from its normal position |
| Reusable storage bin | Suitable adhesive and replacement method | Apply and remove on a permitted sample surface |
| Equipment asset ID | Material, adhesion, handling, and cleaning compatibility | Inspect an approved sample in the intended location |
| Barcode or QR code | Supported symbology, size, contrast, and application | Scan with the actual reader and verify the returned record |
Try the software with your real naming scheme
Create a template using the longest realistic identifier and folder title. Check margins, line wrapping, font availability, and whether the software warns about content outside the printable area. Keep a plain-text identifier alongside a code when that helps users recover from a failed scan.
If batch import matters, test it with a small sample of your own fields. Confirm that leading zeros are preserved, special characters appear correctly, and the correct record goes on each label. Previewing a spreadsheet is not the same as verifying its printed output.
Check supported computers, connection methods, licensing, and template sharing. A USB device can suit an assigned station, while a networked model may suit distributed printing. The best arrangement depends on who prints and who maintains the templates, not simply the number of employees.
Build an illustrative cost comparison
Assume an imaginary office plans 100 labels per working week for 50 weeks. That is 5,000 labels per year. If a suitable quoted supply costs an assumed $0.04 per usable label, the annual supply estimate is $200 before waste and other costs. These figures demonstrate the calculation; they are not market prices.
For a ribbon-based system, include the compatible ribbon as well as the label media. For a cartridge or tape system, account for usable label lengths and any required margins or cut gaps. Use the supplier’s specifications and sample output rather than comparing rolls solely by their purchase price.
Add the device, necessary software, support, and any measured trial waste. Compare the same number and types of labels over the same planning period. Do not assume that a larger machine has cheaper supplies or that a particular technology pays for itself after a fixed number of labels.
Keep identifiers and templates under control
Assign responsibility for asset-number creation and label templates. Printing a duplicate number can be more disruptive than a slightly slower printer. Check a small first batch against the equipment register or folder list before releasing the rest.
Store the approved stock codes with each template so the layout is not accidentally printed on a different width. Define where labels may be placed and who may remove or replace them. Keep spare media in the supplier’s recommended conditions.
- Measure the surface and printable area.
- Verify the exact printer, media, adhesive, and ribbon combination.
- Test readable text and codes with the actual workflow.
- Check software imports, leading zeros, and shared templates.
- Compare complete costs using your own quantities.
- Document the approved stock and placement rule for each use.
Have a question or a correction?
Contact the editorial team